Isohedral V Breakdown
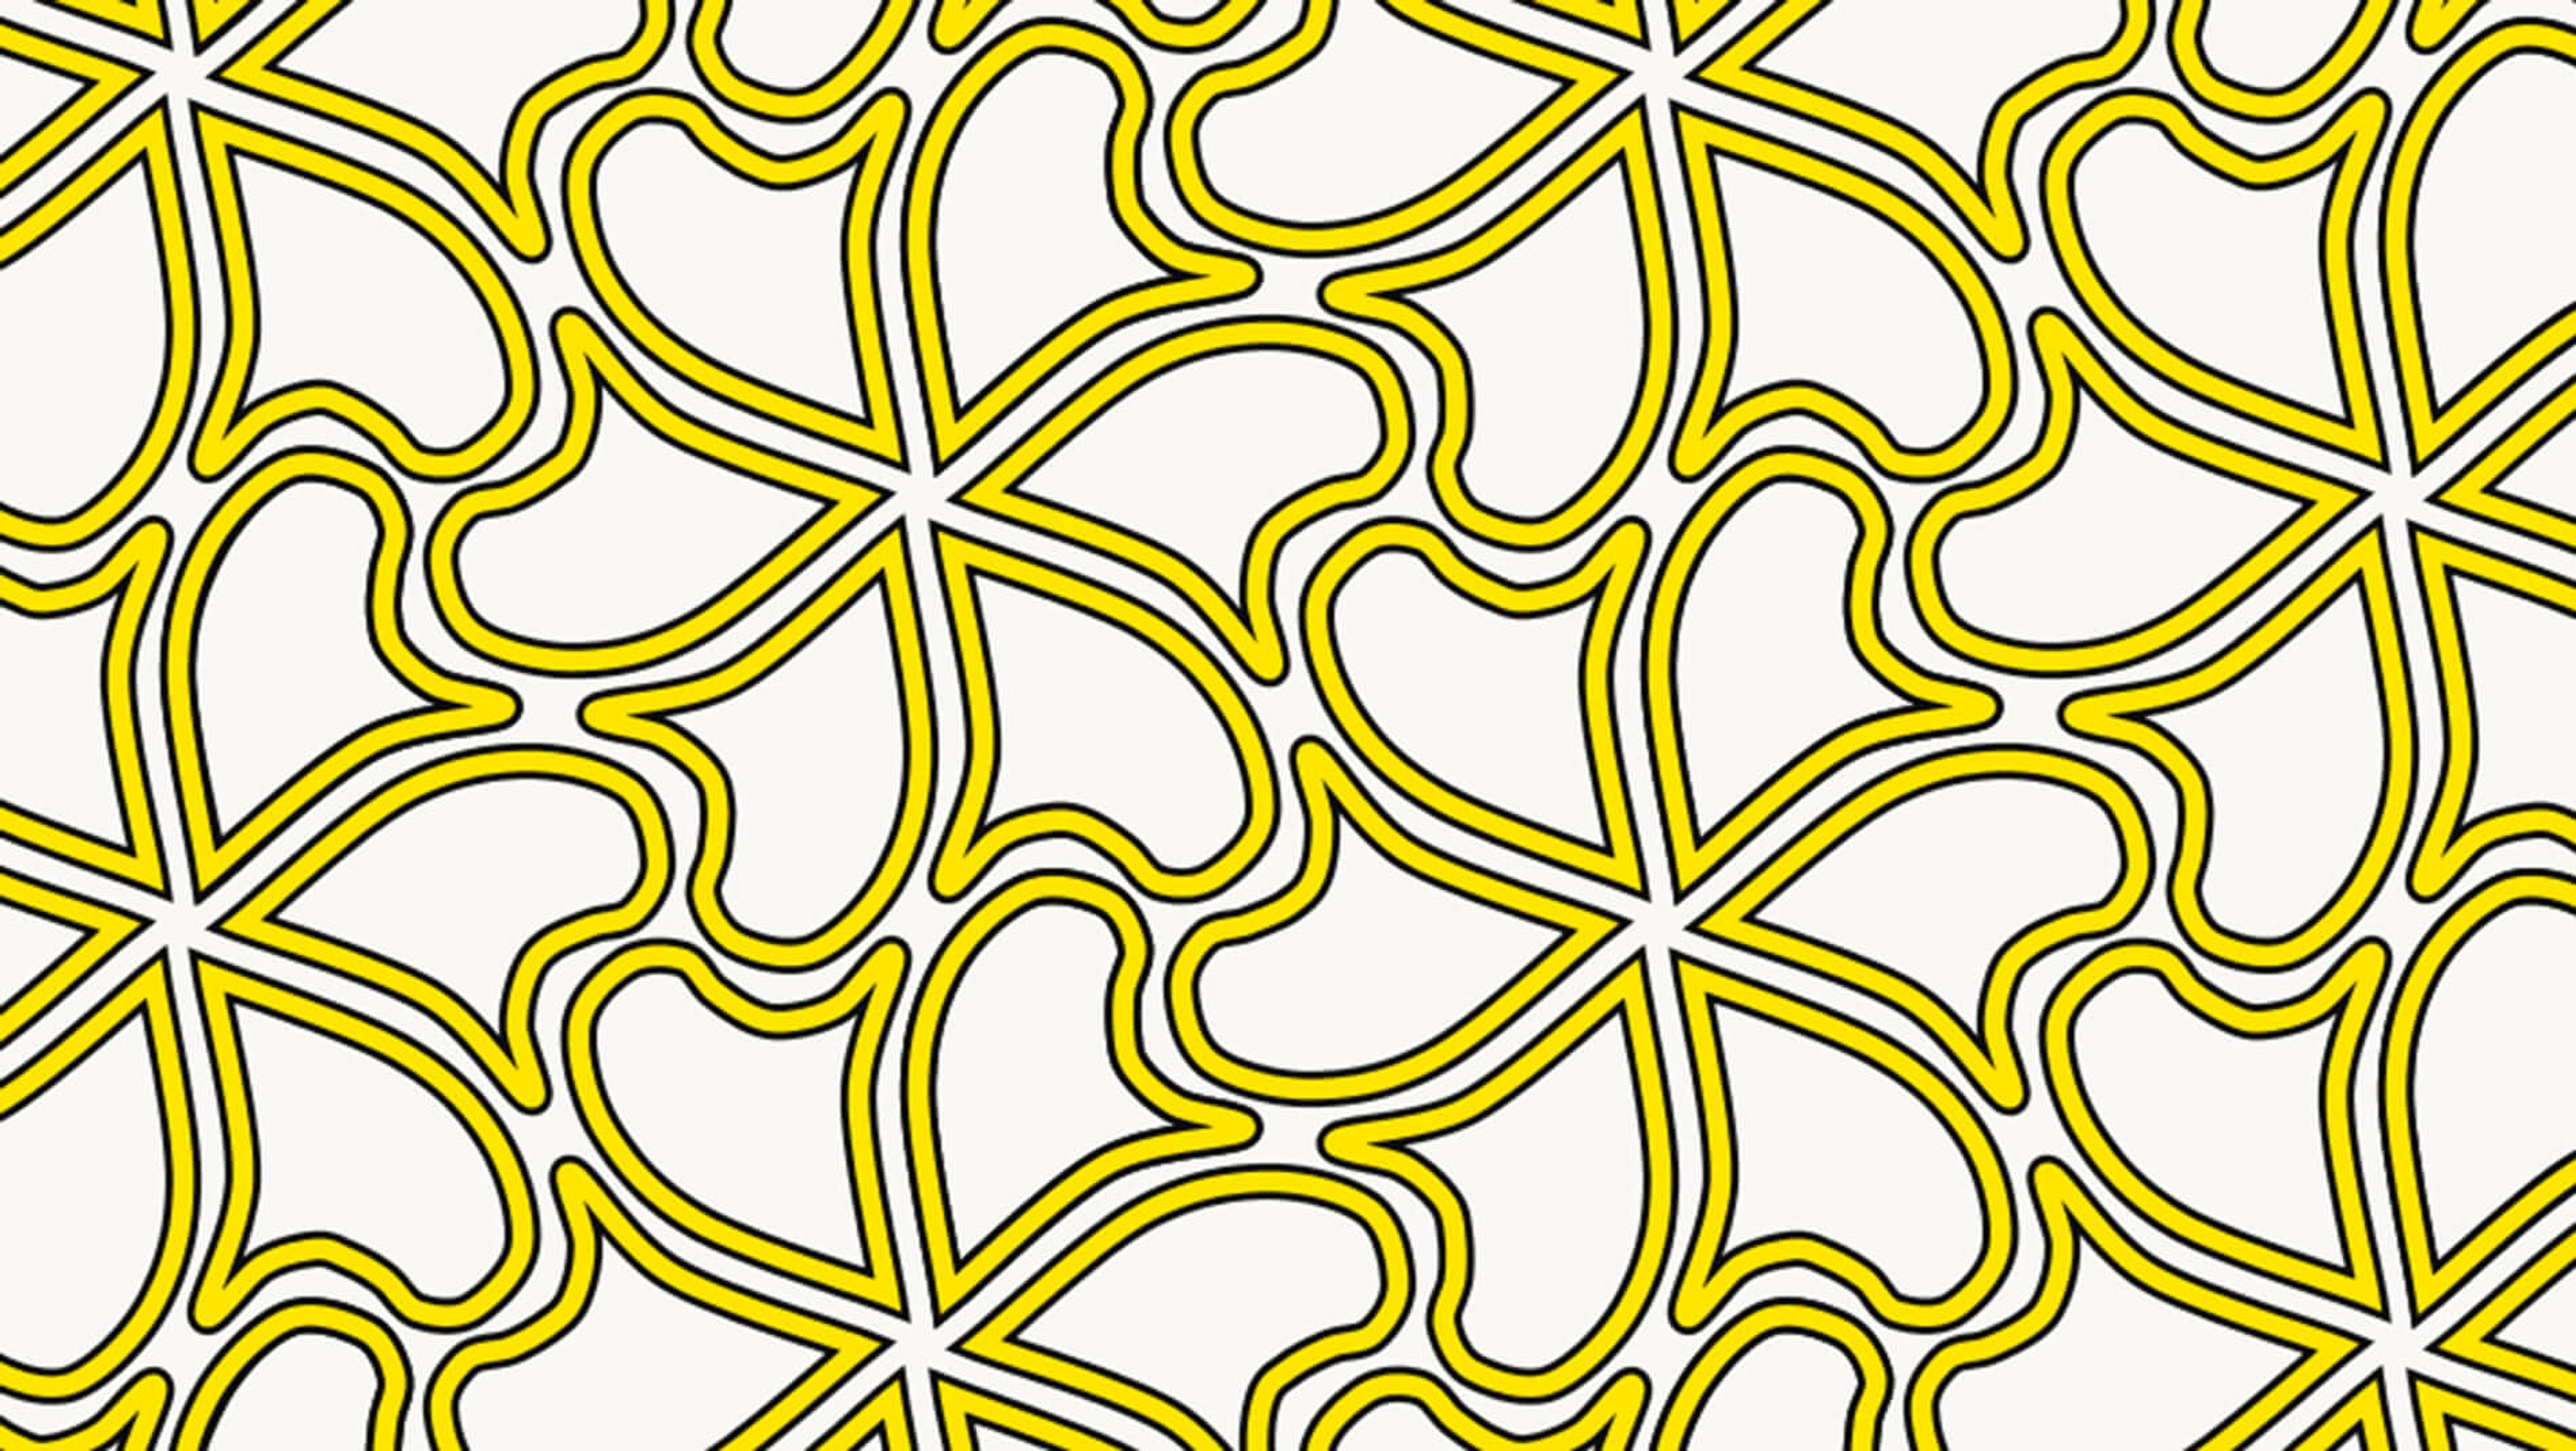
The Isohedral series is inspired by the set of isohedral tilings. In short, these are tiling patterns that only use a single shape to form a pattern. Something about these tiling patterns provides a nice, regular structure for me to build my artwork on.
The images in this breakdown are snapshots that I saved as I worked on Isohedral V, so this is the actual progression of the image as I built it.
All of my works in the Isohedral series begin with a basic version of one of the 81 possible (unmarked) isohedral tilings:
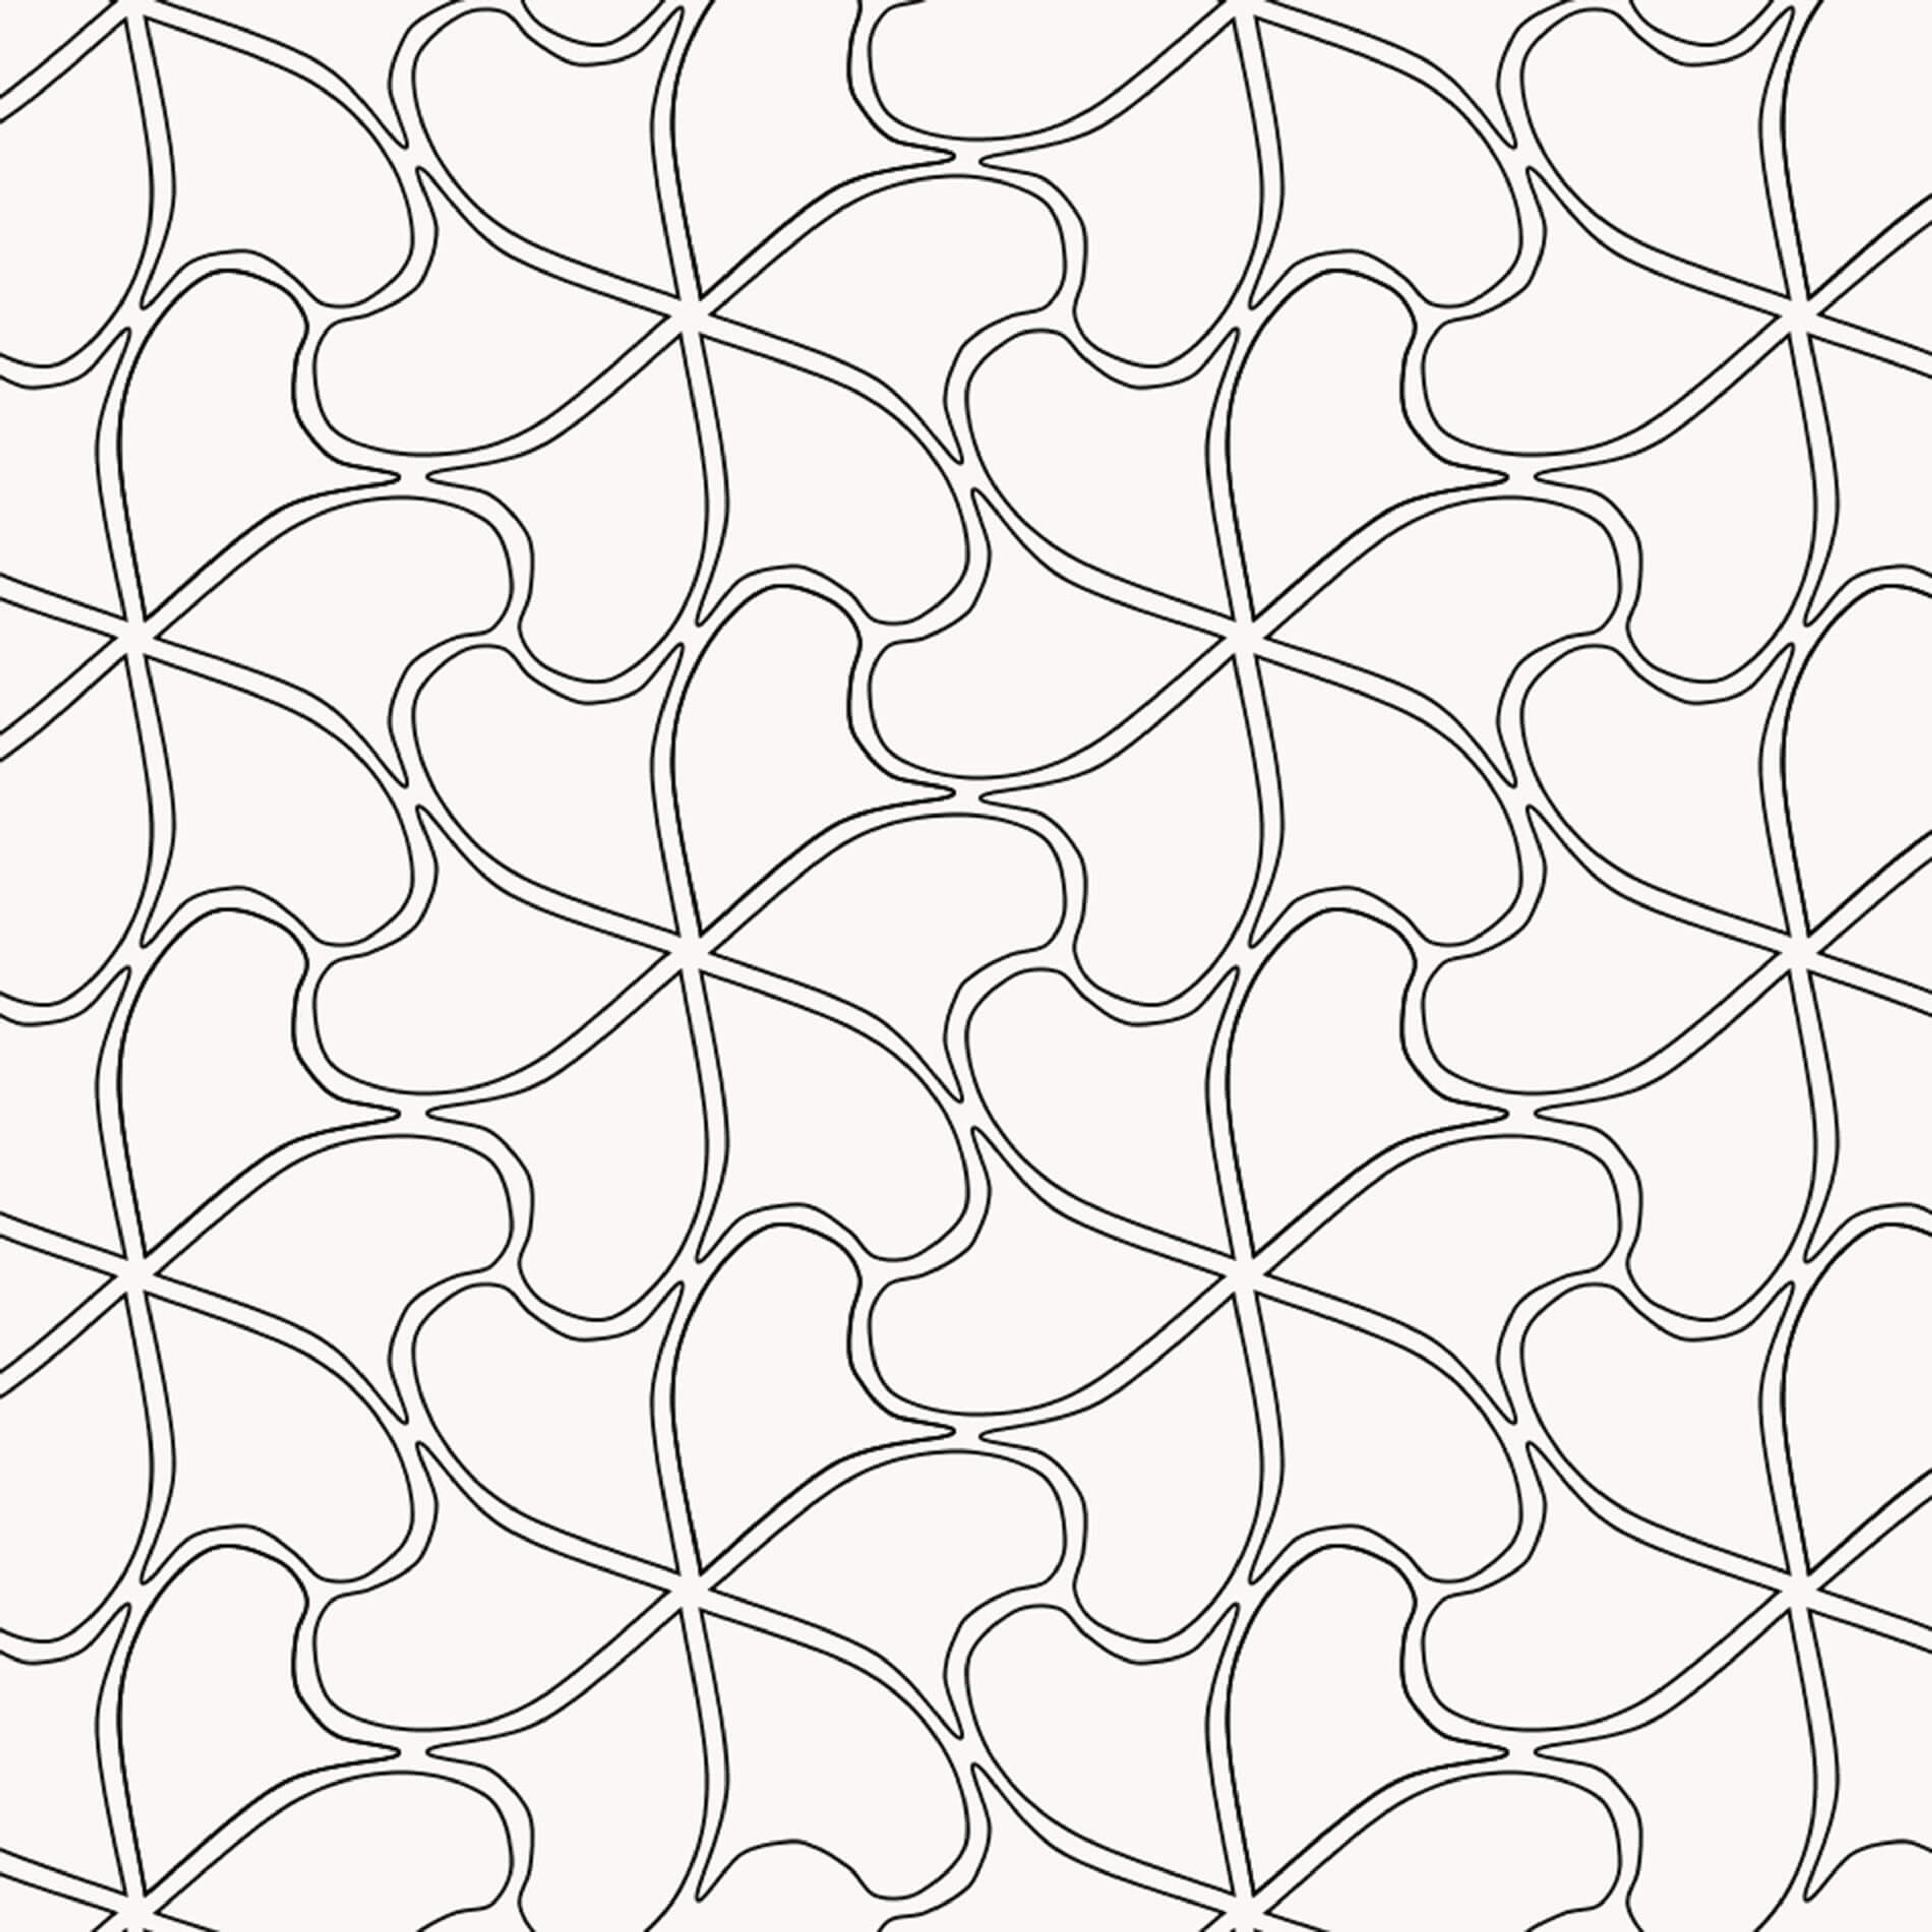
Although there are more rigorous ways to define the shape of the tiles, I usually mold the basic shape through trial and error. I write the code to draw a single tile, then repeat that operation with the correct spacing and rotations to tile the whole image.
Next up, I introduced a technique that I've been using a lot lately:
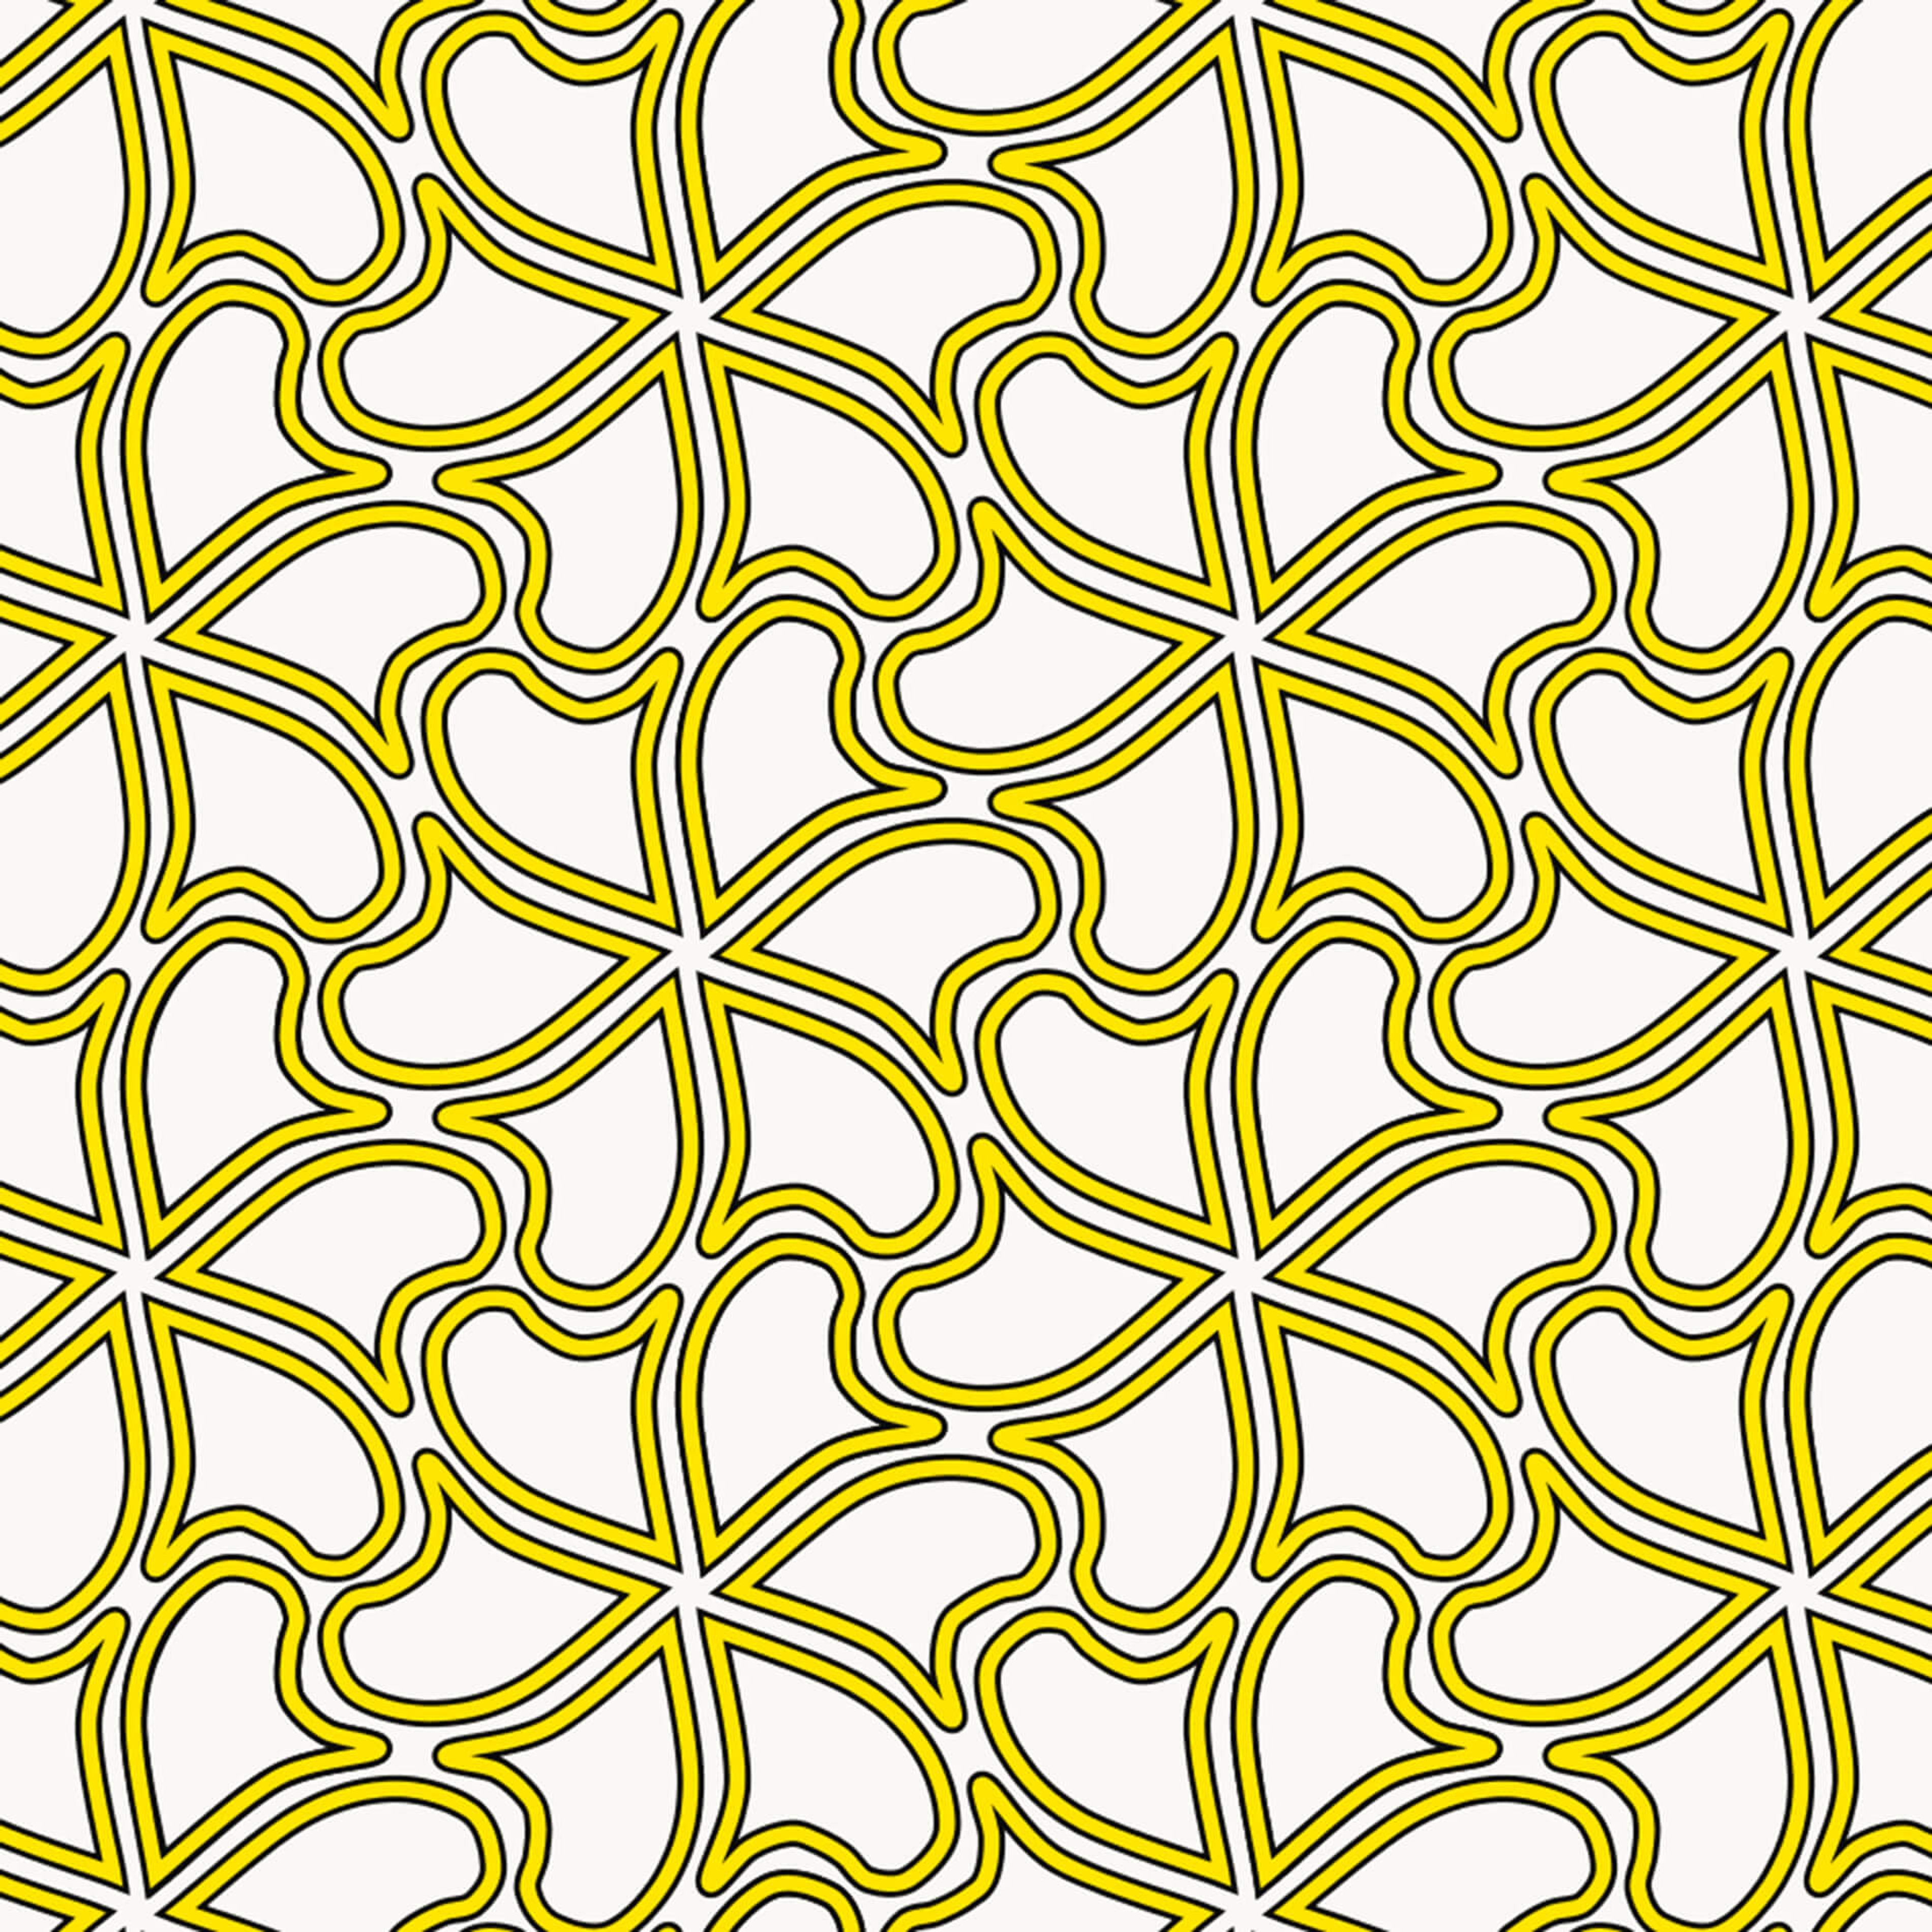
Basically, every curve is drawn with a thick black line first, then with a slightly thinner colored line. The colored line sits entirely inside of the black line, giving the appearance of a black outline.
I wanted to fill the interior of the tiles with something that would play on the "rotating" shapes that the pattern seems to produce. I went with a series of lines that run perpendicular to the main line of the tile:
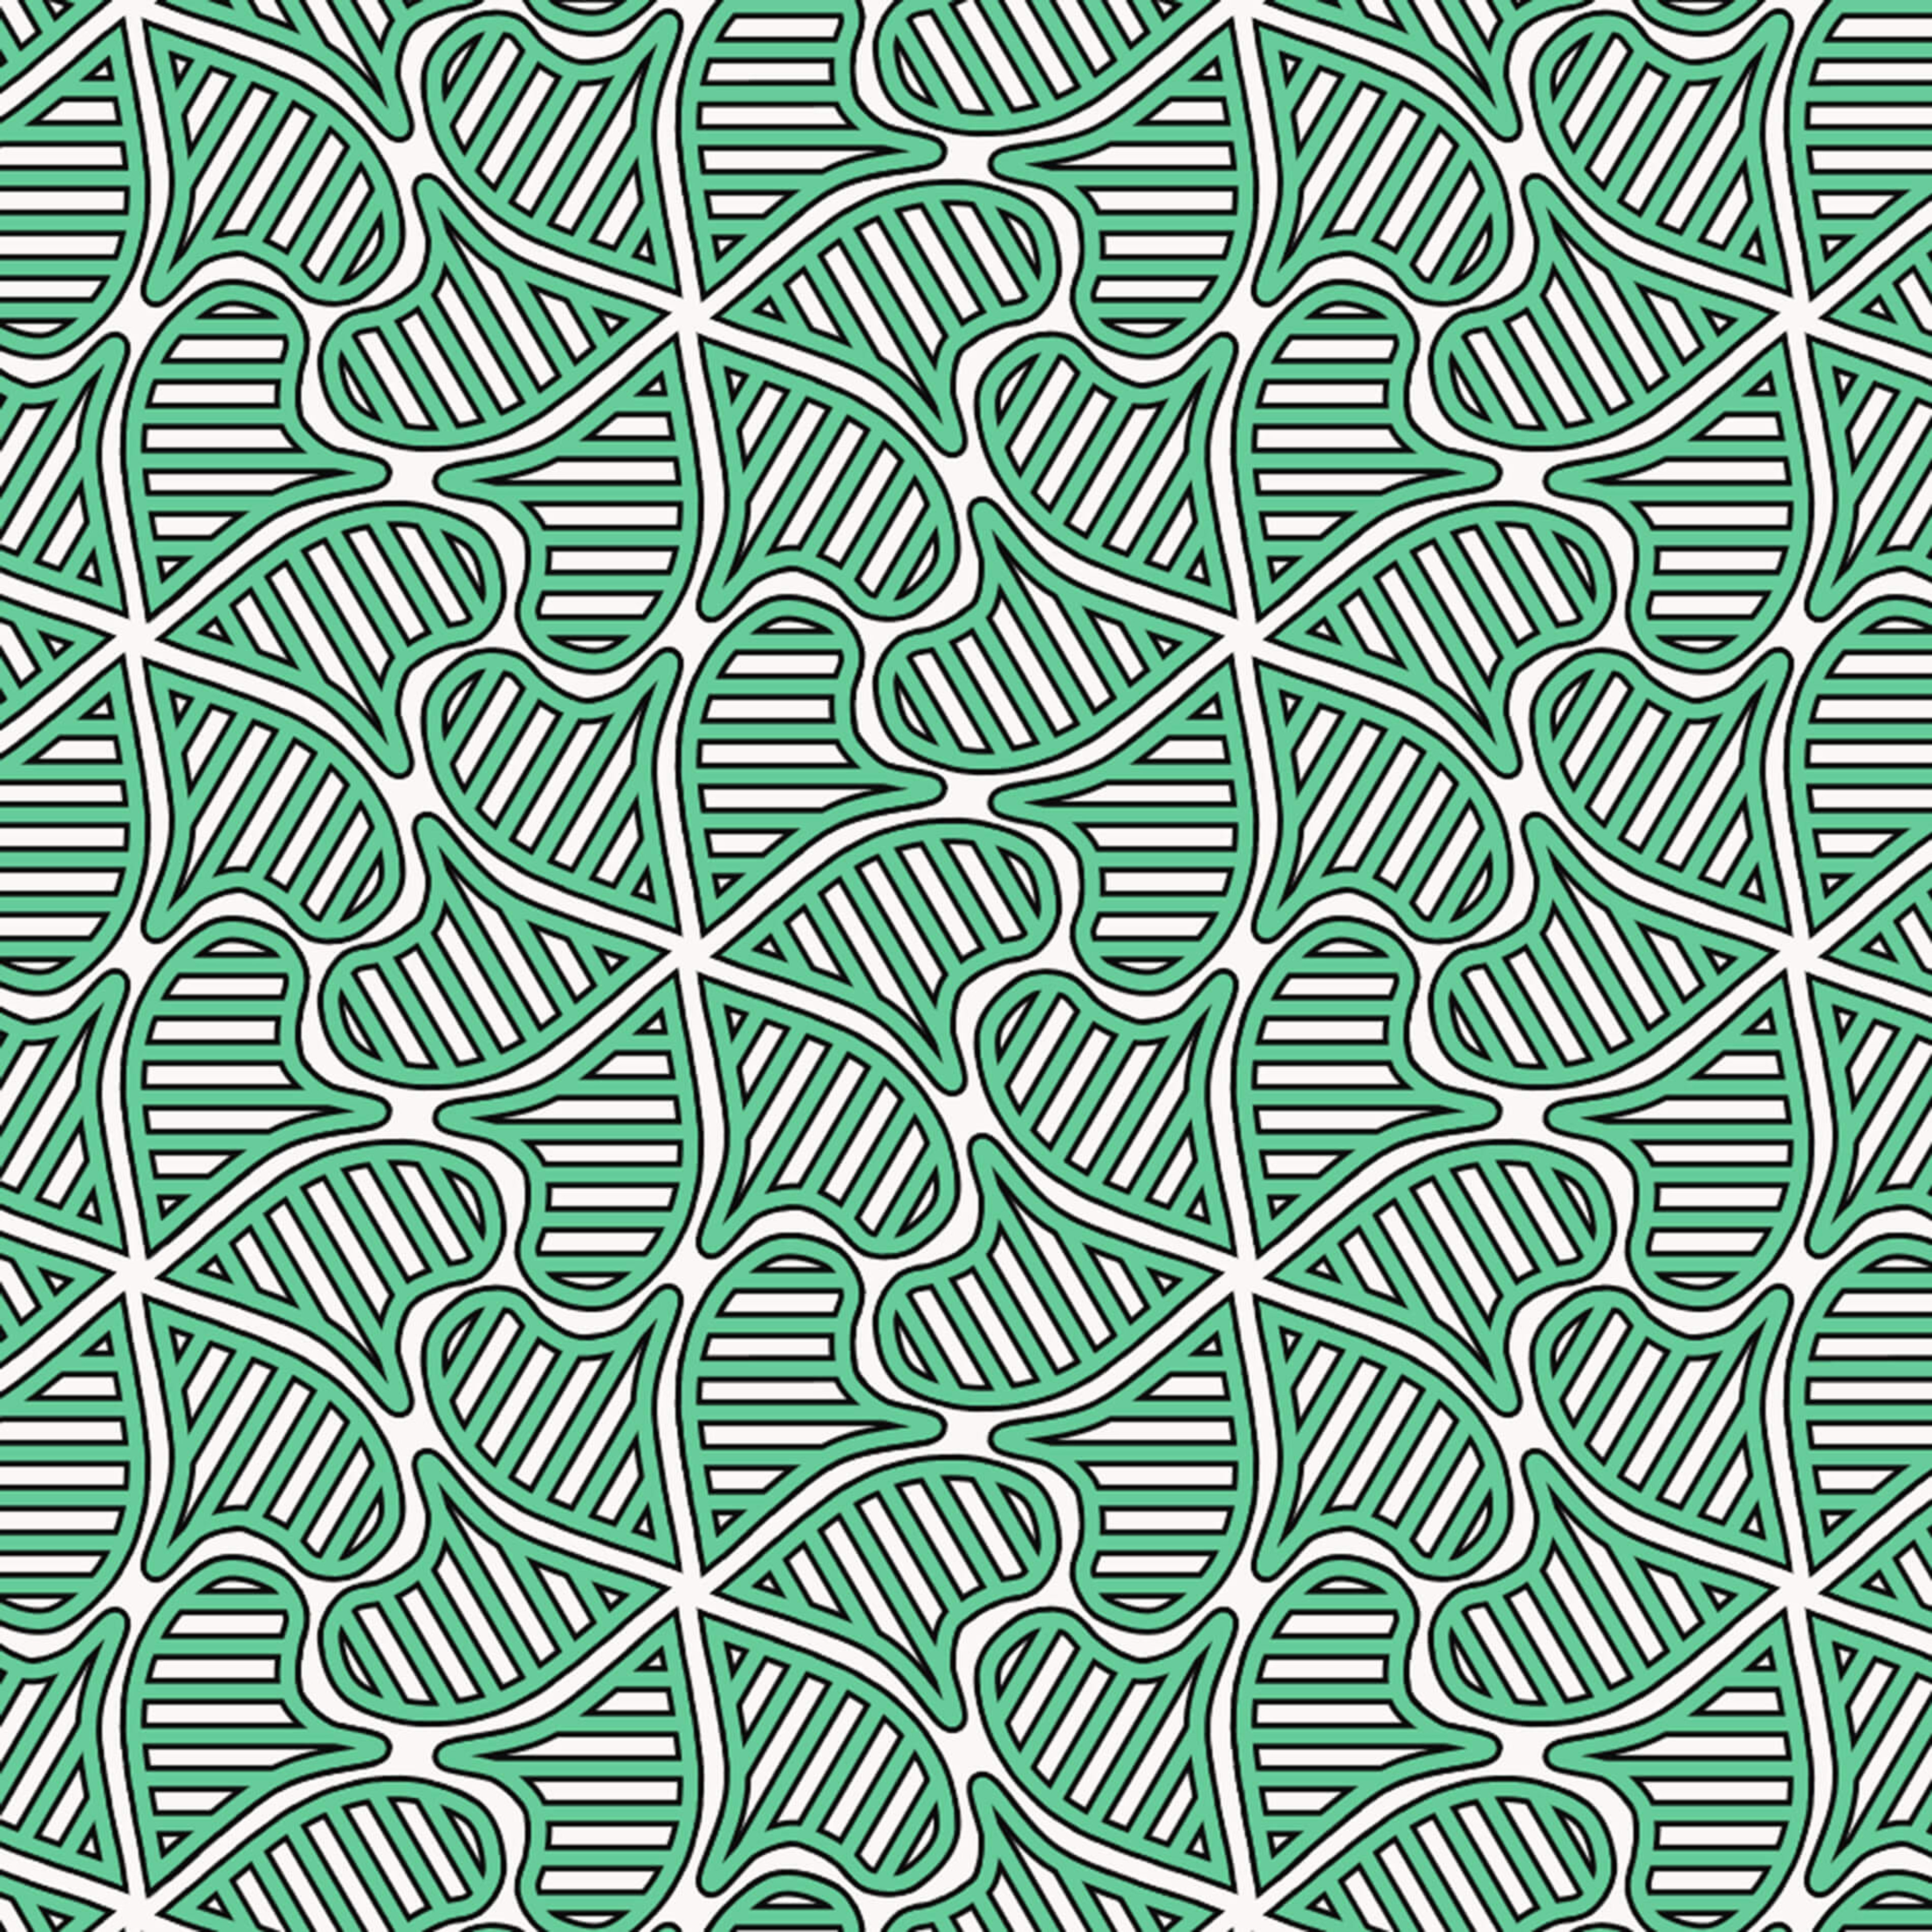
Although this looks visually similar to the previous image, a more complicated technique is required to support drawing arbitrary lines inside the tile and still preserve the clean black "outline". This is because it's tricky to calculate exactly where the inner lines need to stop to avoid passing beyond the outside lines. To make this easy, I used a couple of additional layers: a mask, and an overlay.
The first run of the tiling pattern creates the mask that will control what parts of the overlay layer are visible. In the masking layer, each of the tiles are filled with white (which will allow 100% of the overlay to show through), while the rest of the image is black (which will not allow the overlay to show through). Next, on the overlay layer the tile outlines and inner lines are drawn in black and then color, as described above. Finally, the mask is applied to the overlay layer, and the masked overlay is applied to the base image.
With the masking technique in place, I was free to work with more complicated fill patterns. I started out with some right angles:
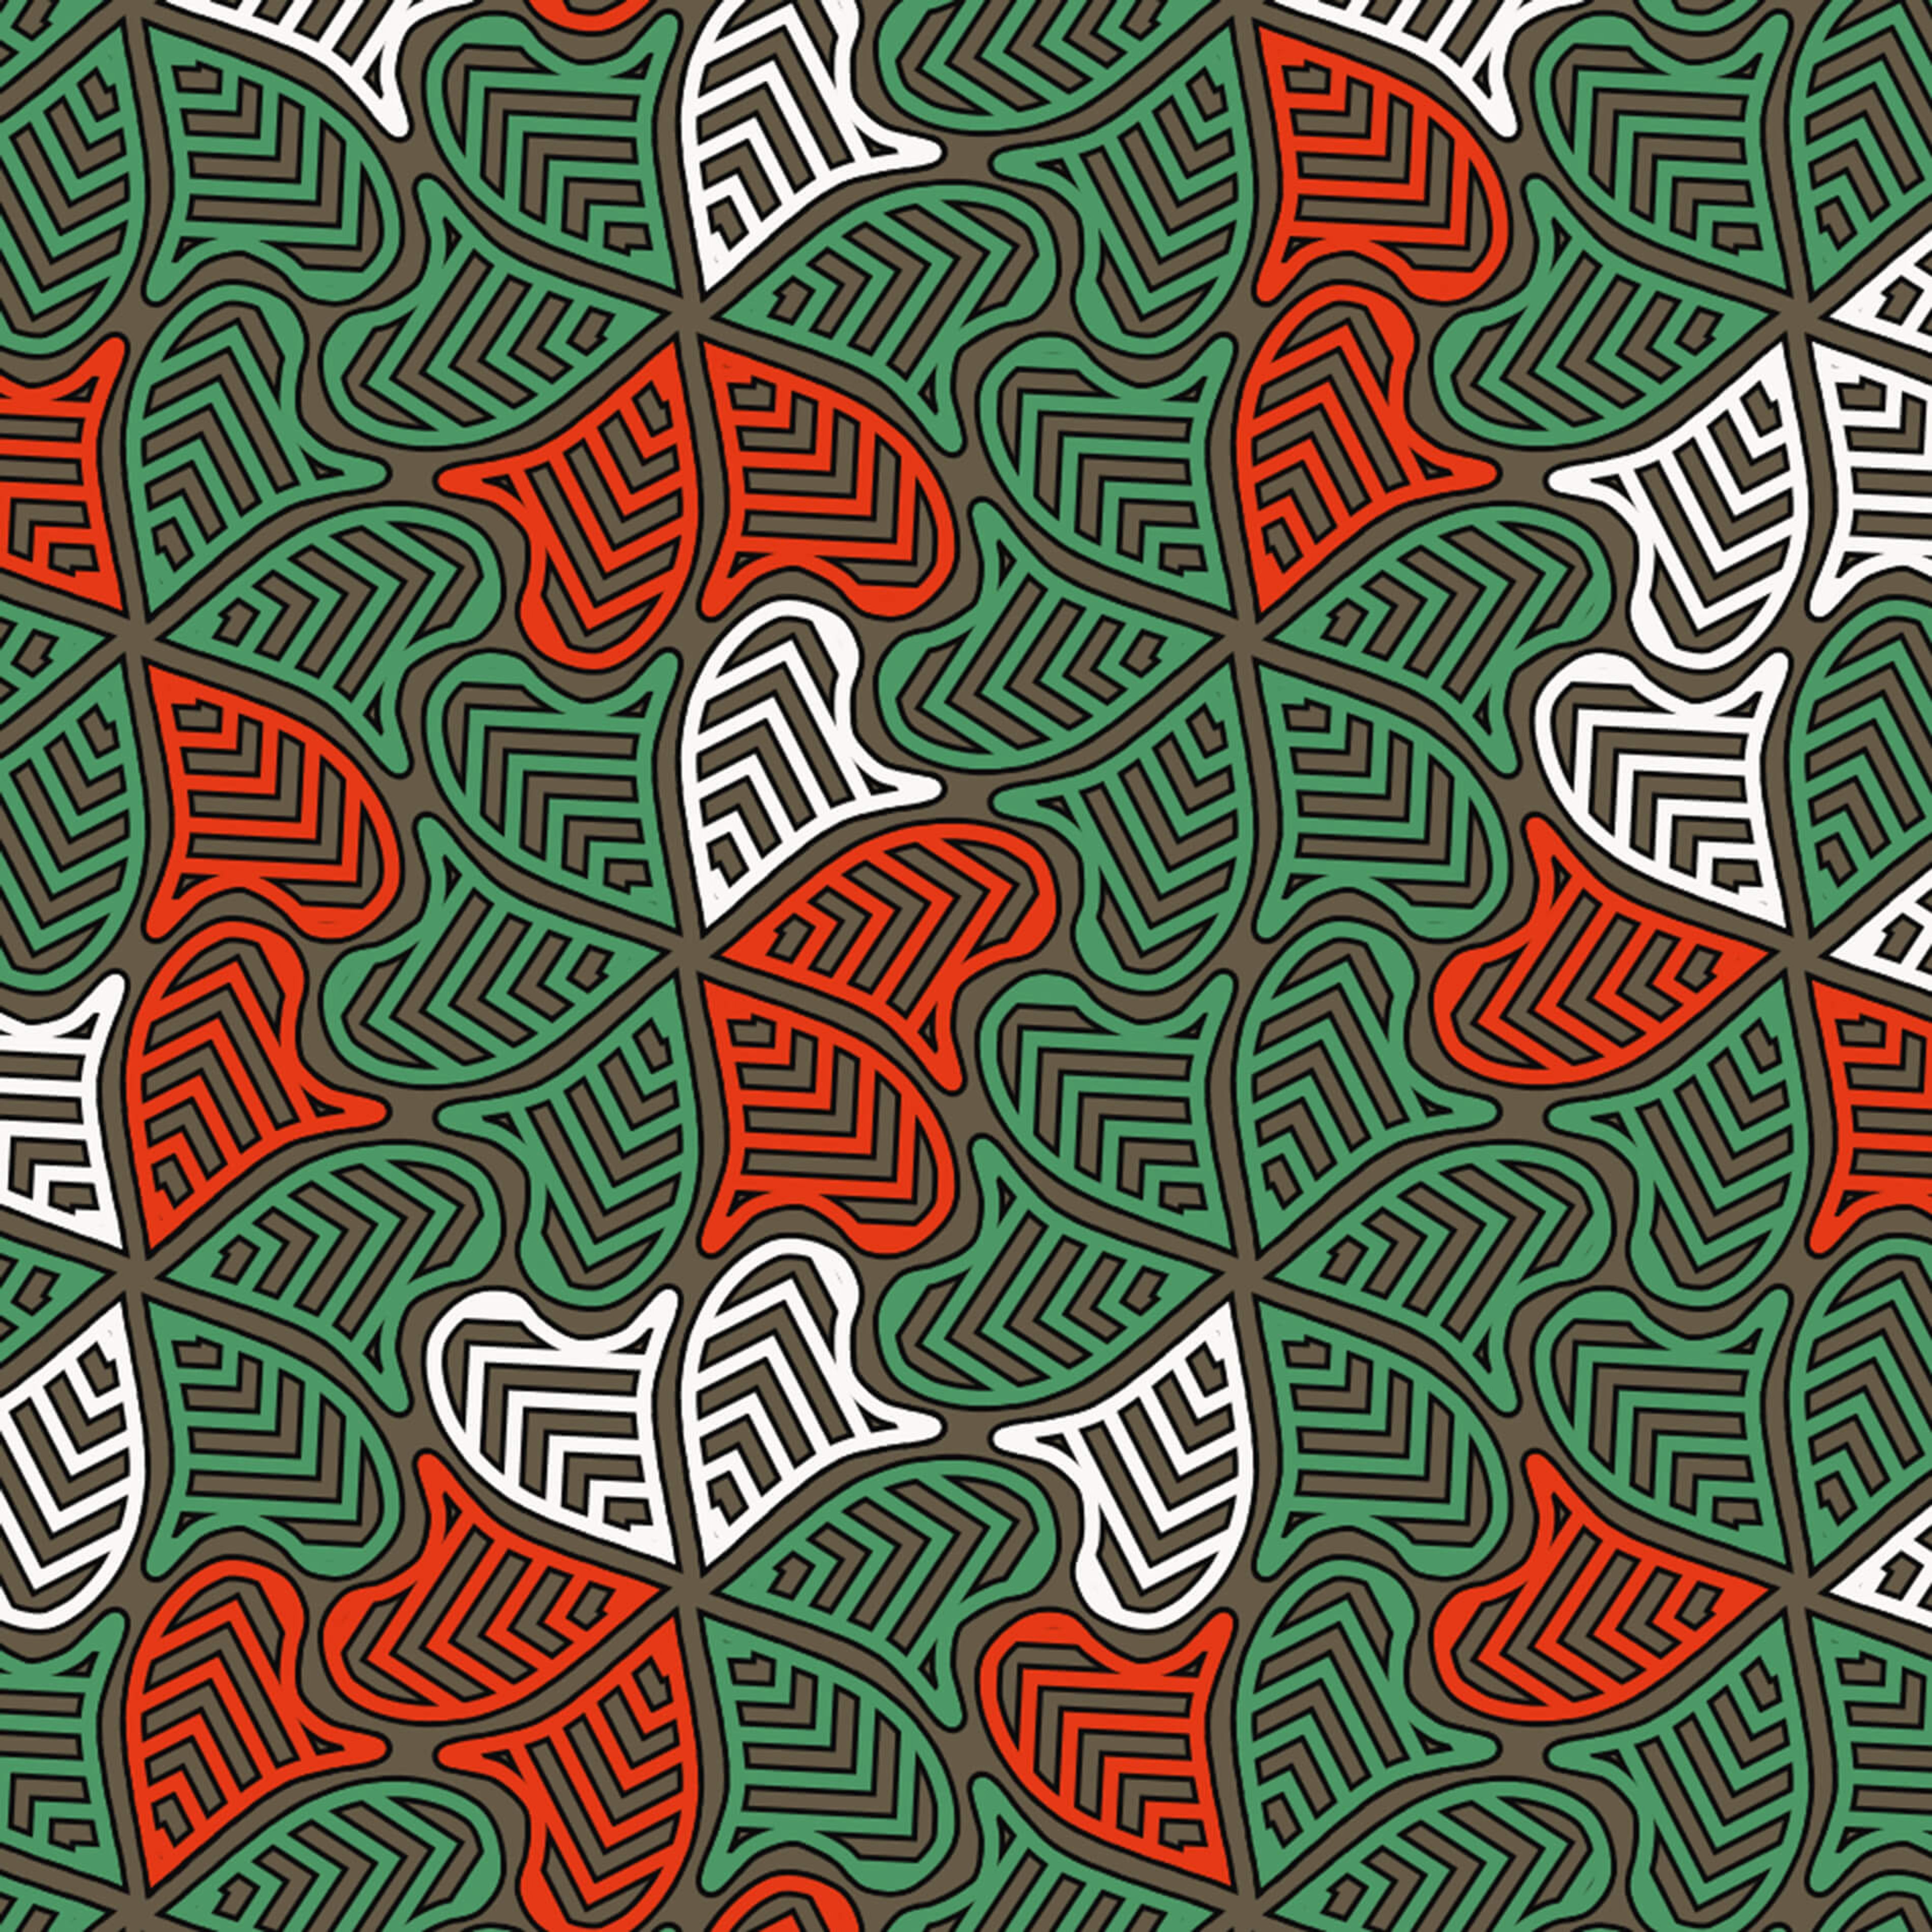
I also started refining the color scheme. As usual, I went with a weighted random choice in colors. Something like a 60% chance of green, 20% chance of white, and 20% chance of red. I like this approach because it allows me to get the basic blend of colors right without bothering to pick the colors of individual tiles.
The colors were still a little plain for me, so I used another favorite technique, which is to gradate the colors. Here the green transitions to a blue as you move up the image:
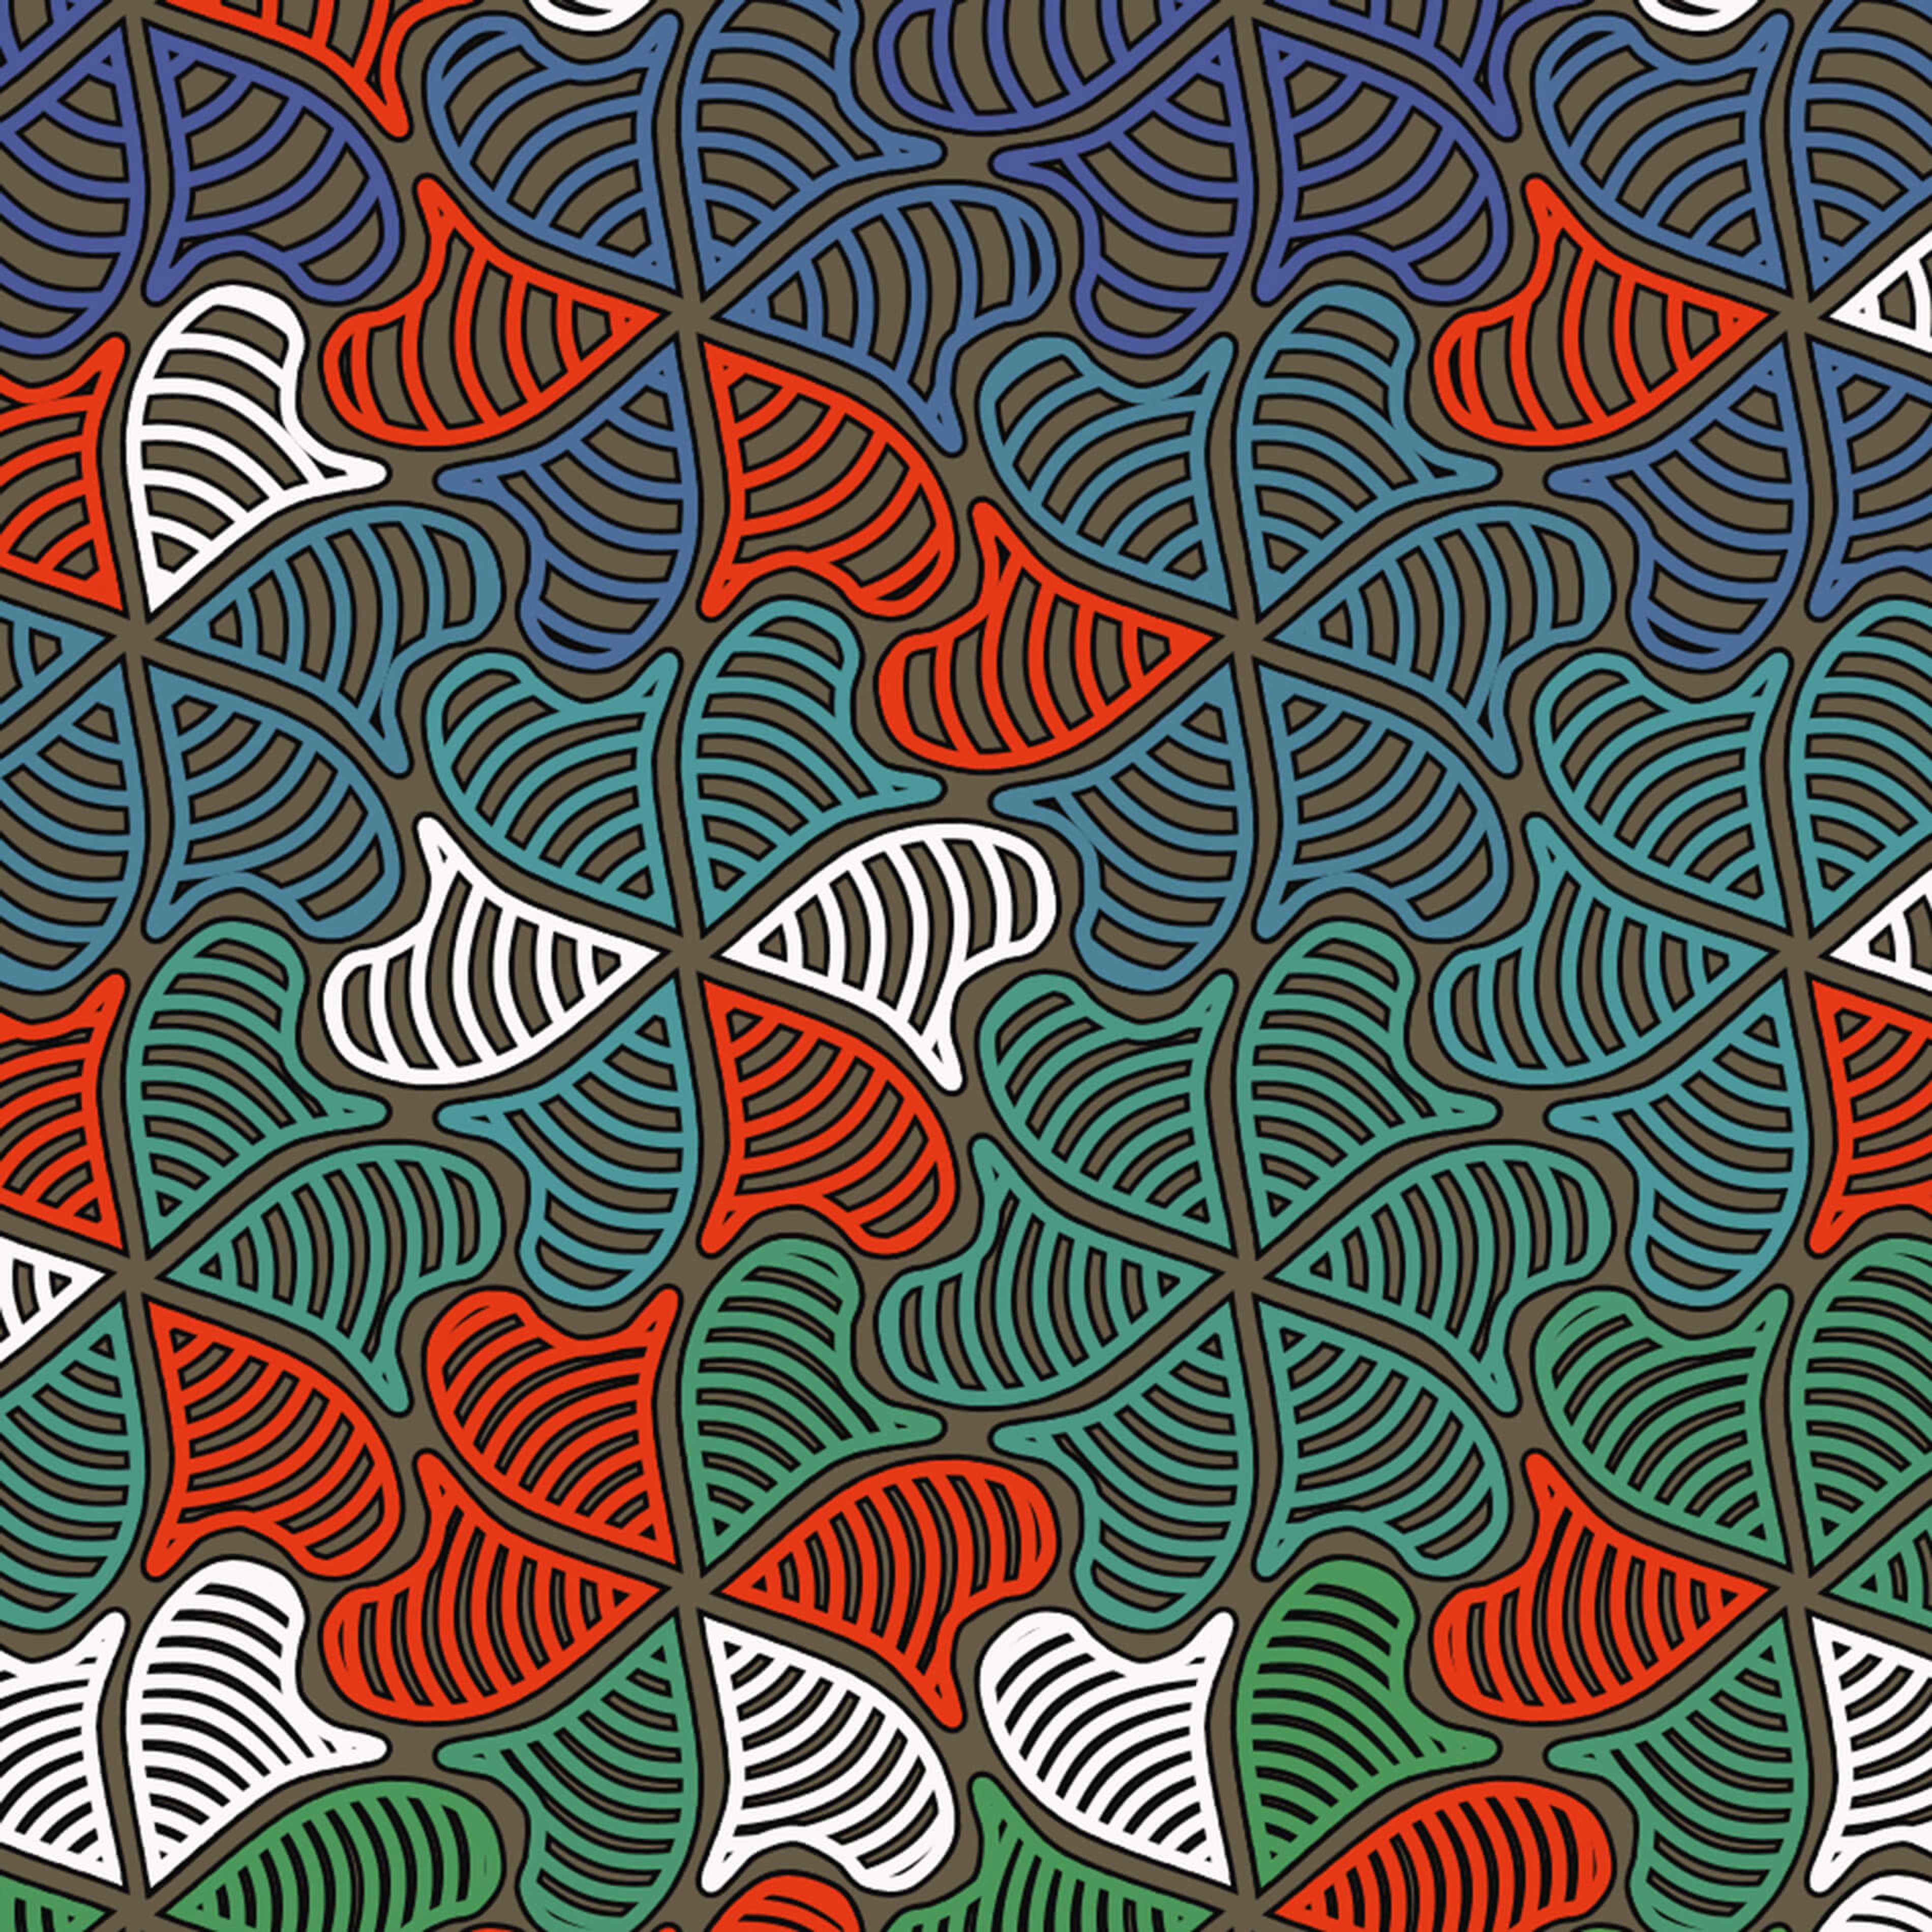
I also switched out the right angles for a curved line, which I felt was a better match for the curves in the tile shapes. These are drawn with a simple Bezier curve. If you look closely, you'll also see that I introduced another gradation: the spacing in between the curves shrinks as you move down the image, becoming very dense at the bottom.
The tiles seemed too large to me, given the way the color was distributed. I decided to try out smaller tiles to scatter the color around:
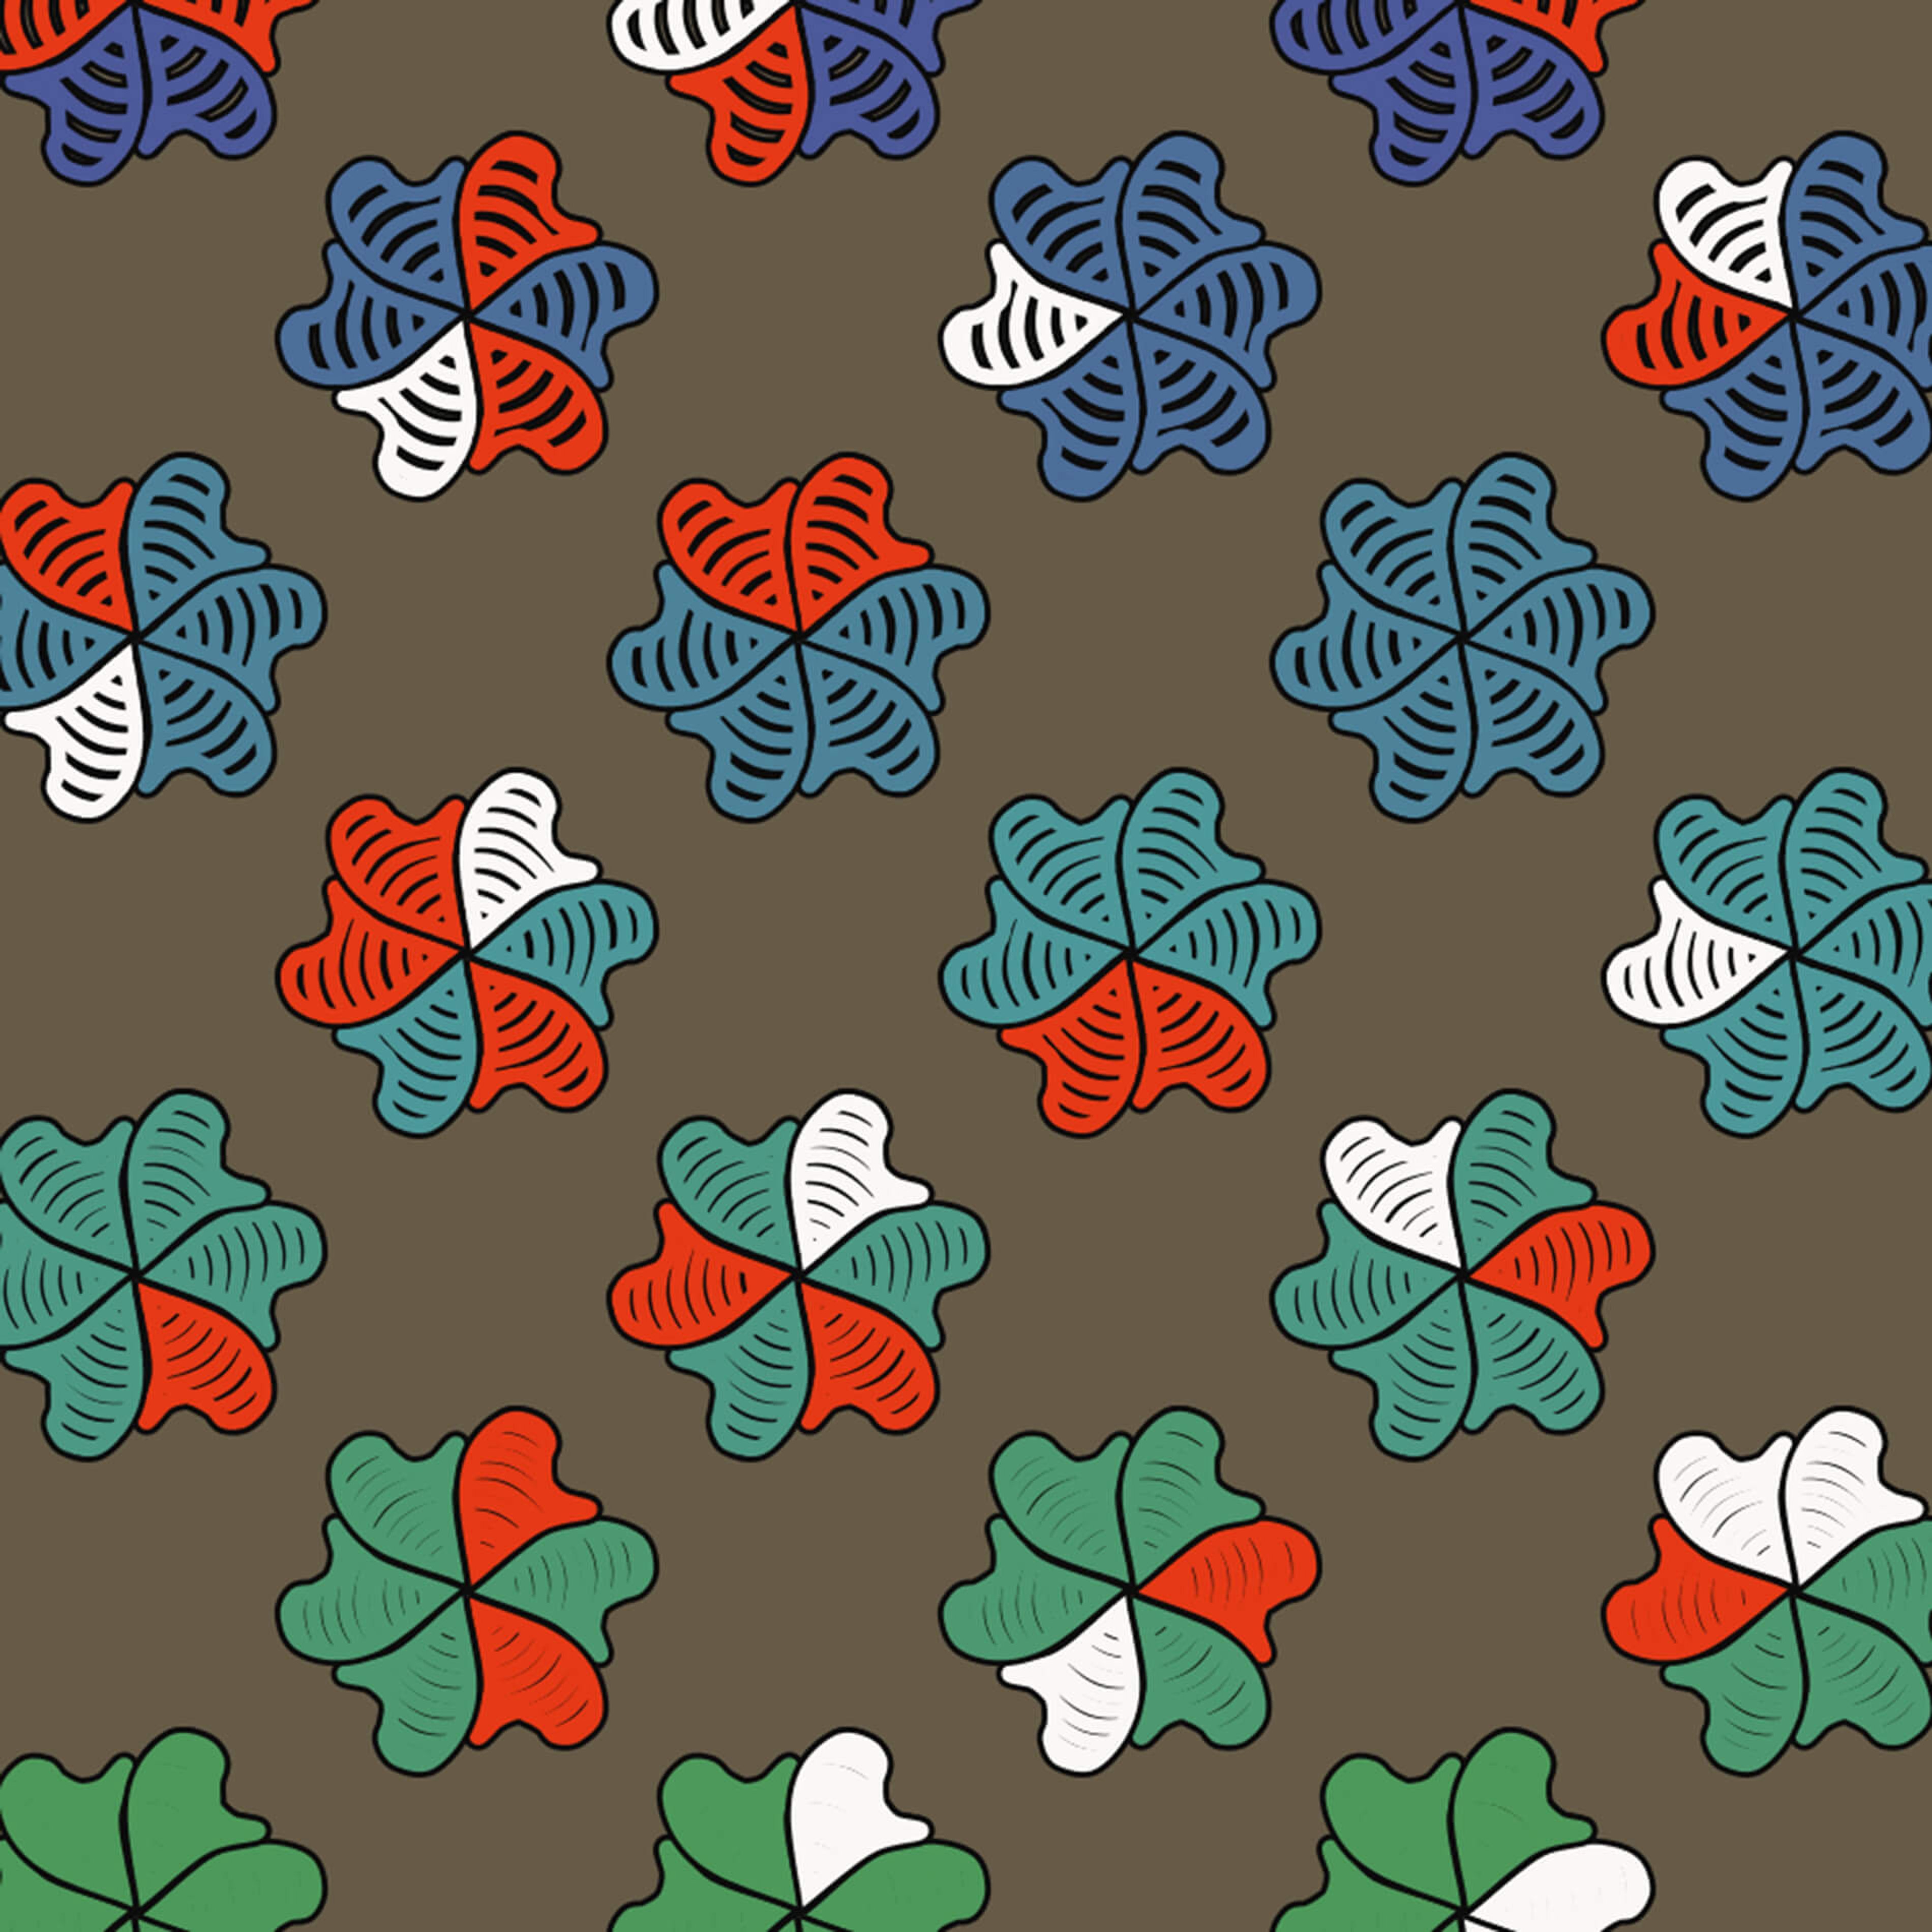
This size felt much better to me, so I stuck with that and fixed the spacing. Additionally, I decided to randomly vary the brightness of the white tiles so that there weren't as many strong highlights:
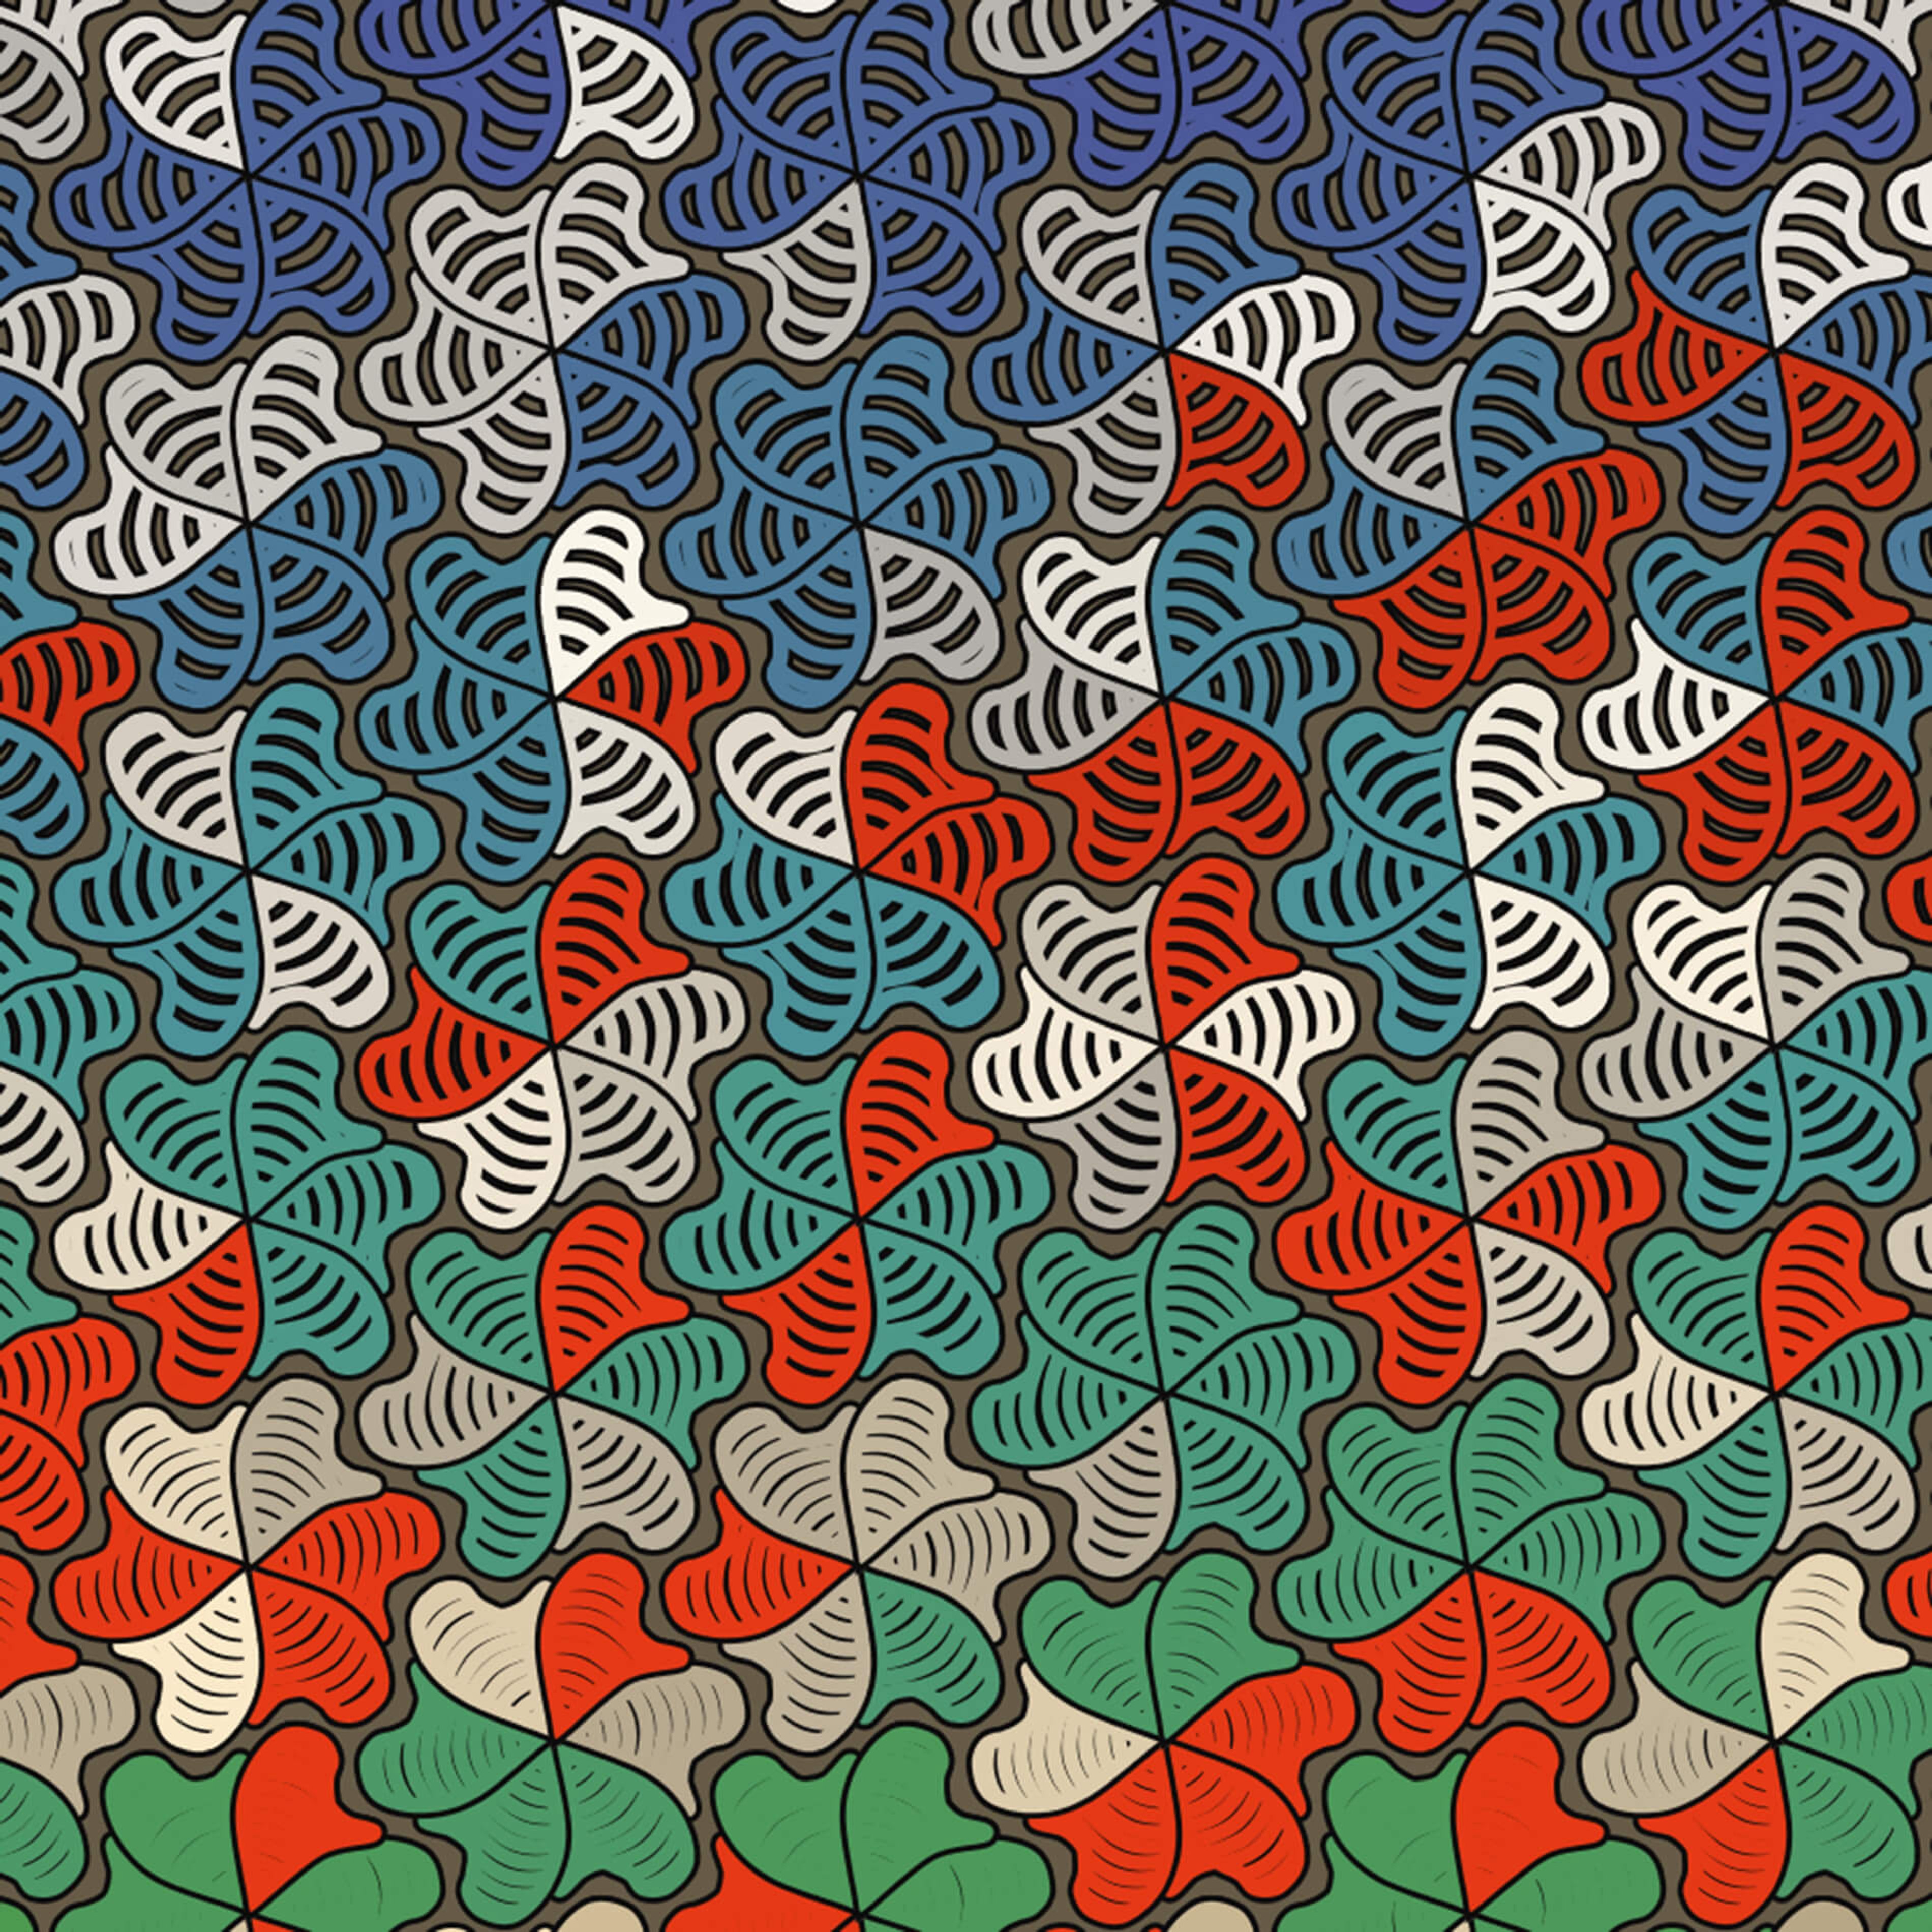
I also modified the red tiles to add another gradation: they are slightly less bright and saturated near the top of the image, allowing the top to be a little cooler overall.
At this point, I felt that the program was basically complete. I ran the program about 30 times to generate a variety of images, and then picked my favorite:
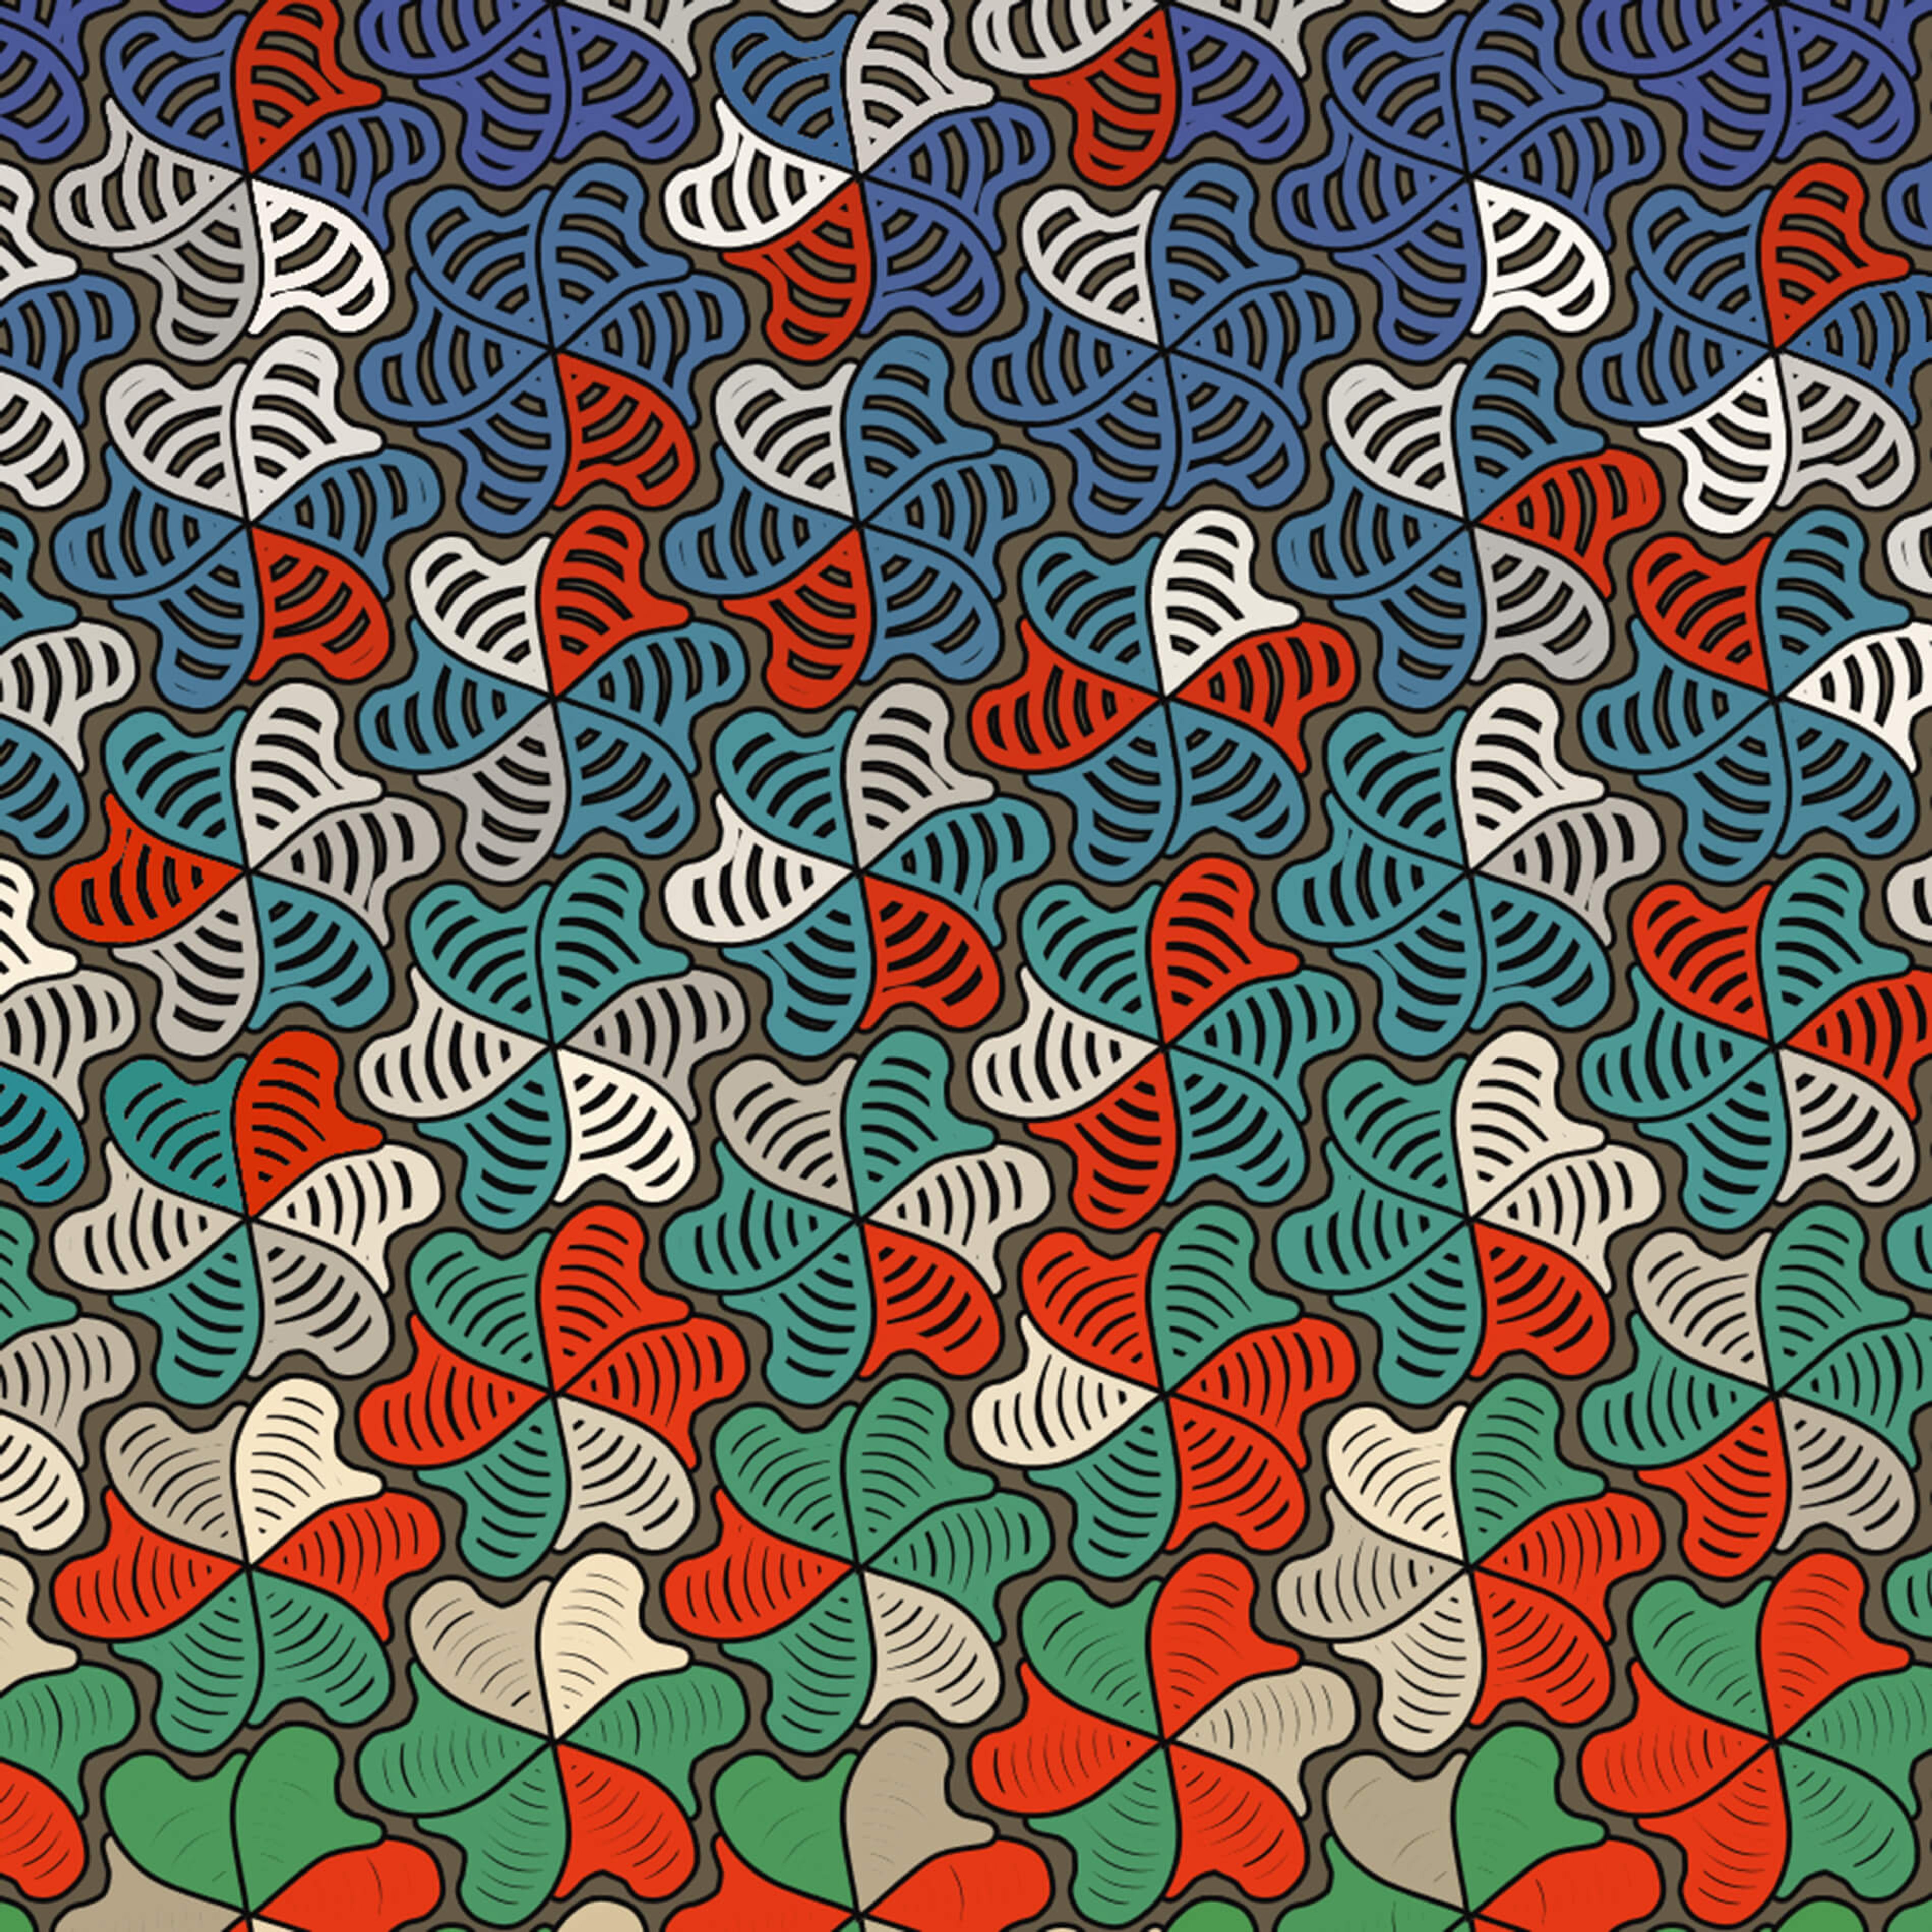
That covers the breakdown of this work.
From time to time, I write about my thoughts and artistic process. If you'd like to be notified the next time I publish an essay, sign up for my newsletter in the menu.