A Guide to Simulating Watercolor Paint with Generative Art
I've gotten many requests to explain the technique behind my "watercolor" generative artwork. My approach is similar to the techniques I described in Creating Soft Textures Generatively. The algorithm is not particularly exotic. Instead, it's conceptually simple but fine-tuned.
Watercolor Inspiration
I frequently experiment with watercolor paints in my sketchbook. I particularly love the insanely detailed and varied effects that the paints can produce. One sketch caught my eye became the focus while developing this technique.
My goal was not to realistically reproduce everything about the watercolor paint. Instead, I aimed to capture the essence of it that I really enjoy. Here’s how it’s done.

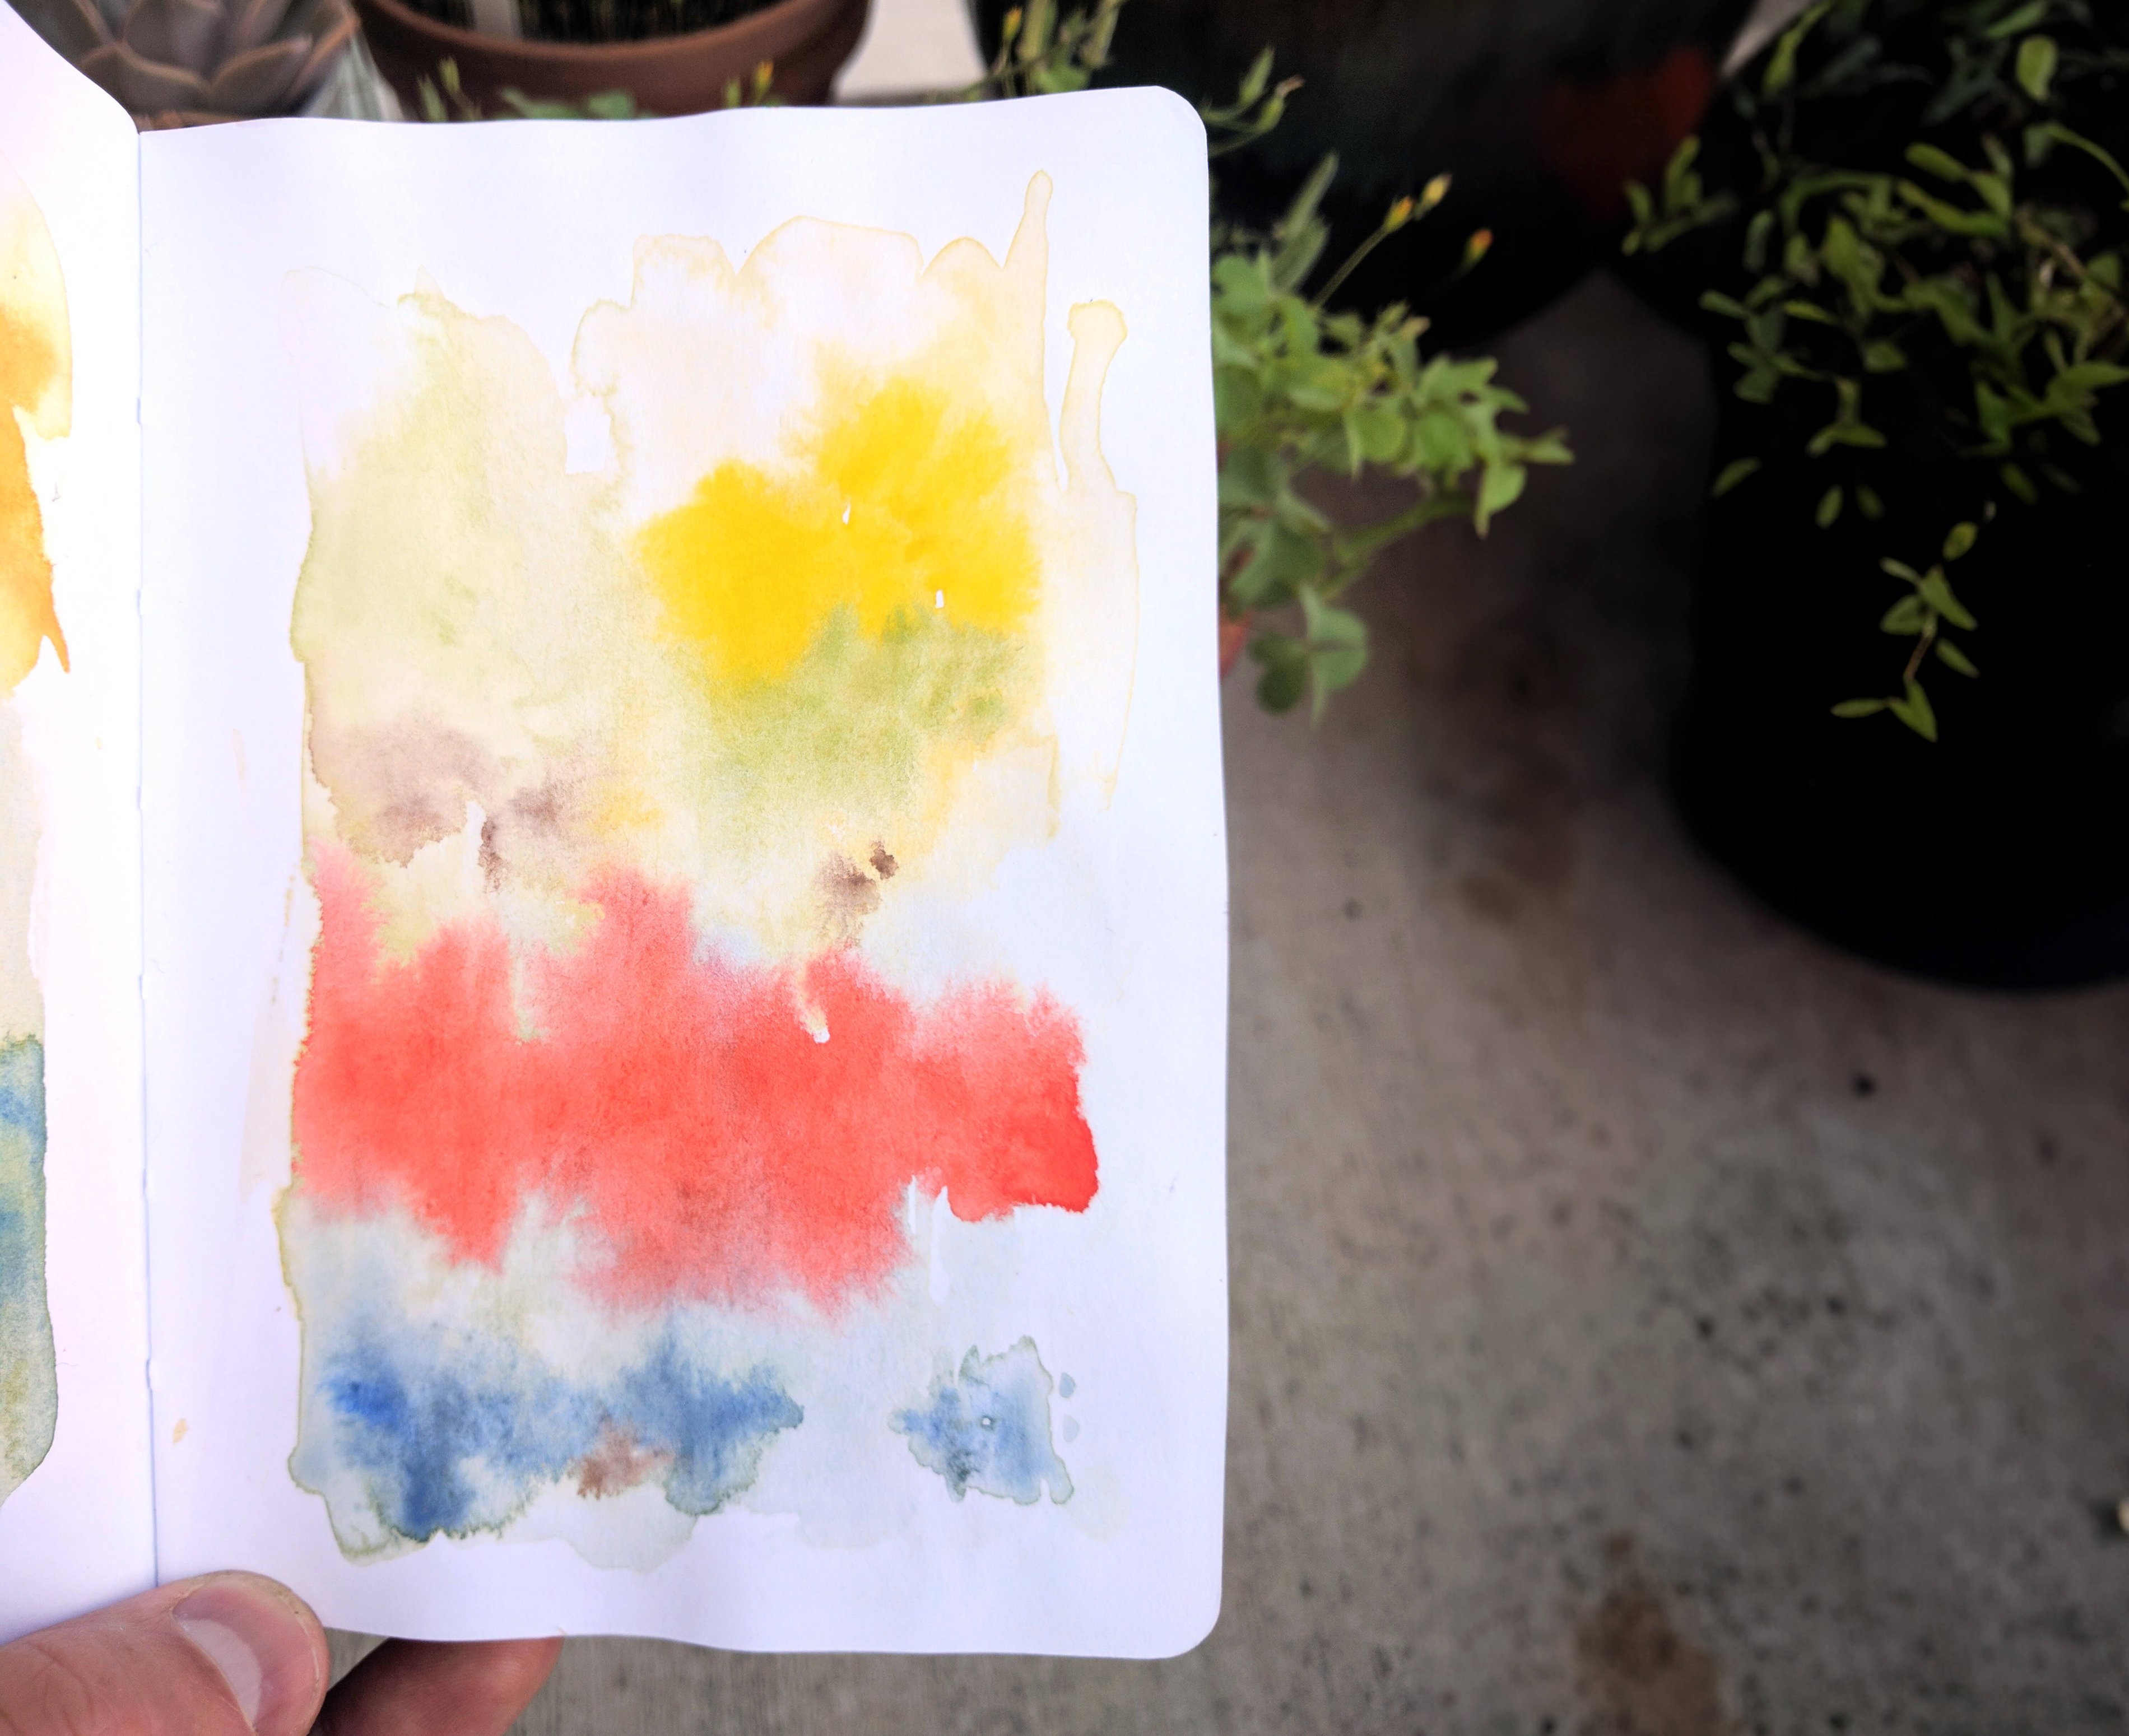
Watercolor doodle from sketchbook
Use a Recursive Polygon Deformation Algorithm
The technique to simulate watercolor in generative art consists of stacking lots of nearly transparent layers on top of each other. To create the watercolor-like appearance of a gradual fade out, the layers need to have a lot of variation in their shape. However, in areas with sharper boundaries, the layers need less variation.
The core of the watercolor technique is a recursive polygon deformation algorithm.
It's pretty simple, and it goes something like this:
- For each line A -> C in the polygon, find the midpoint, B. From a Gaussian distribution centered on B, pick a new point B'.
- Update the polygon, replacing the line A -> C with two lines: A -> B' and B' -> C
- If we haven't hit our max recursion depth, repeat from step 1, splitting the child lines.
Depending on the variation in your Gaussian distribution and the recursion depth, this will produce a polygon with jagged, detailed edges.
How the Polygon Deformation Technique Works
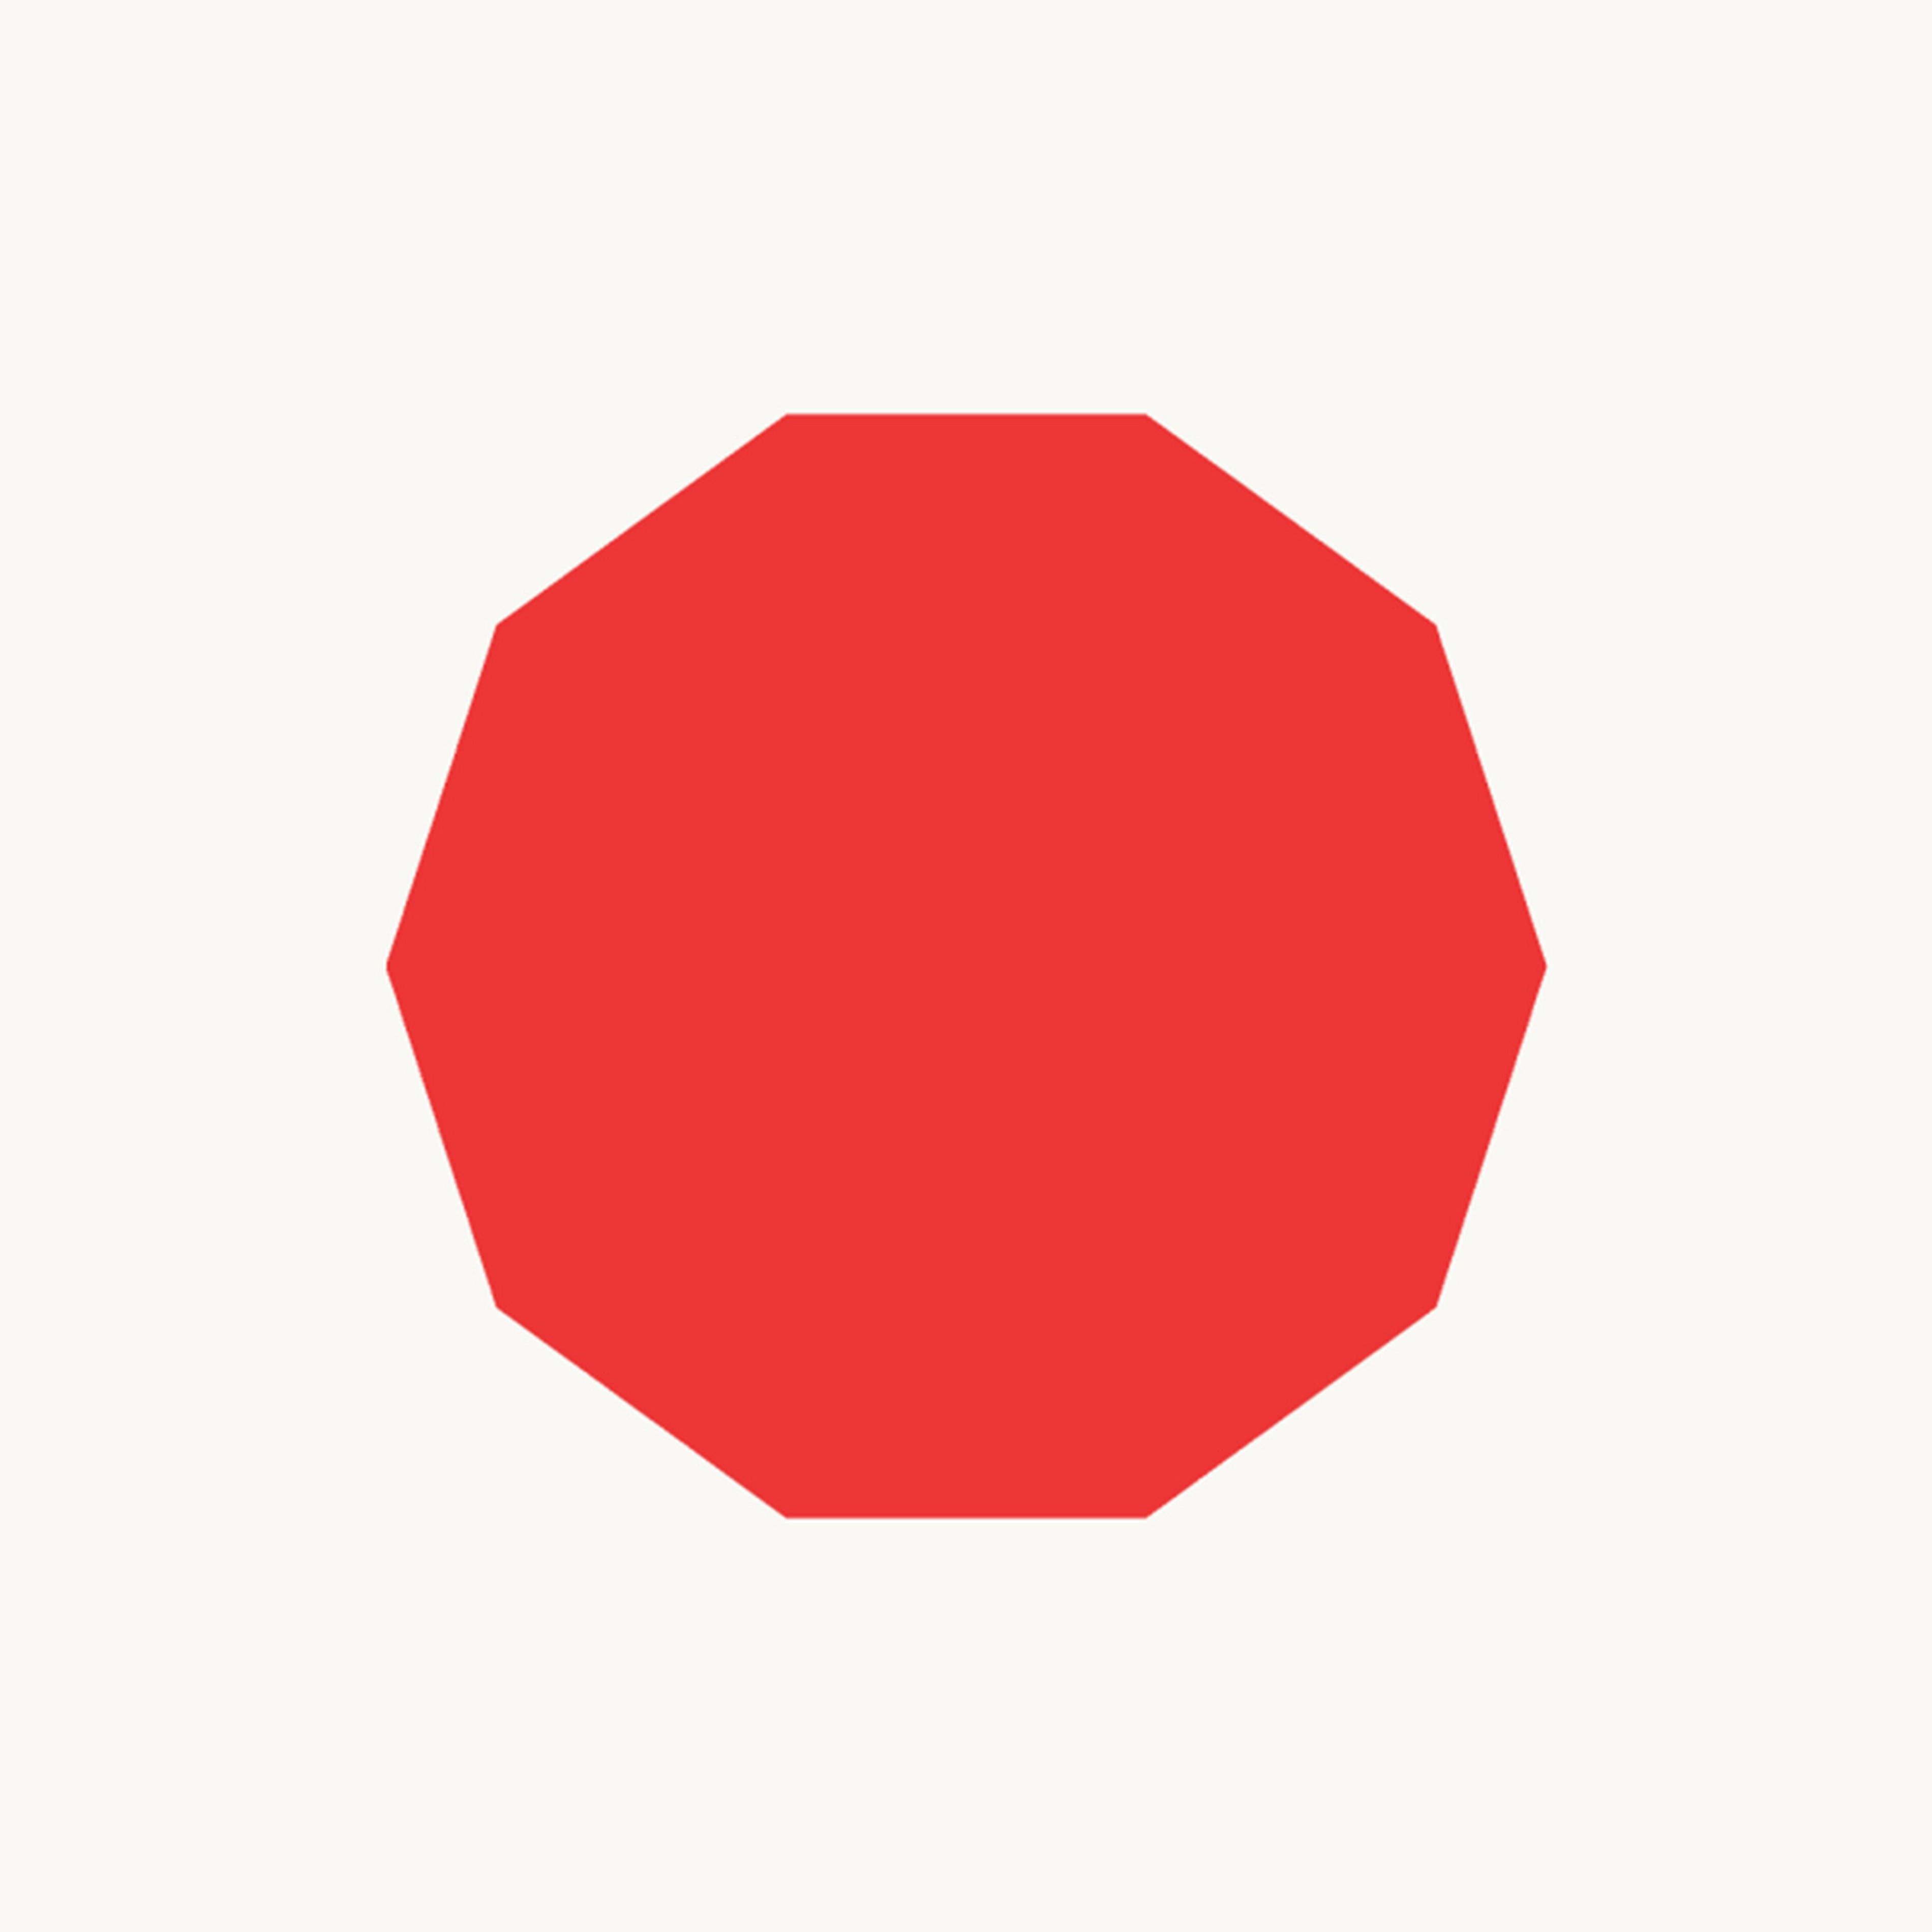
To illustrate how the polygon deformation technique works to create a watercolor effect, I'm going to apply it to a simple regular polygon:

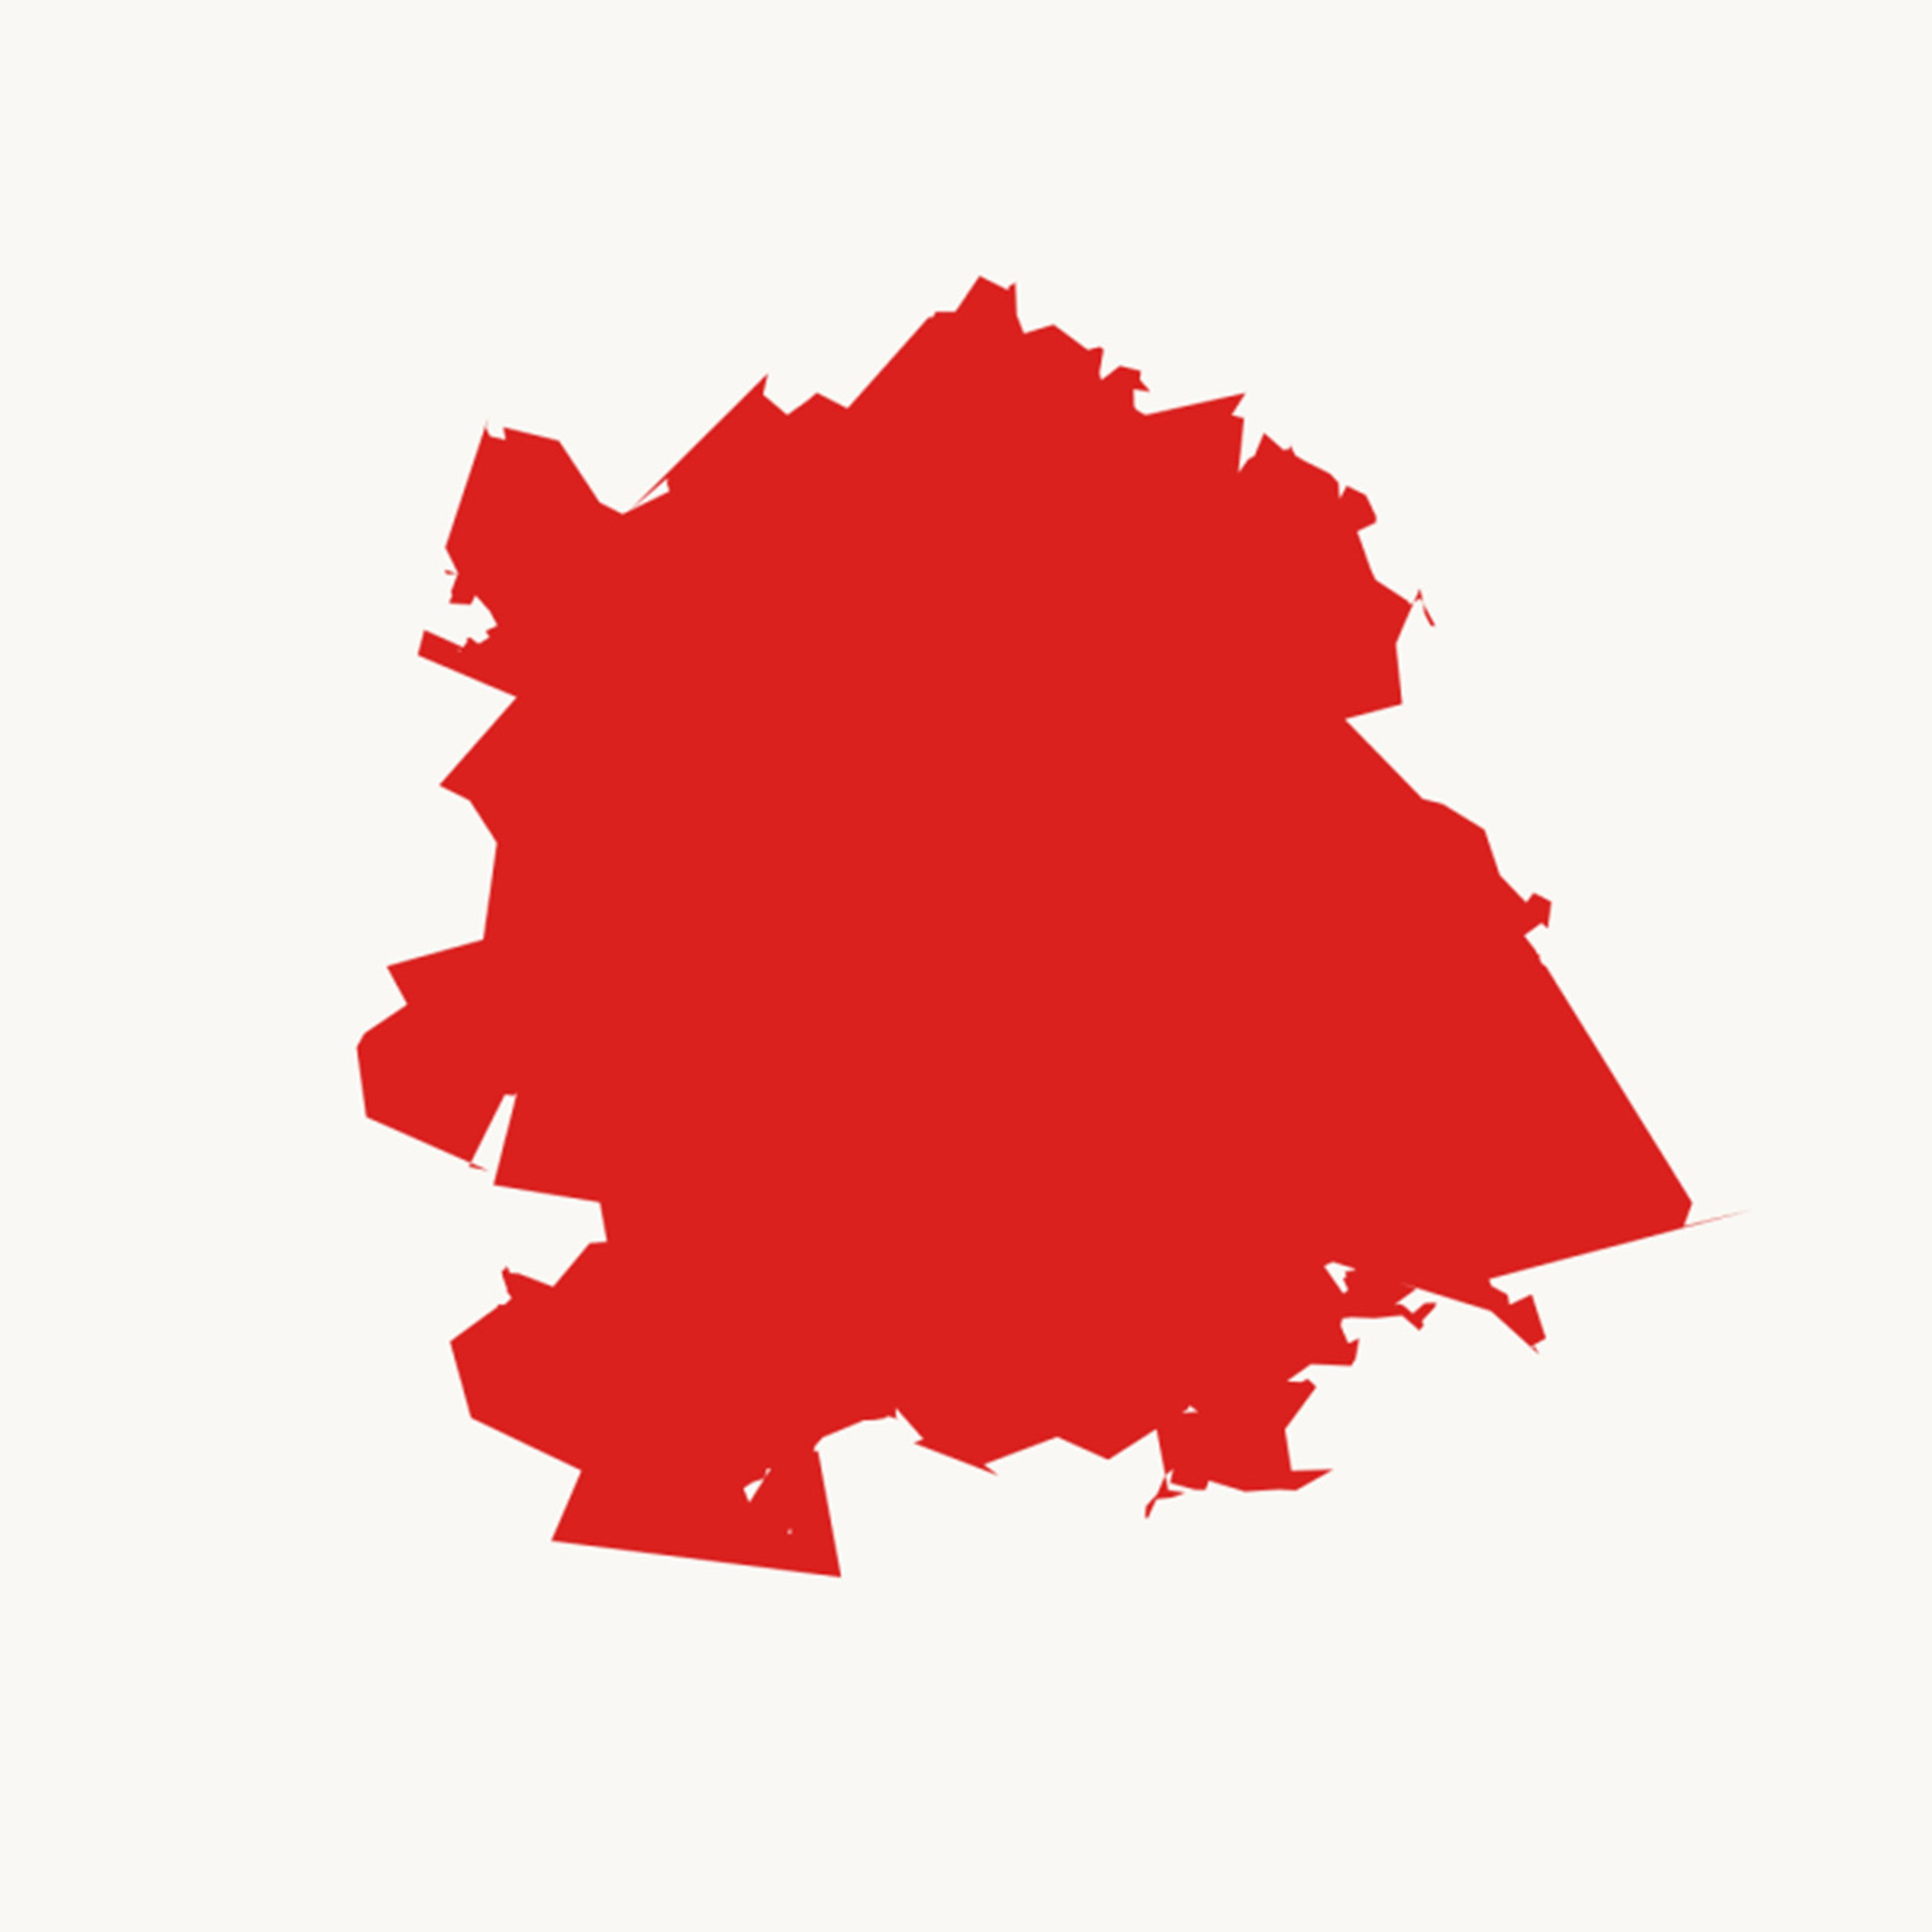
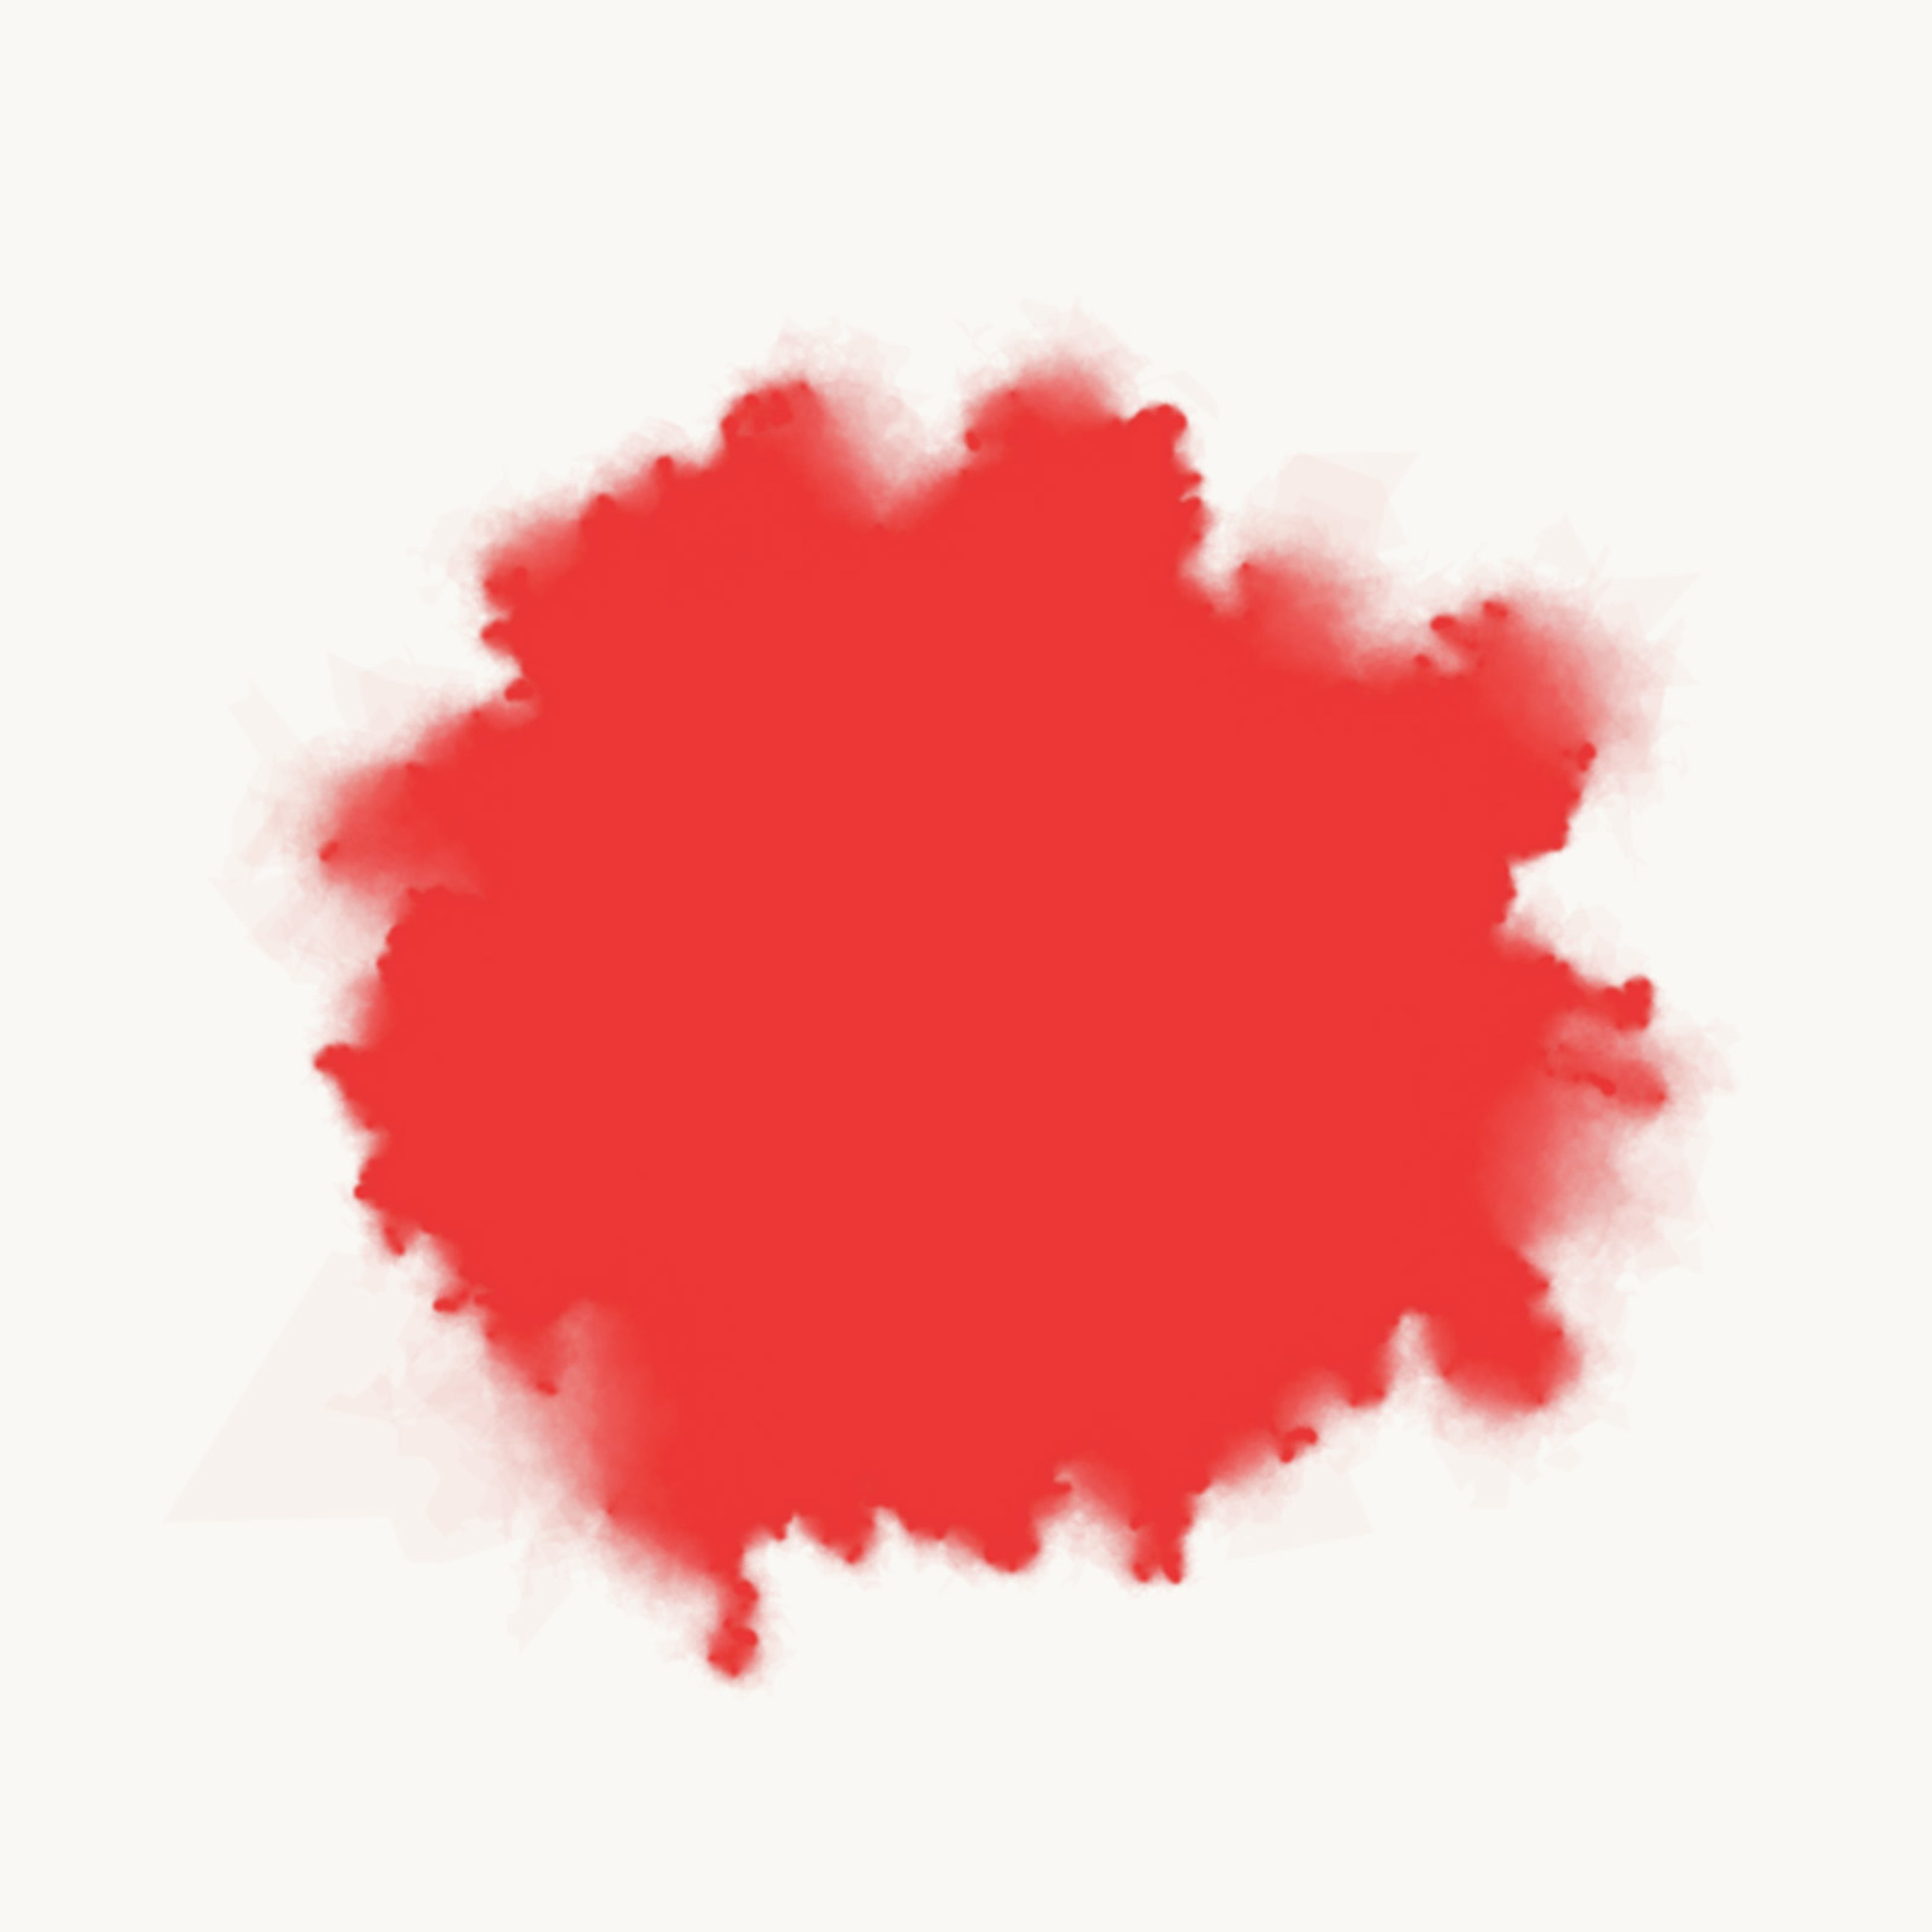
The basic watercolor shape is created through one round of polygon deformation. The input polygon is taken and run through the deformation function multiple times (somewhere around 7). The resulting polygon becomes the "base polygon" for all of the layers we will create.
It looks something like this:

For each layer, start with the "base polygon" and run it through the deformation function several more times (maybe 4 or 5). This will produce a polygon that is similar to the base polygon, but differs in all of the fine details. Draw the polygon with low opacity (somewhere around 4%). Repeat this for 30 to 100 layers.
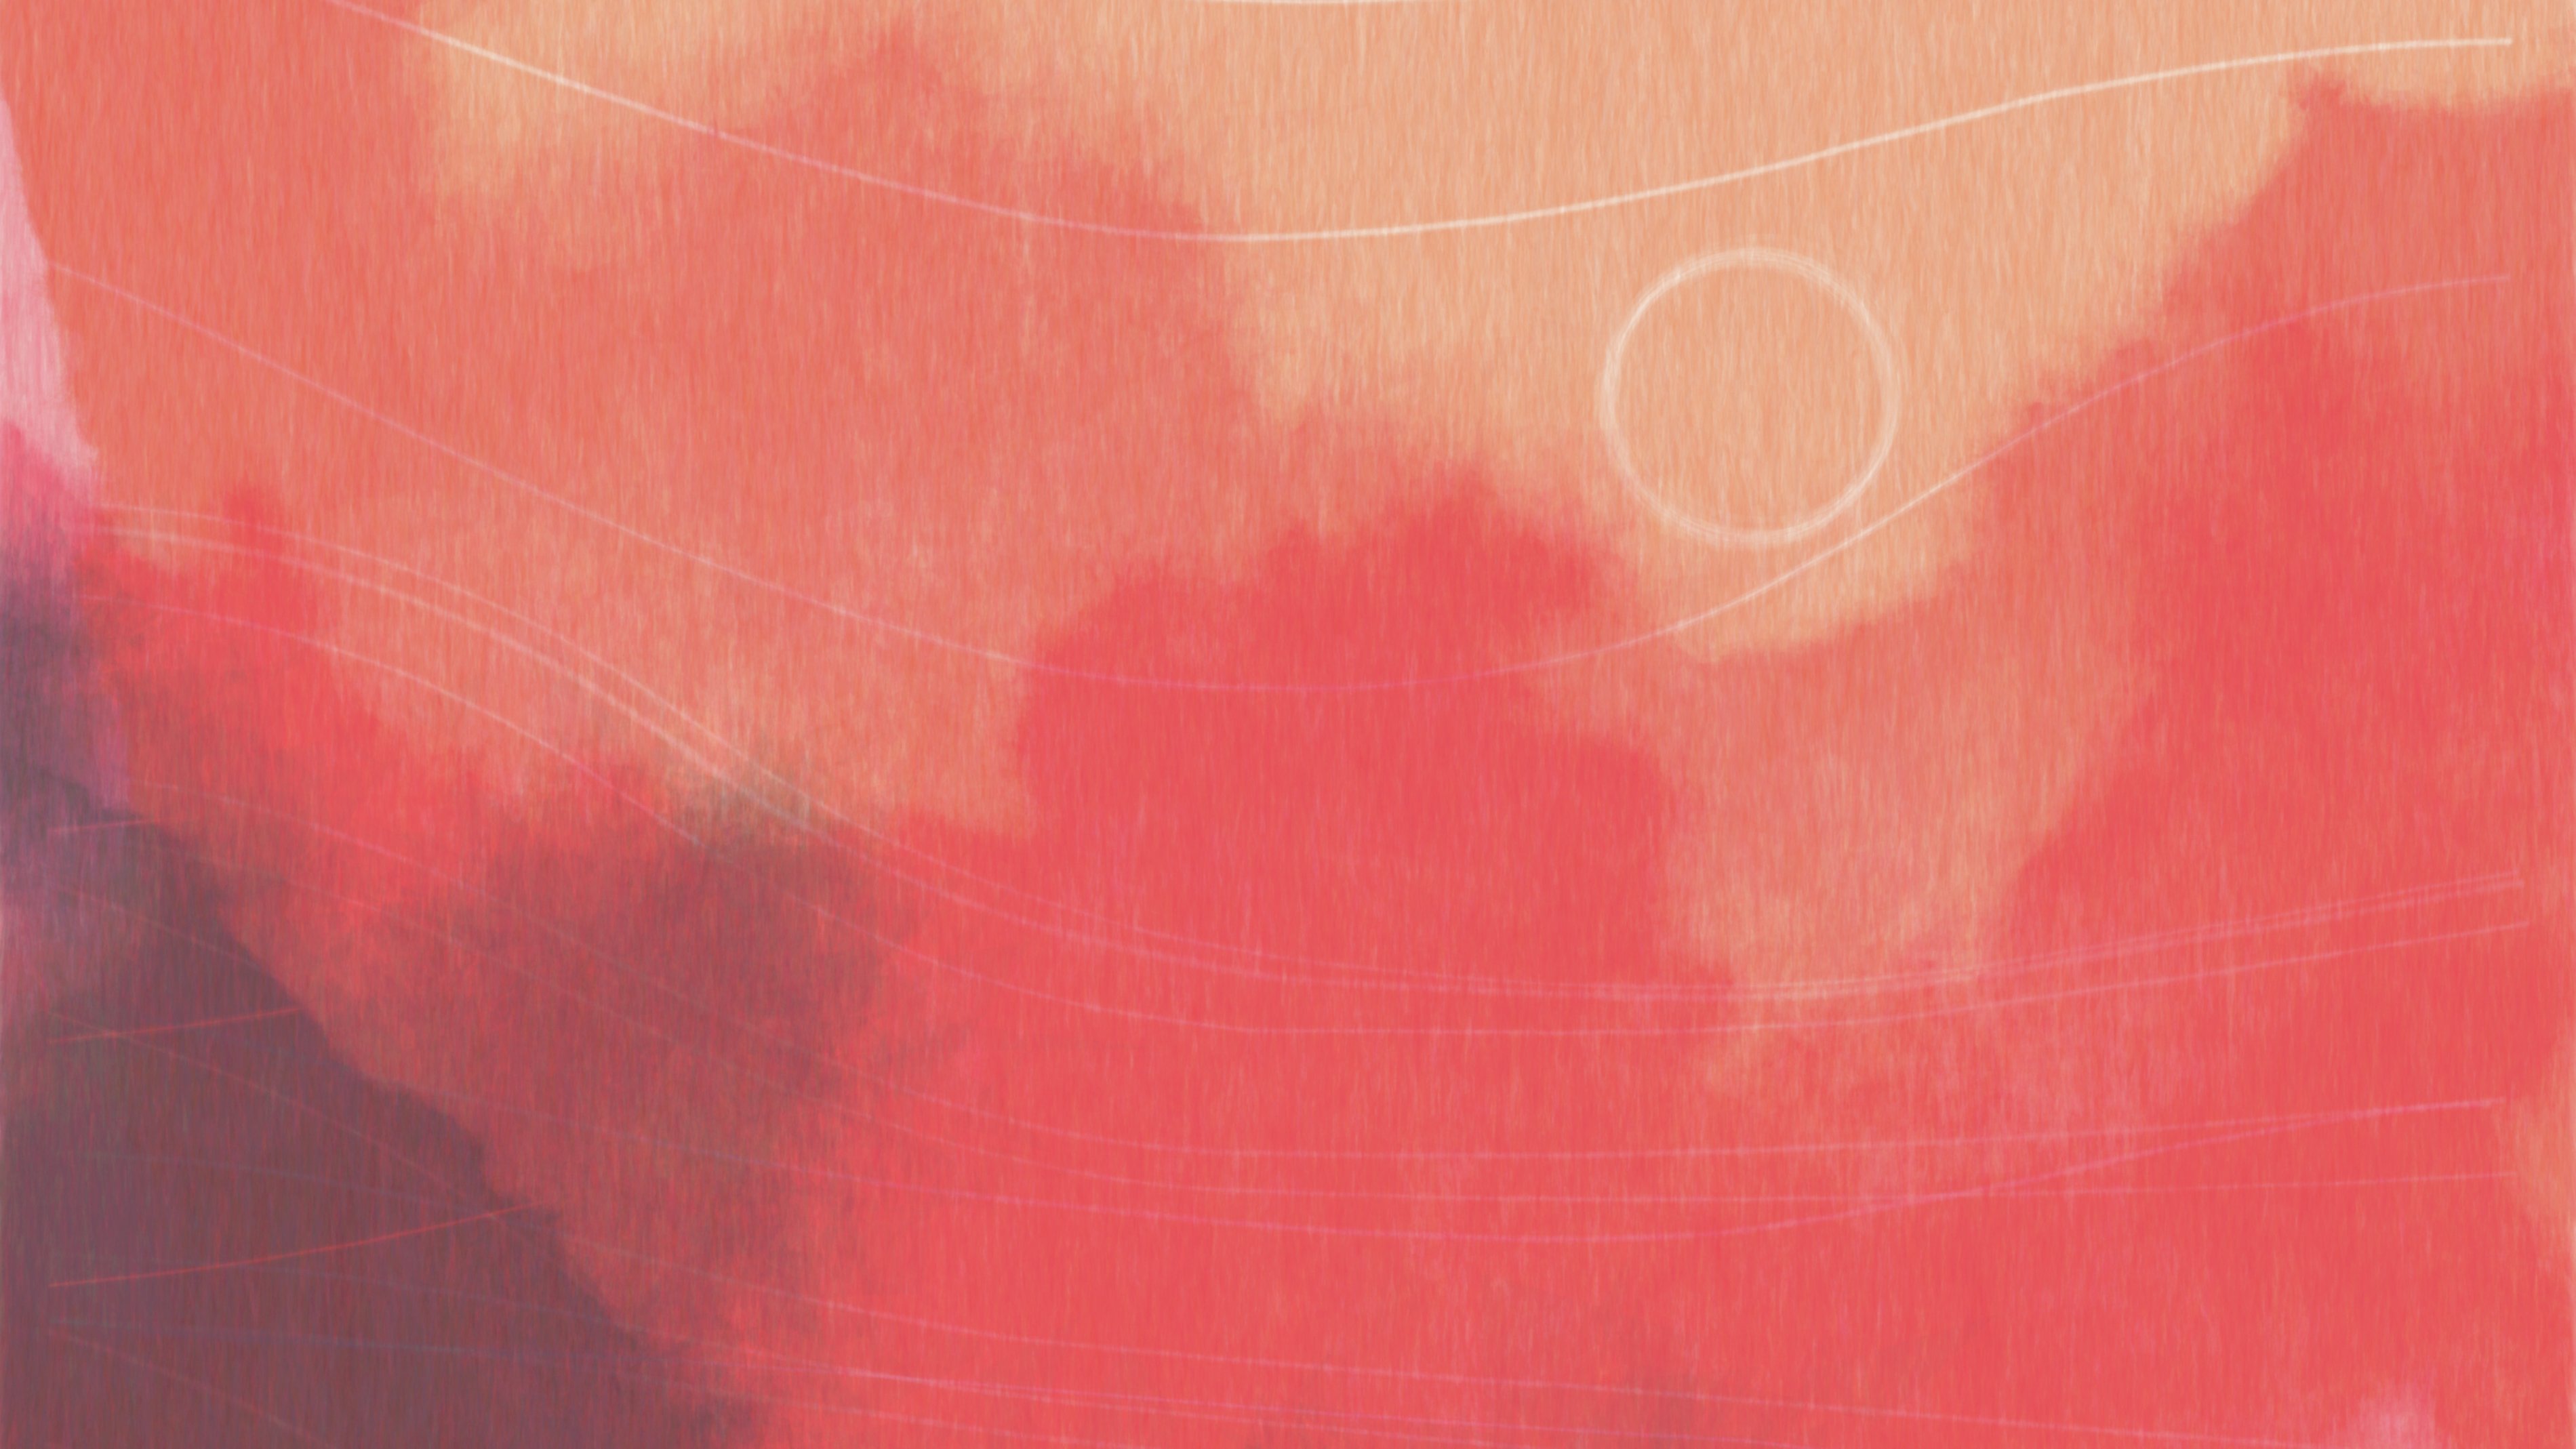
The result will look like this:

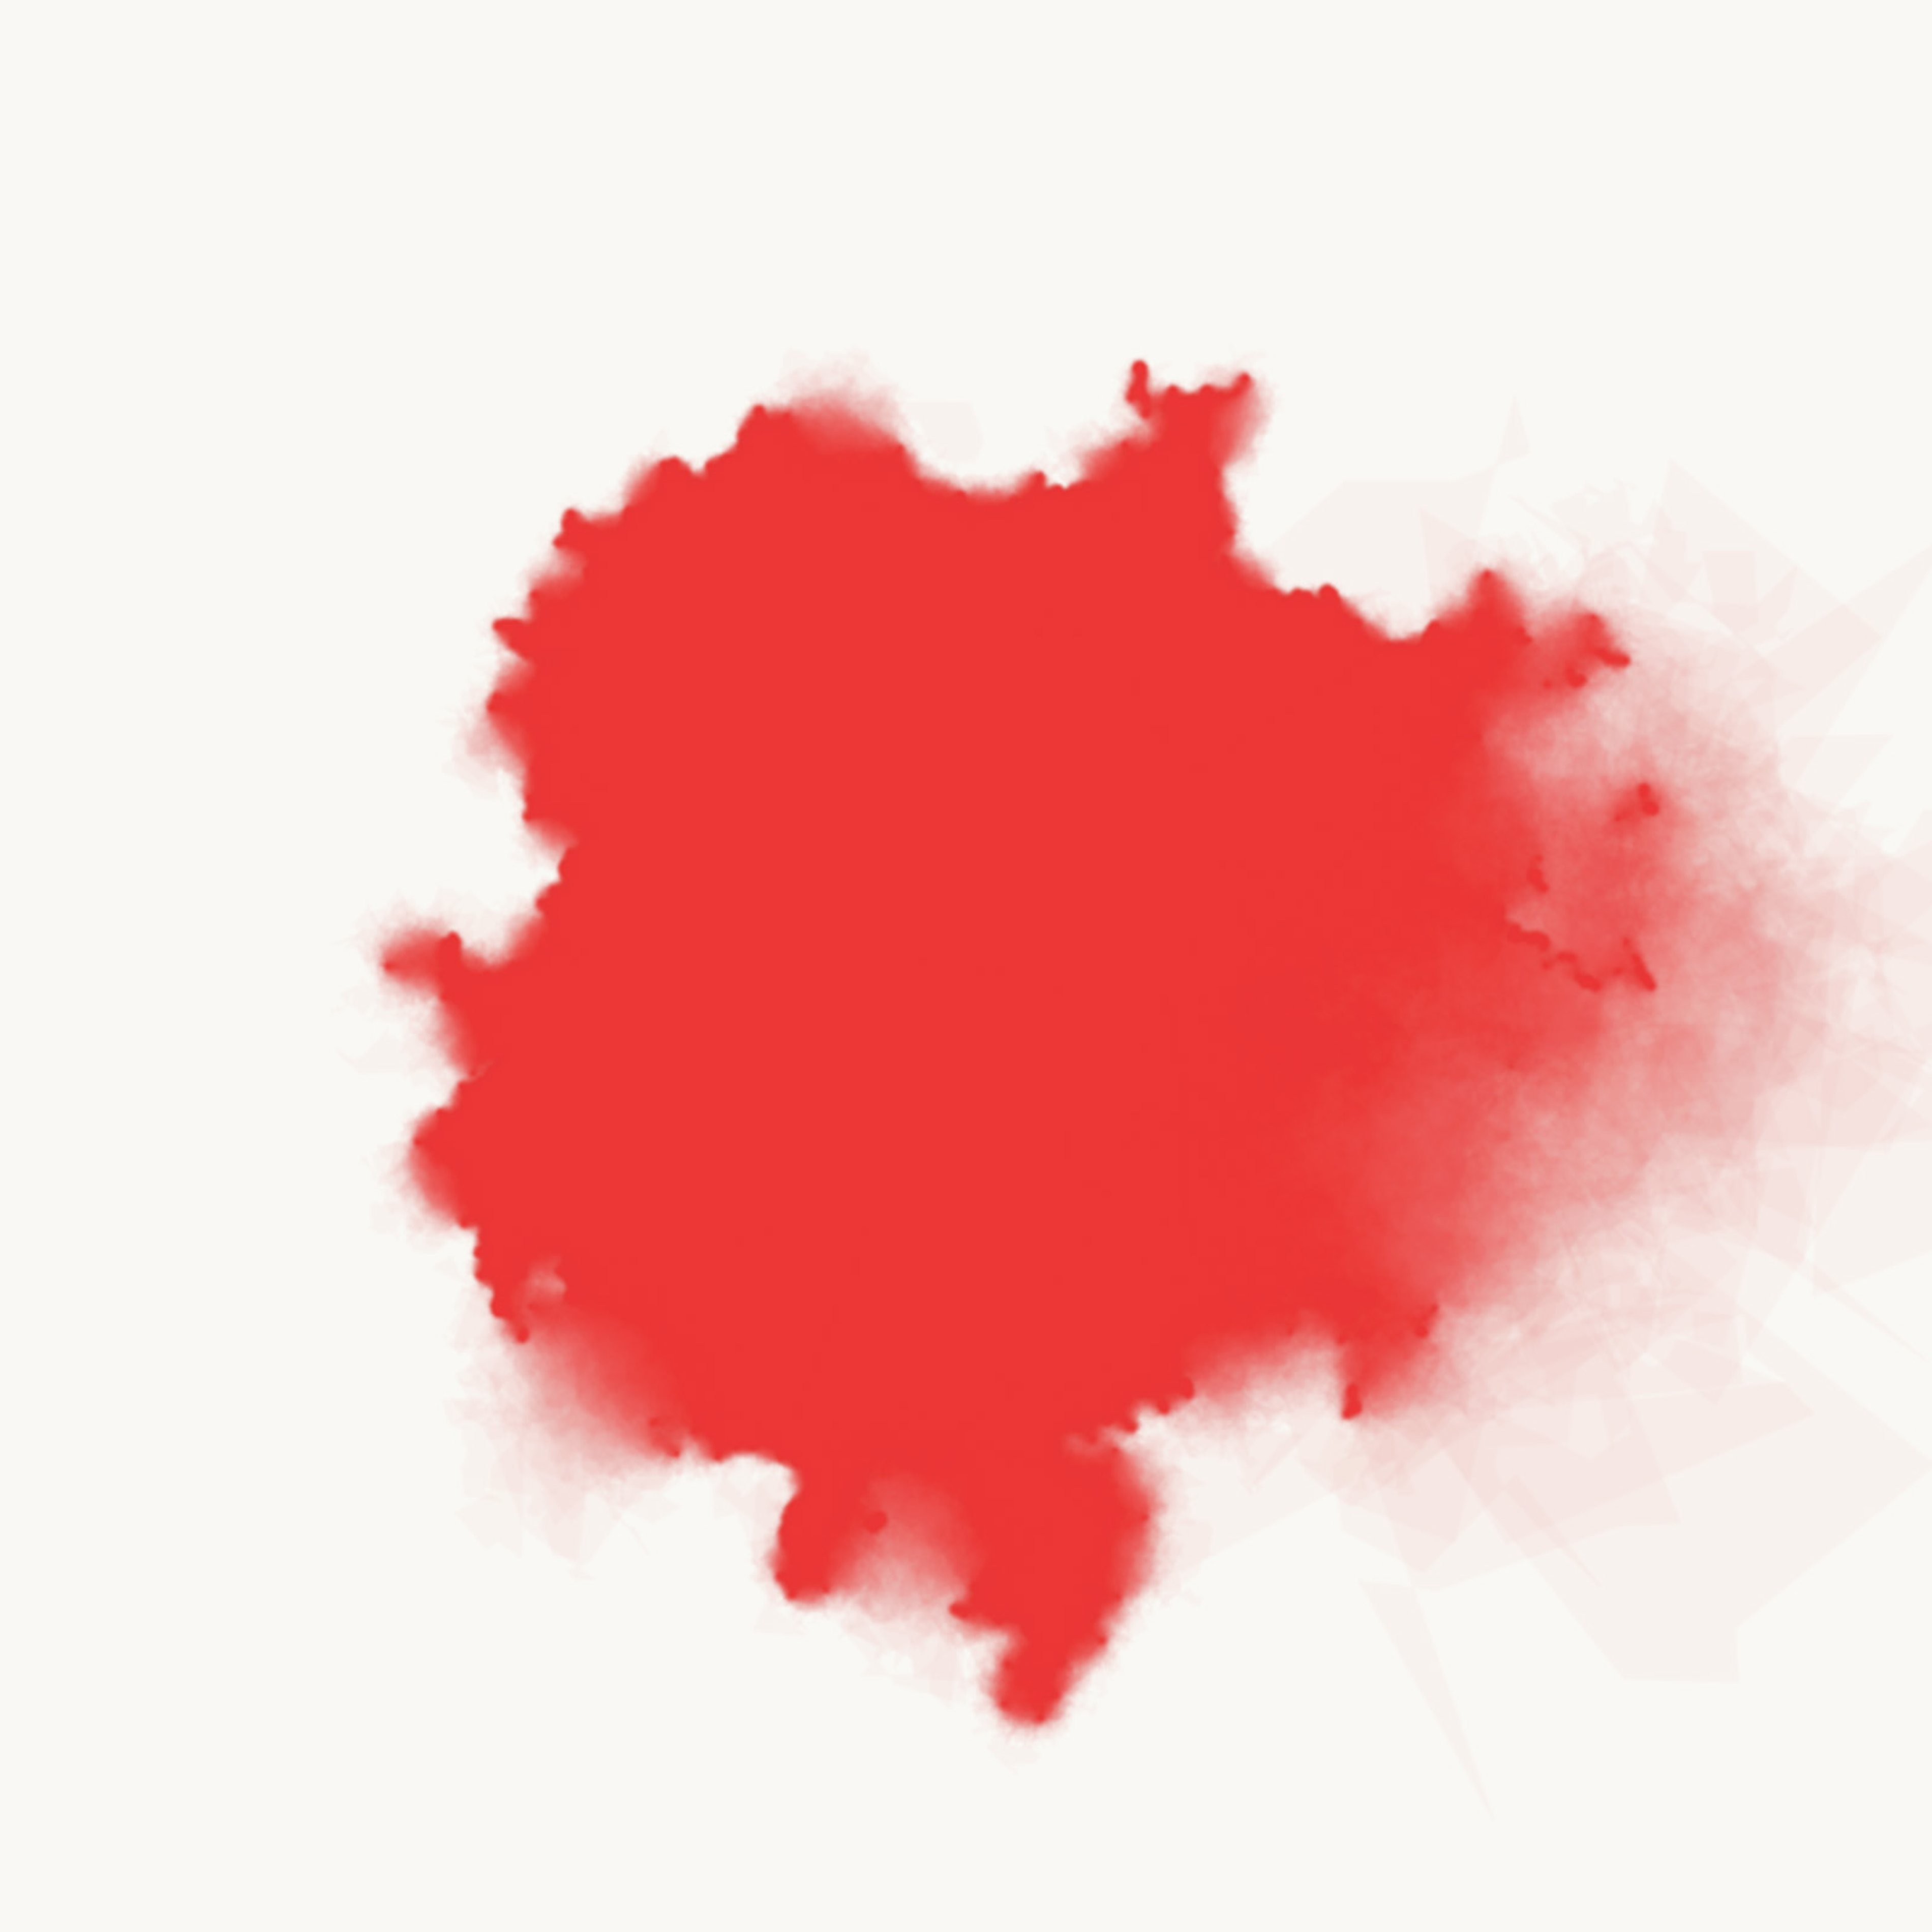
Refine With Low and High Variation Areas
The steps so far will produce a shape that has somewhat soft edges all around. In order to give the border sharp edges in some areas and soft edges in others, we can assign different levels of "variance" to each line segment. Segments with high variance will undergo large changes in each mutation round, and segments with low variance will undergo small changes. When a segment is split into two child segments, those children can inherit the parent's variance. Of course, the variance needs to decrease somewhat, and it's also a good idea to slightly randomize what variance each child gets assigned.
With this change in place, the blobs look more interesting:


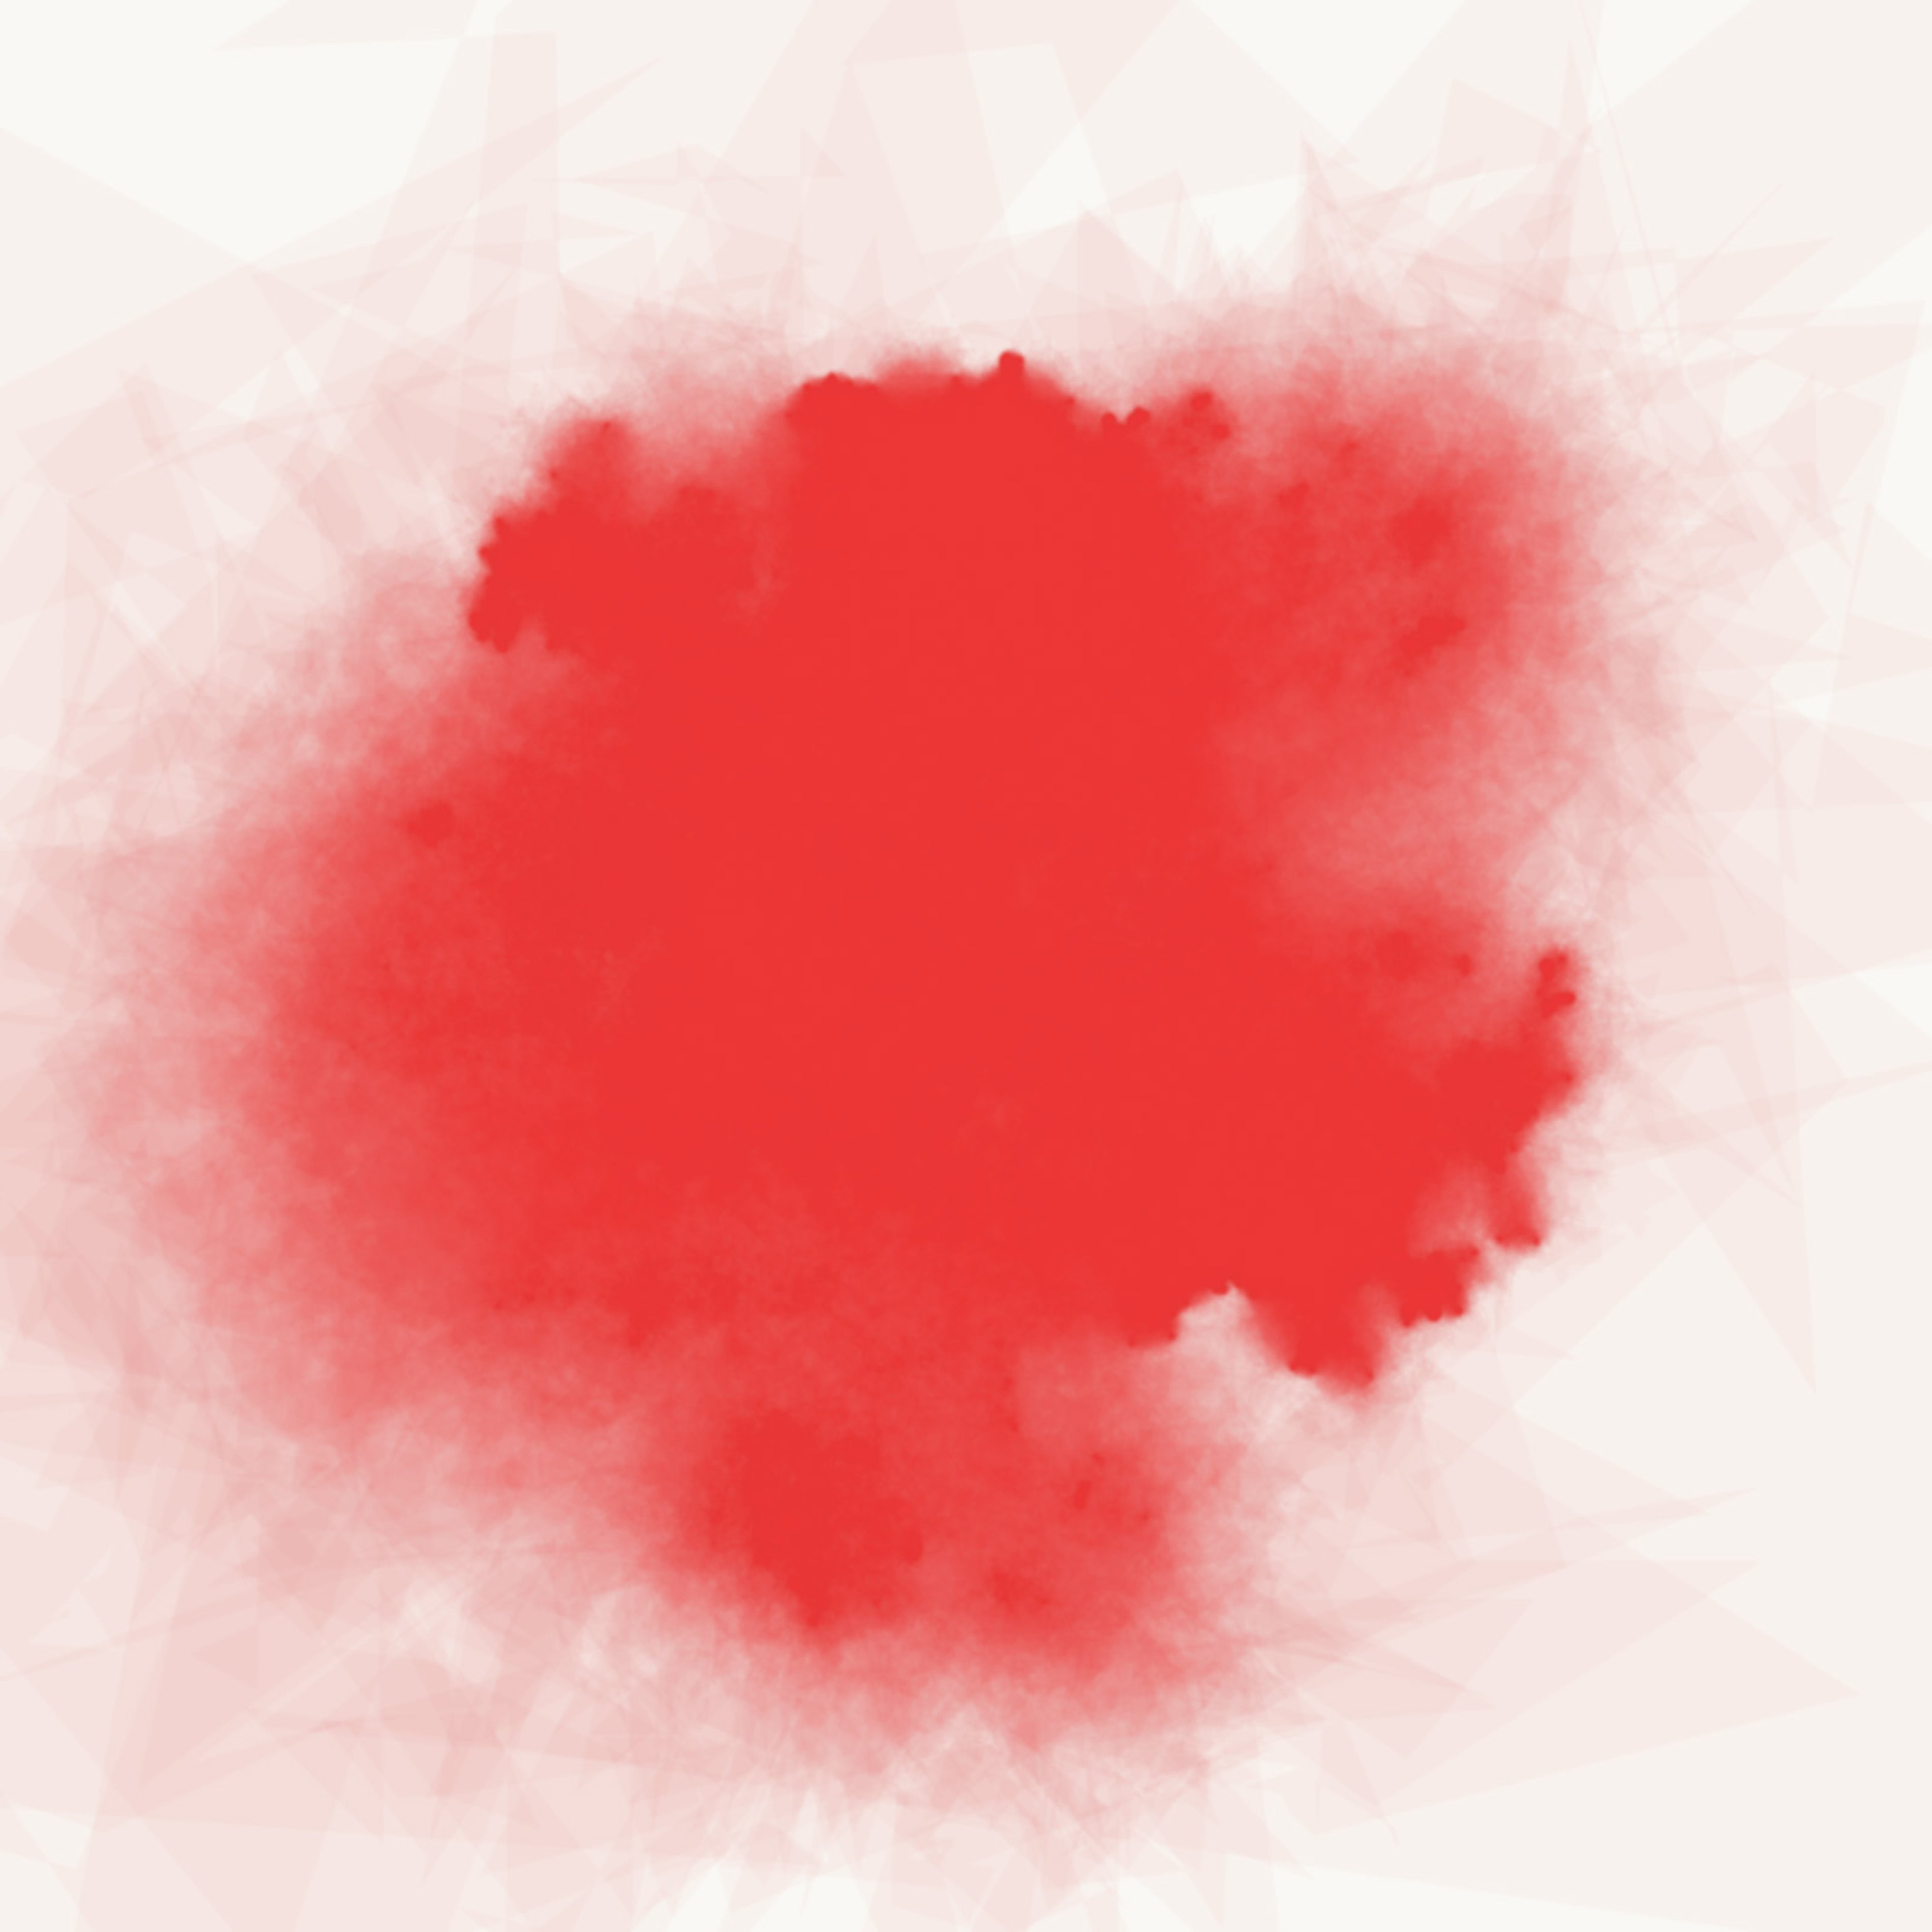
Refine With Texture Masking
Natural watercolor is not perfectly smooth, and has some variation in the opacity. To capture a little of that, you can use a different texture mask on each of the 30 to 100 layers. The mask will make some parts of the layer full transparent, creating variations in the final opacity. For this example, I'm randomly placing about 1000 small circles on the image for the texture mask.
; draw the watercolor blob shape
(with-graphics the-blob-mask
  (background 0 0 0)
  (stroke 0 0 layer-alpha)
  (fill 0 0 layer-alpha)

  (begin-shape)
  (doseq [[x y] final-poly]
    (vertex x y))
  (end-shape))

; draw the circles onto the texture mask
(with-graphics the-texture-mask
  (background 0 0 0)
  (no-stroke)
  (fill 0 0 layer-alpha)
  (doseq [j (range 900)]
    (let [x (random 0 (w))
          y (random 0 (h))
          len (abs-gauss (w 0.03) (w 0.02))
          [hue sat bright] (color-fn)]
      (fill hue sat bright)
      (ellipse x y len len)))

; Blend the watercolor blob shape layer into the current
; layer, only taking the darkest pixel from each. This
; effectively means we're taking the "intersection" of
; the two masks.
(blend the-blob-mask 0 0 (w) (h) 0 0 (w) (h) :darkest))
(with-graphics the-overlay
  ; make the whole background red
  (background 5 80 80)
  ; apply the combination blob/texture mask
  (mask-image the-texture-mask))

; apply the masked layer
(image the-overlay 0 0)
The result looks like this:

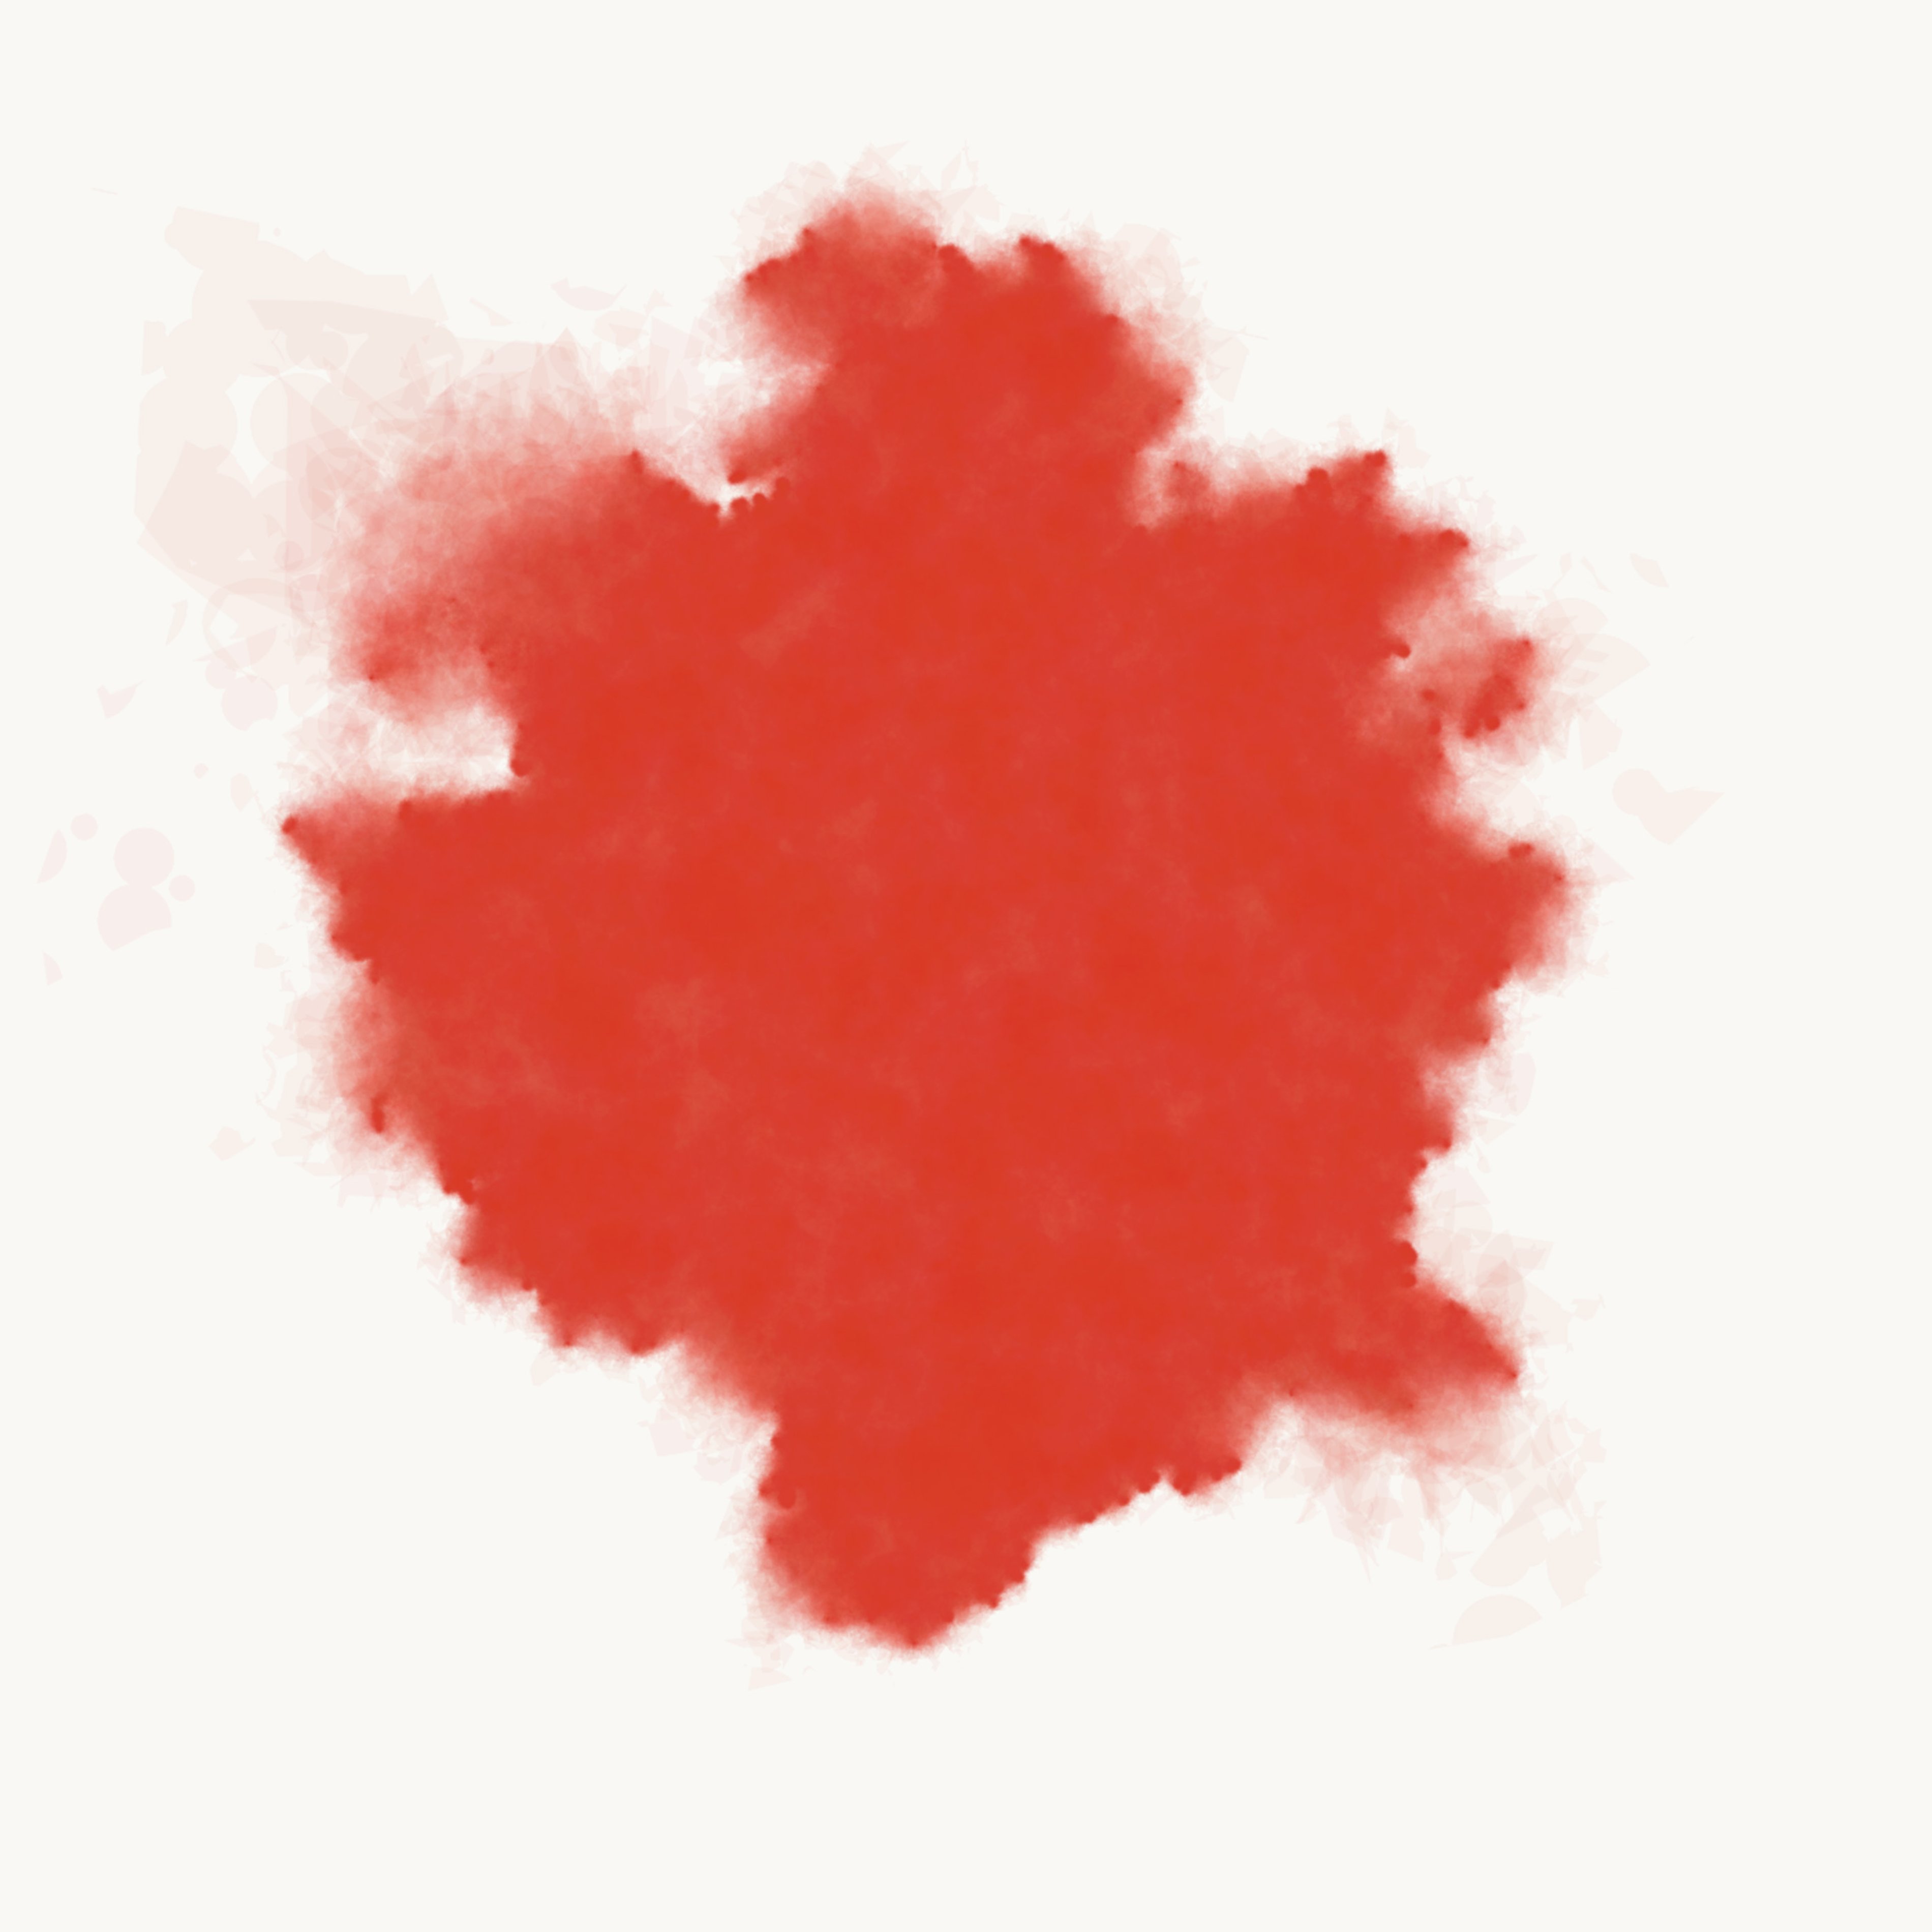
Refinement: Color Blending
Blending multiple colors with this technique works well so long as you interleave the layers. For example, do five layers of a red blob, then five layers of a yellow blob, then five red, etc. This doesn't really replicate what happens with real watercolor paint, but it looks cool anyway.
When combined with the texture masking above, this looks like so:


Example Works
Here are a couple of works that I've created with these techniques so far.

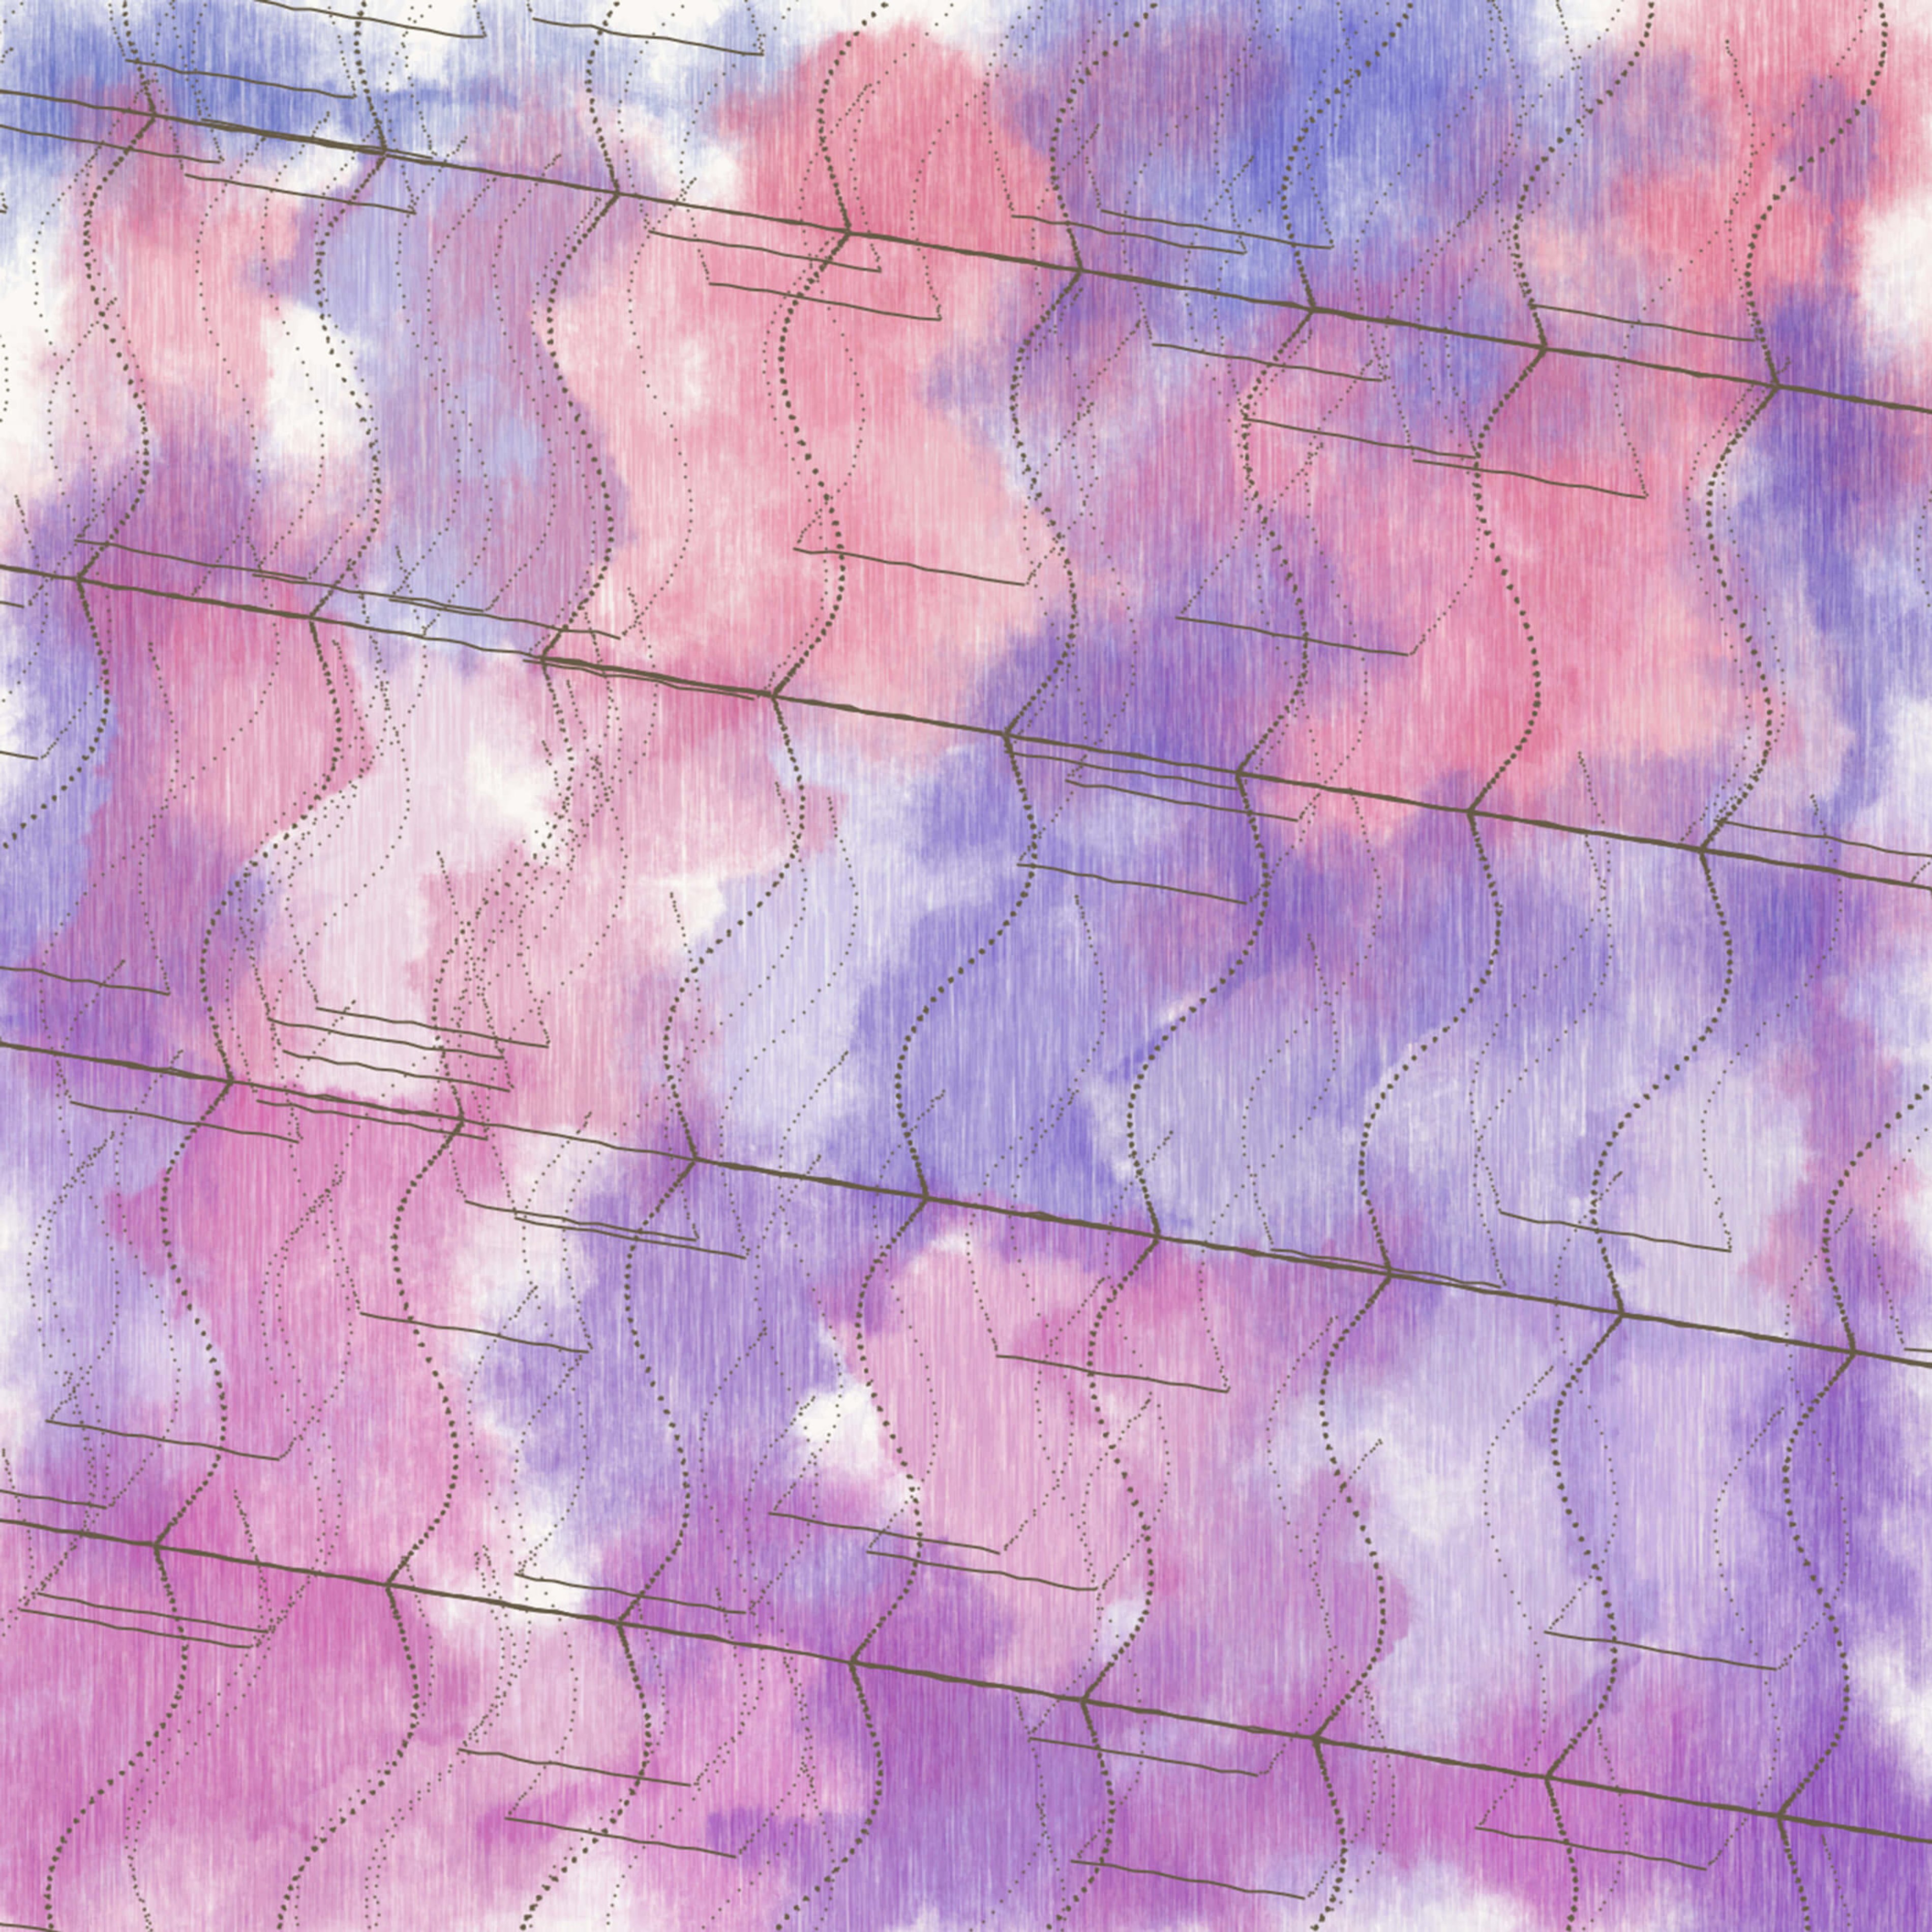
Isohedral XI, 2017

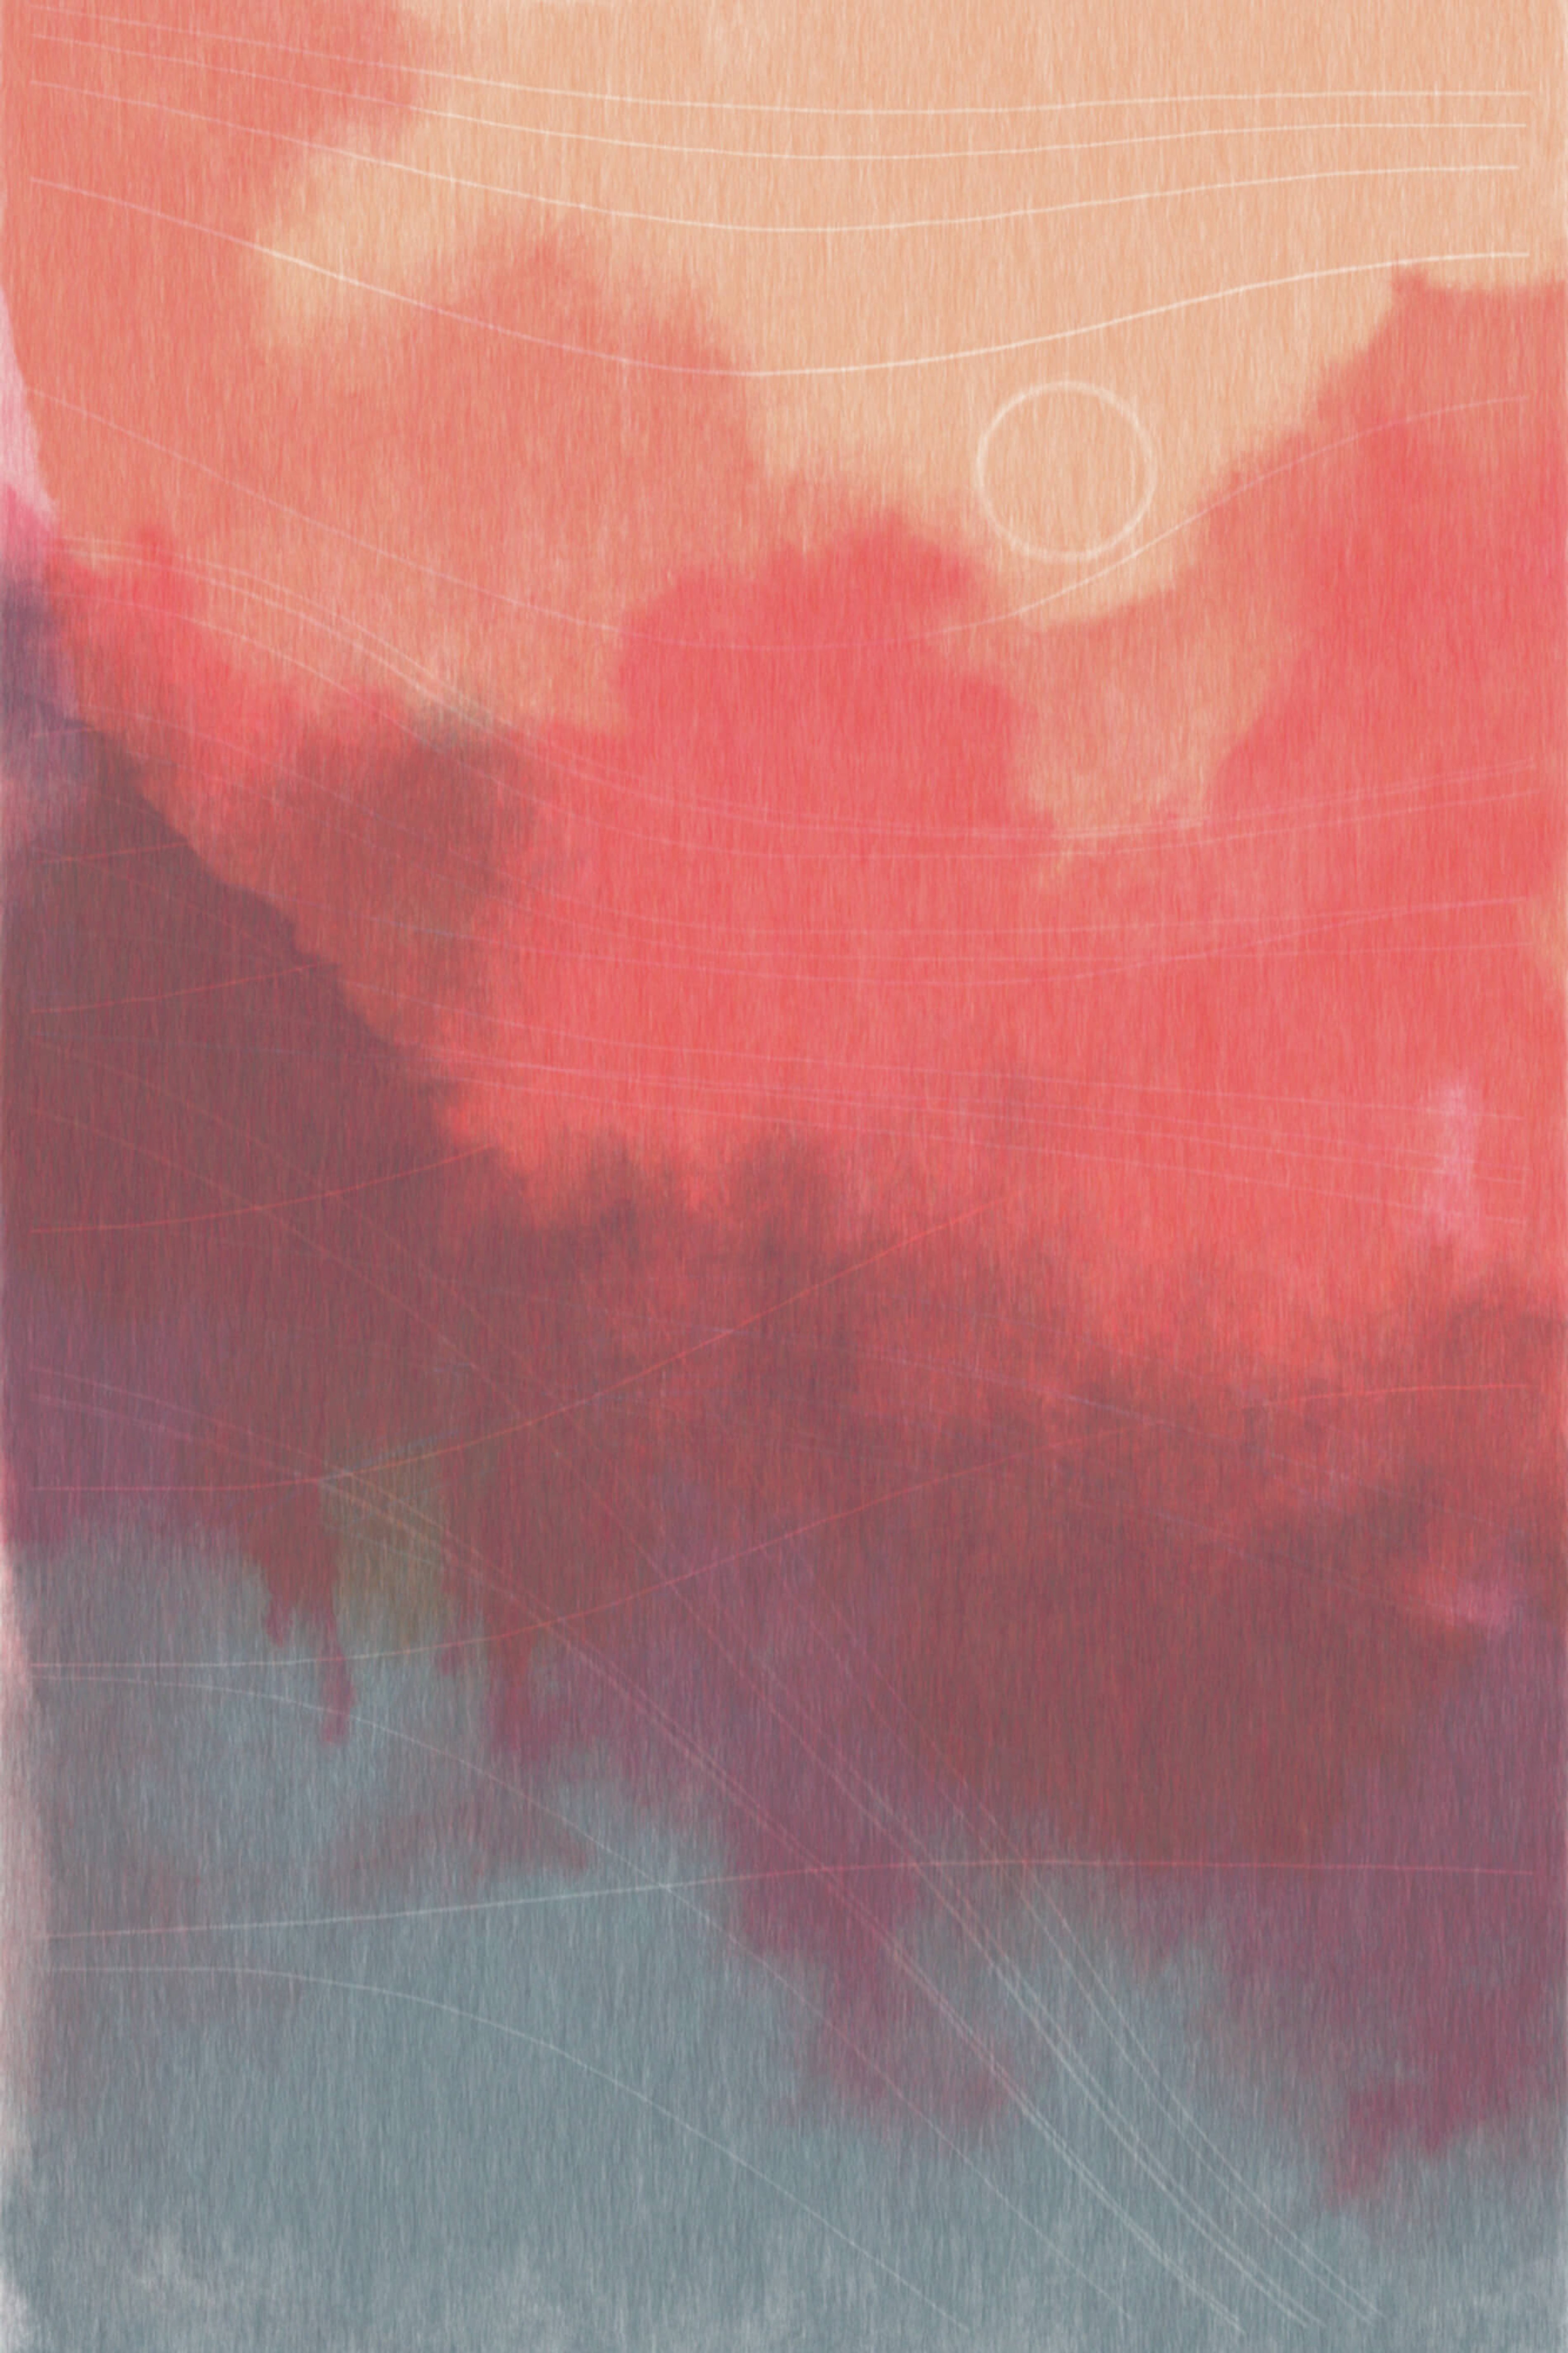
Linear II, 2017
–
From time to time, I write about my thoughts and artistic process. If you'd like to be notified the next time I publish an essay, sign up for my newsletter in the menu.